
FALL FABRIC GARLAND
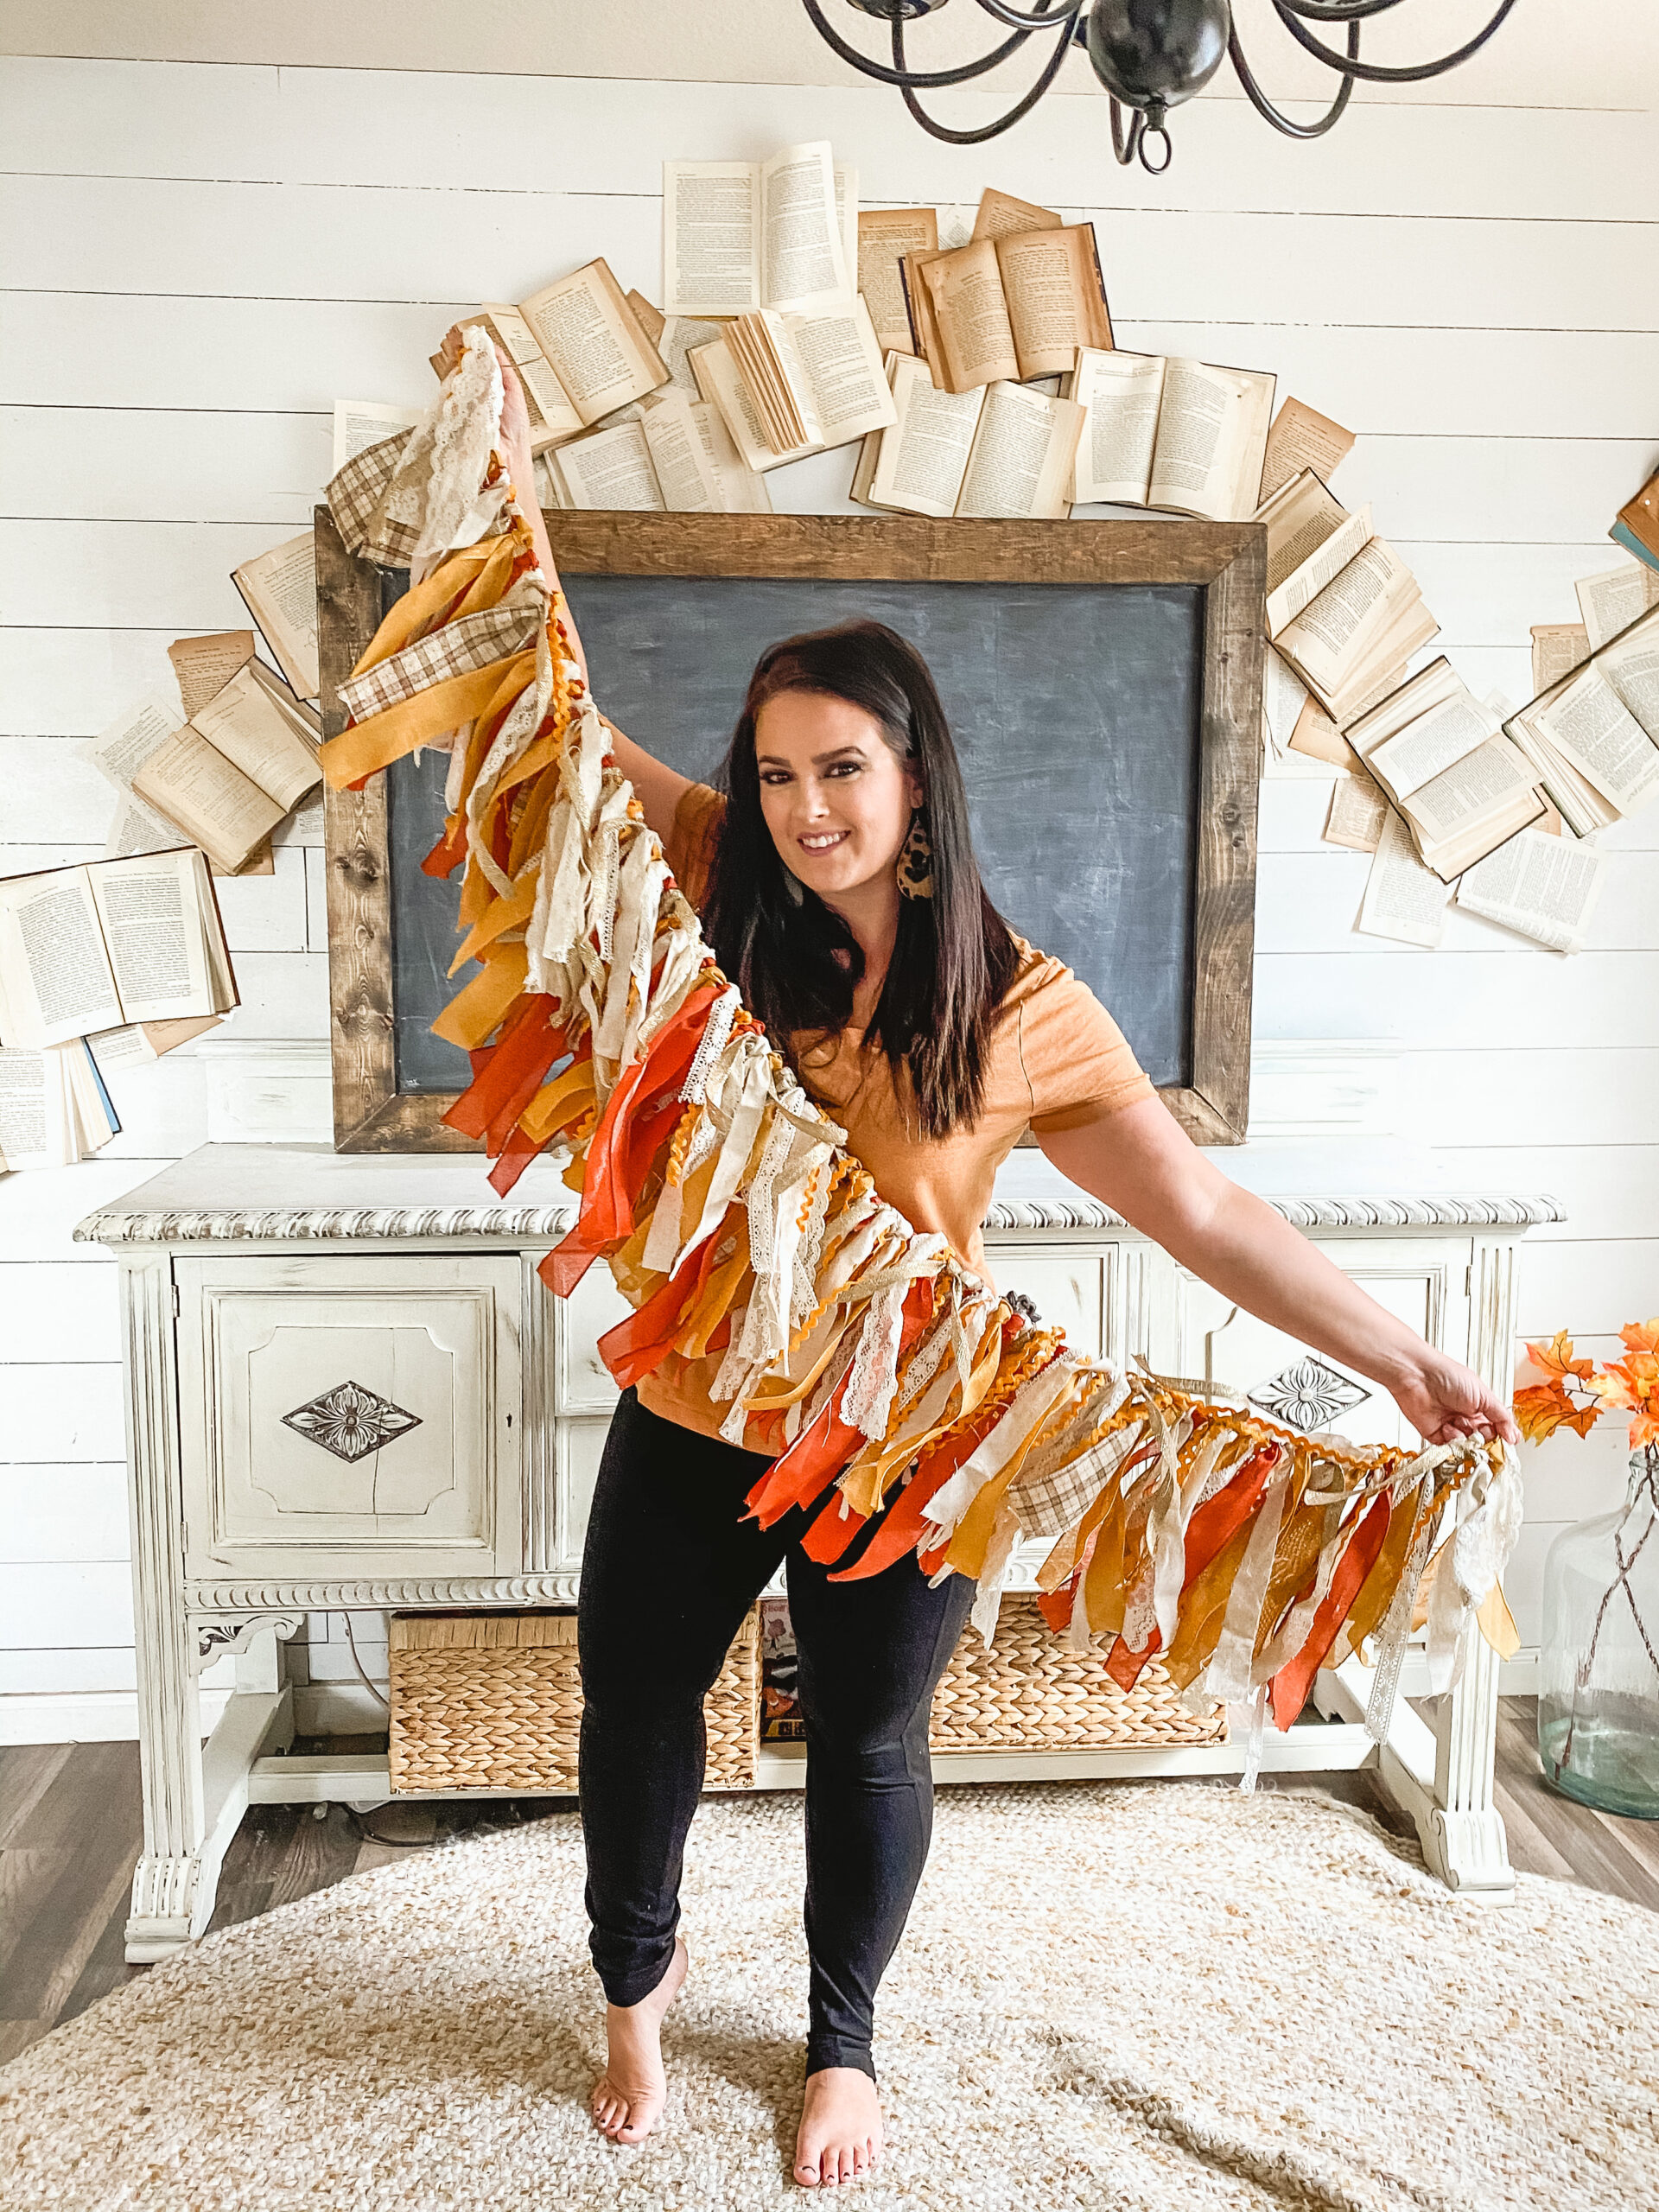
Easy DIY Fall Fabric Garland
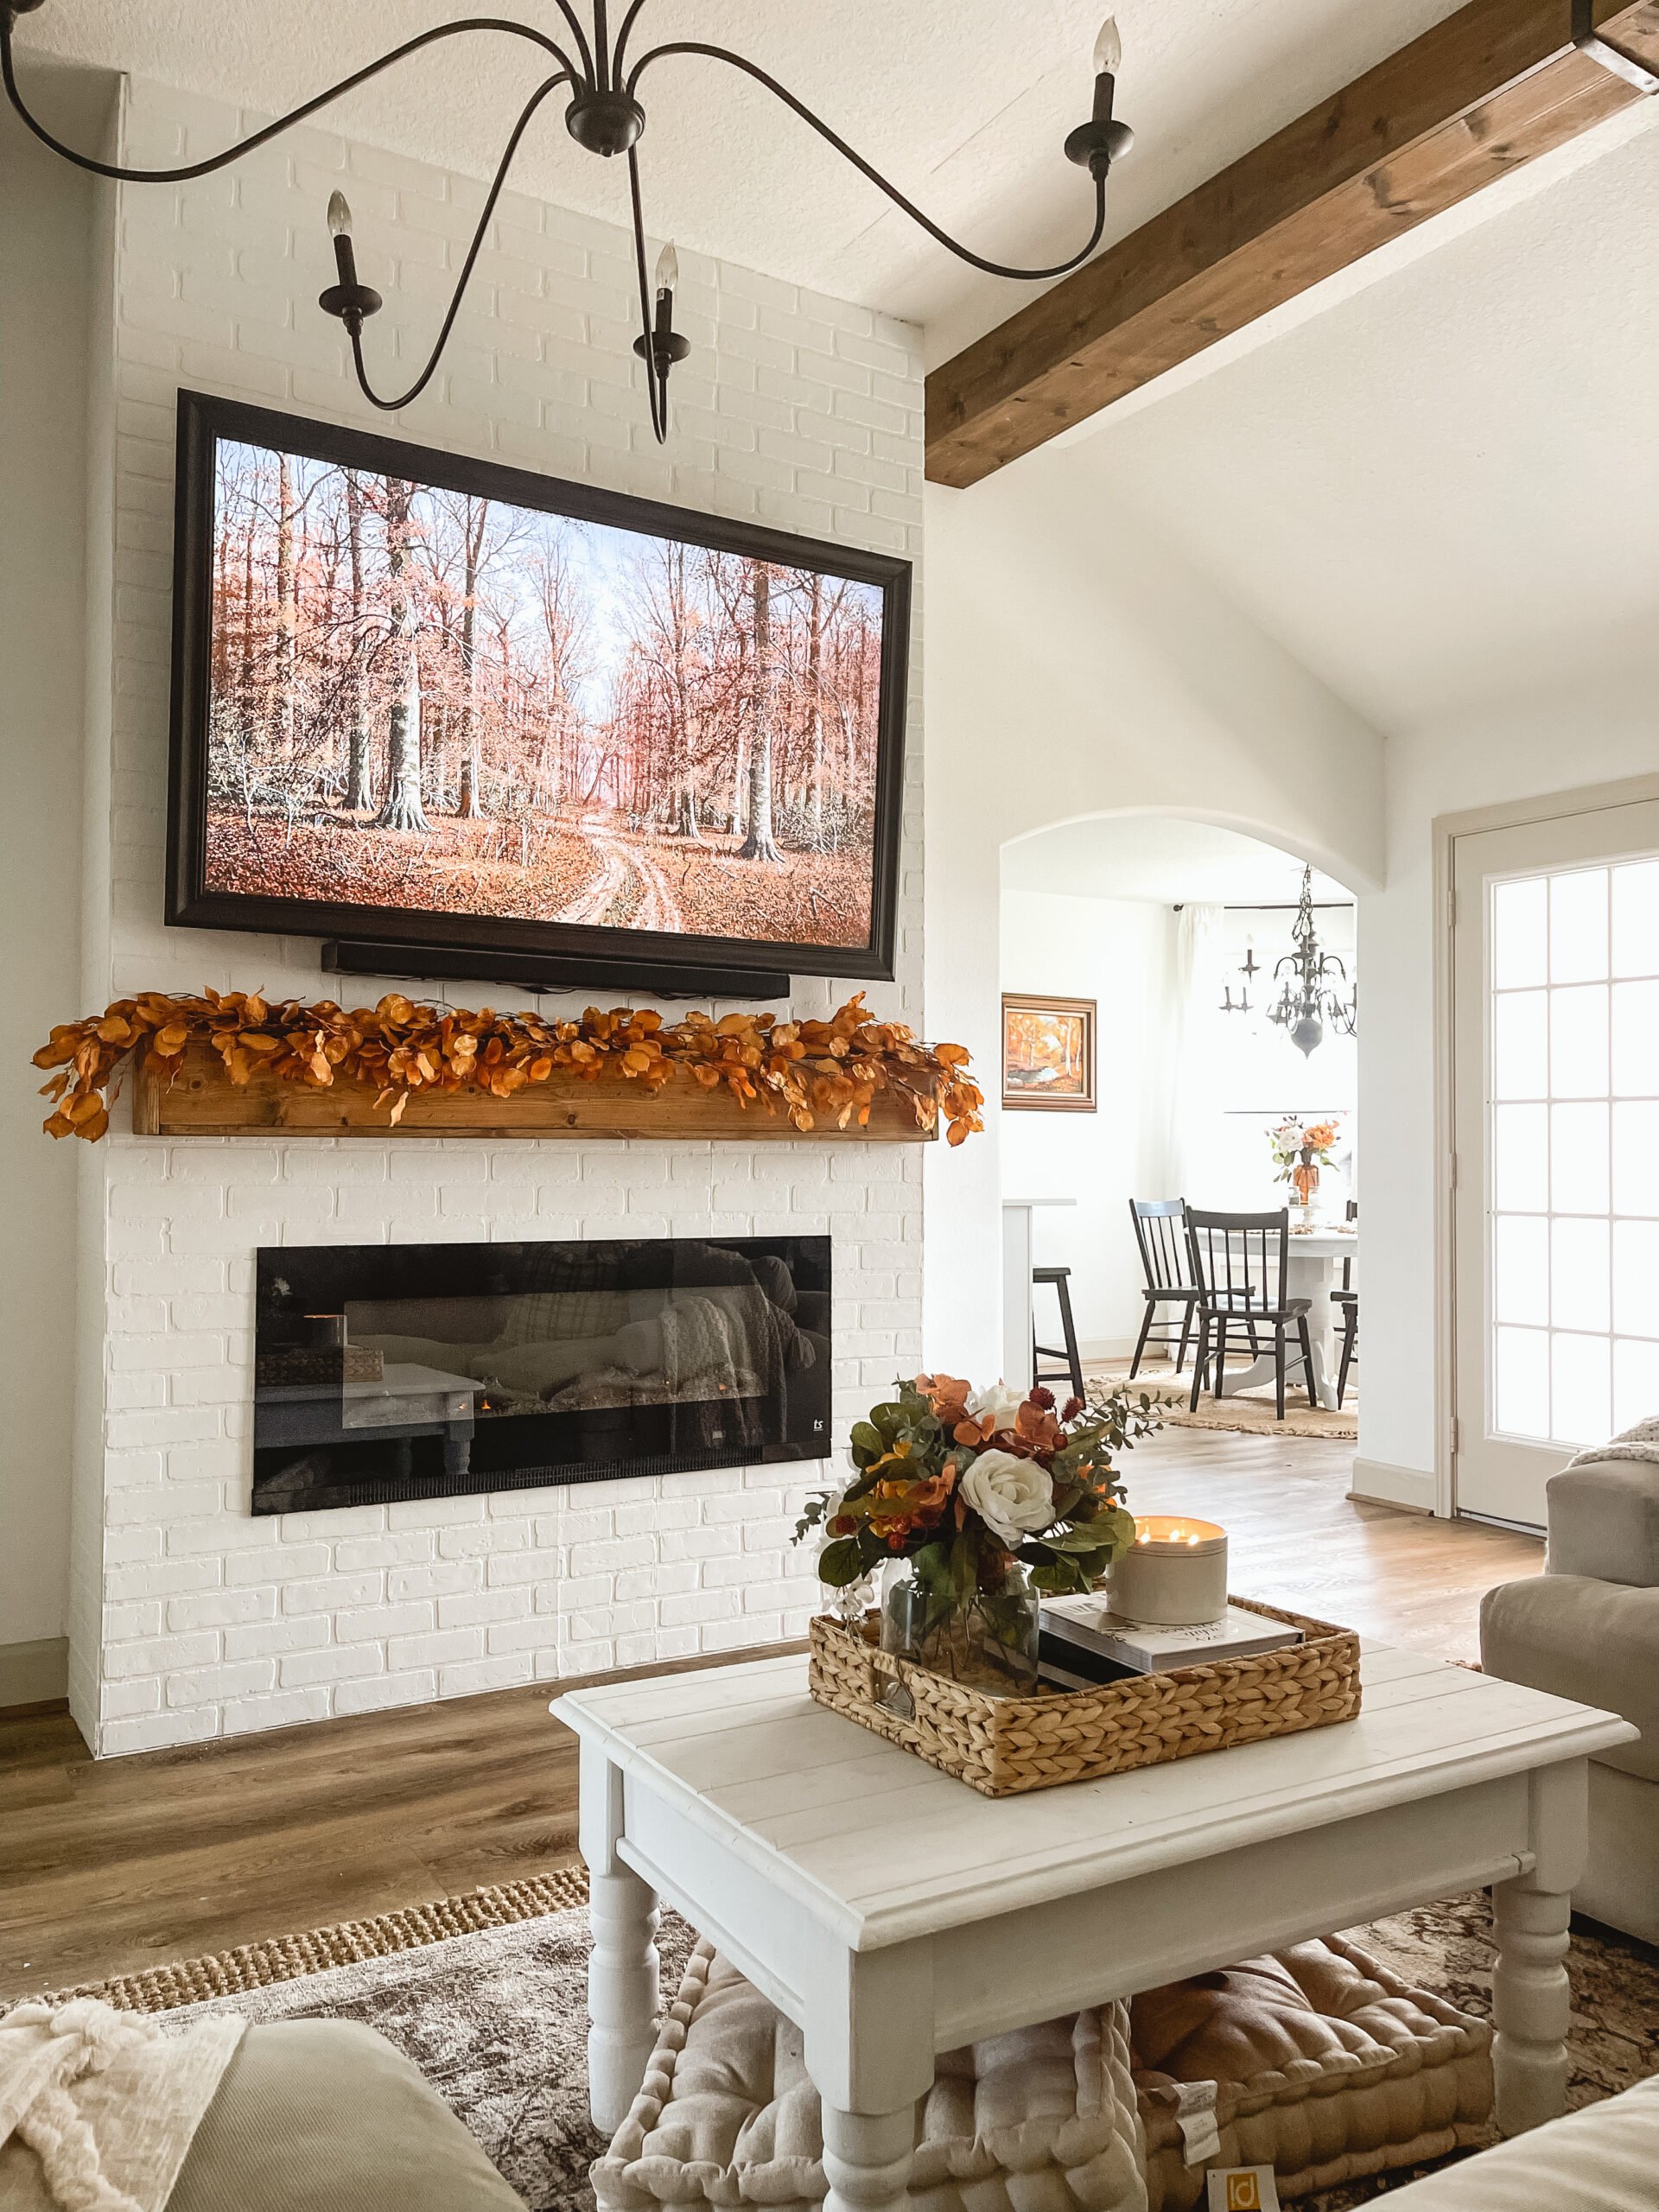
I have always wanted to make a seasonal fabric garland, and I had no idea how incredibly easy they are to put together. Honestly, I wish I would have done this sooner! It adds the perfect touch of cozy, festive charm to any mantle, doorway, or shelf.
If you are looking for a simple, budget-friendly fall decor project to warm up your space, this is the perfect afternoon craft.
Supplies Needed for Your DIY Garland
You only need a few basic crafting supplies to bring this autumn look to life.
- Ribbon or Fabric: Using fabric is generally a cheaper route, but I love using a mix of both for added texture. Great places to find affordable options include Walmart, Hobby Lobby, Michaels, Joann, or even Dollar Tree!
- Fabric Scissors: For clean, easy cuts.
- Twine: A sturdy base to tie your fabric onto.
Step-by-Step Directions
1. Measure and Cut Your Twine
Before cutting your fabric, figure out where your garland will go. I recommend going ahead and hanging the twine exactly where you plan to display the finished piece. This allows you to get the precise length and drape for your garland before you start tying.
2. Cut Your Fabric and Ribbon
I find it much easier to cut all the fabric and ribbon strips first so you can tie them all at once.
- Pro Tip: Cut your strips into various lengths ranging from 20″ to 26″. Using different lengths gives the garland more character, volume, and helps create a beautiful layered look.
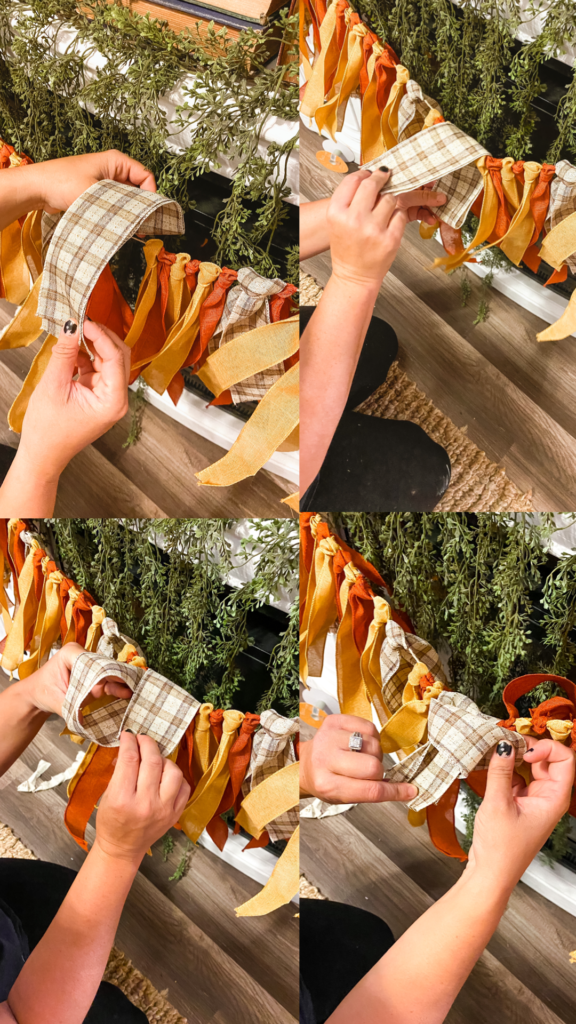
3. Tie the Knots
Once your twine is hung and your strips are cut, begin tying your ribbon and fabric pieces directly onto the twine.
4. Layer and Adjust
Continue tying and pushing the knots close together to hide the twine base. Alternate your colors, patterns, and textures as you go to build a cohesive, layered look. Fluff the fabric out until you are happy with how it hangs!
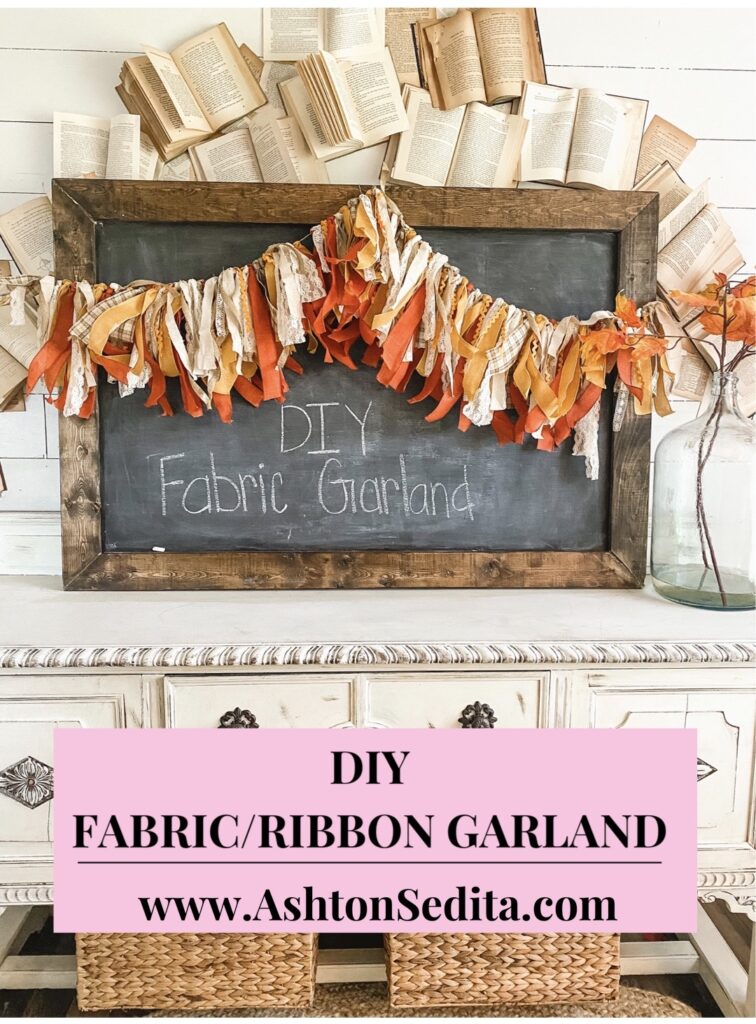
Show Off Your Fall Decor!
This garland is such a fun way to bring those warm, rustic autumn tones indoors. As always, if you create your own garland, please tag me on Instagram so I can see your beautiful creations!
Instagram: @ashtonsedita
Follow me onInstagram| Pinterest|TikTok | YouTube

I really love how this turned out. Great job👍
You are seriously so creative! I love this garland!
You’ve inspired me to complete my fall garland! I’ll share it when it’s done!
I think you just inspired me to decorate for the fall! I have made several garlands but I LOVE that one!!