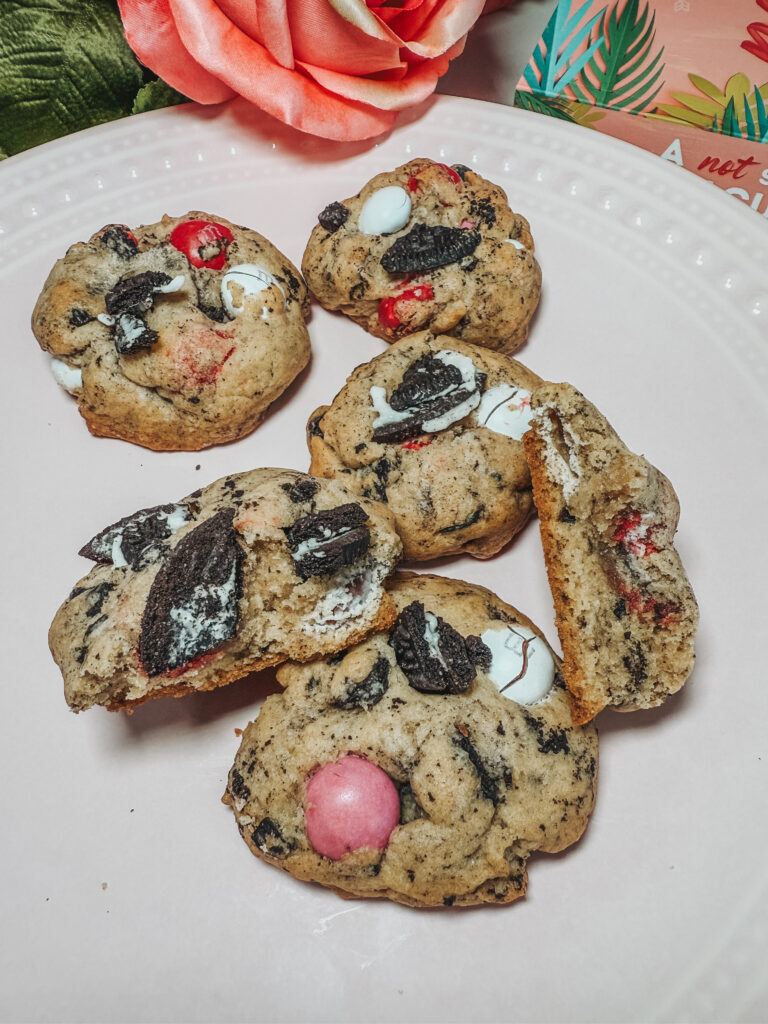
Valentine’s Oreo & M&M Cookies: The Ultimate Festive Treat Recipe

Valentine’s Day is the perfect excuse to bake cookies that not only taste amazing but also look festive. And trust me, these Valentine’s Oreo & M&M cookies are a game-changer! Soft, chewy, and loaded with fun mix-ins, they’re the perfect treat for a romantic movie night or kids’ Valentine’s parties. Or let’s be honest—just eating straight out of the pan is good too.
There’s something so nostalgic about the smell of cookies baking in the oven—it’s like a little love letter to yourself. And these Valentine’s Oreo & M&M cookies? Packed with colorful Valentine’s Day M&Ms and crushed Oreo pieces, they’re guaranteed to bring a smile to anyone who takes a bite.
But the best part? These cookies are ridiculously easy to make. I’m talking “whip them up on a whim” kind of easy. No complicated techniques, no fancy tools (although my Drew Barrymore mixer does deserve an honorable mention), and no stress. Plus, the versatility of this recipe makes it a go-to for every holiday—not just Valentine’s Day. So, let’s grab our aprons and get baking!
Why I Love This Recipe
Let me tell you why this recipe is a winner in my house:
• It’s festive but simple. Also, who doesn’t love a recipe that looks like it took hours but really came together in under 30 minutes?
• It’s customizable. You can swap out the M&Ms for any seasonal colors. Red and green are perfect for Christmas. You can use pastel for Easter, or classic for year-round fun.
But enough about my cookie obsession. Let’s dive into the recipe so you can make these for yourself. You might even share a few, if you’re feeling generous.
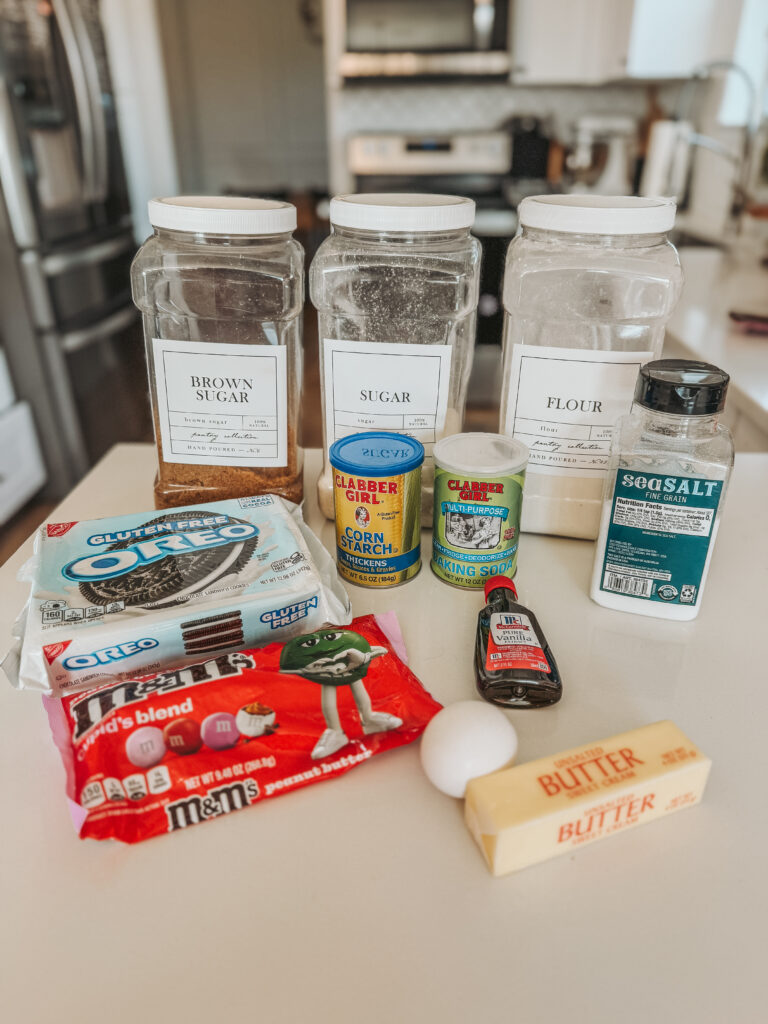
Ingredients
• Wet Ingredients:
• ½ cup unsalted butter, softened
• ½ cup brown sugar
• ¼ cup granulated sugar
• 1 egg
• 1 teaspoon vanilla extract
• Dry Ingredients:
• 1 ⅓ cups flour
• 1 tablespoon cornstarch
• ½ teaspoon baking soda
• ½ teaspoon salt
• Mix-ins:
• ⅔ cup Valentine’s Day M&Ms
• 7 Oreos (not double-stuffed!)
Step-by-Step Instructions
- Preheat the Oven:
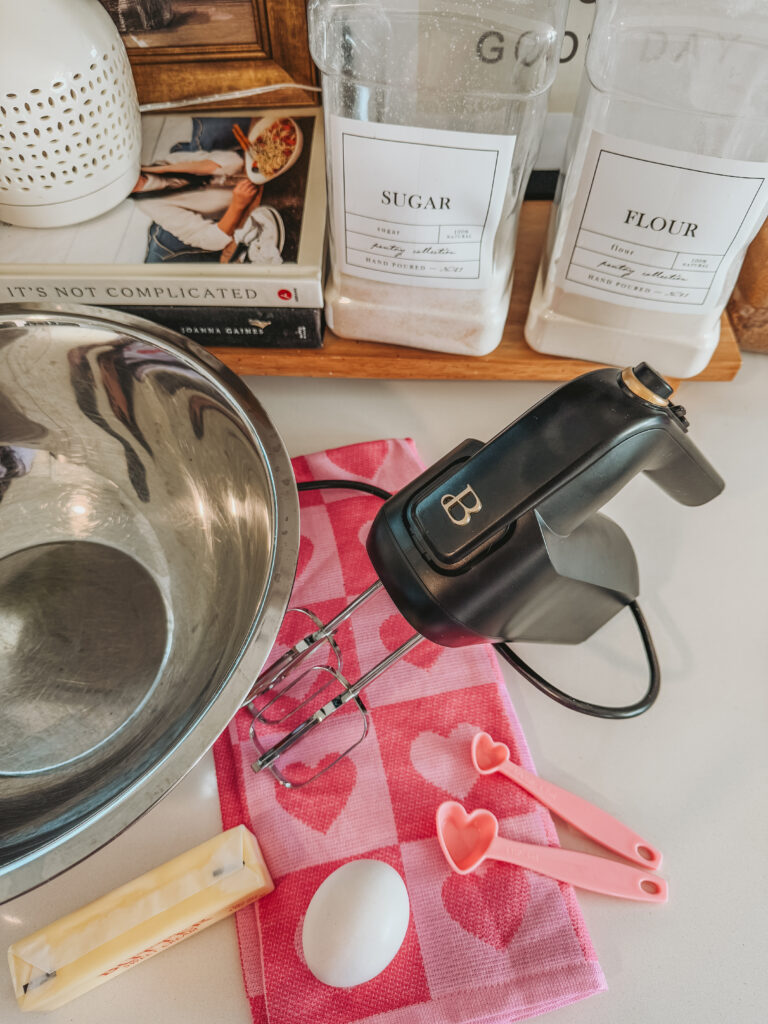
Preheat to 350°F and grease your baking sheet with baking spray. - Cream the Sugars:
In a large mixing bowl (I used my Drew Barrymore mixer—linking it [here]), cream together the softened butter, brown sugar, and granulated sugar until smooth. This step is key for that perfect chewy texture! - Add Wet Ingredients:
Mix in the egg and vanilla extract until fully combined. - Combine Dry Ingredients:
Gradually add the flour, cornstarch, baking soda, and salt to the wet mixture. Mix until just combined—don’t overmix! - Fold in the Fun:
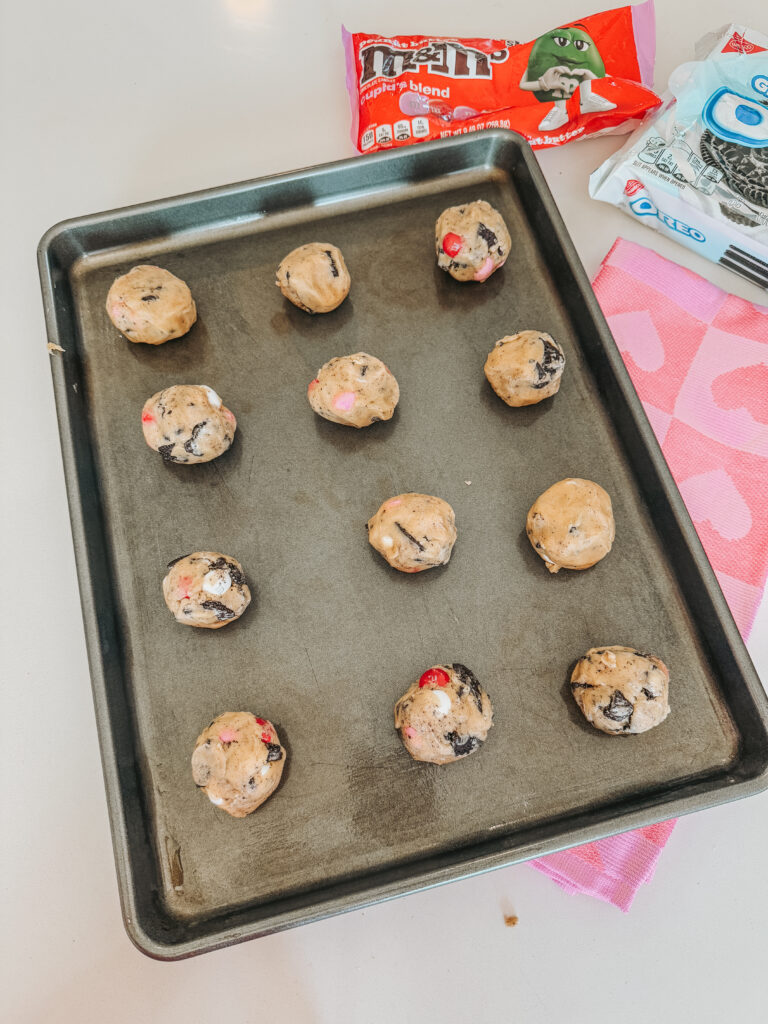
Gently fold in the M&Ms and Oreo pieces. (Pro tip: Crush your Oreos into medium-sized chunks so every bite has the perfect Oreo-to-cookie ratio.) - Scoop and Shape:
Use a large cookie scoop (or your hands—let’s not overcomplicate this!) to form 10 even cookie dough balls. Place them on your baking sheet, leaving space to spread. - Bake:
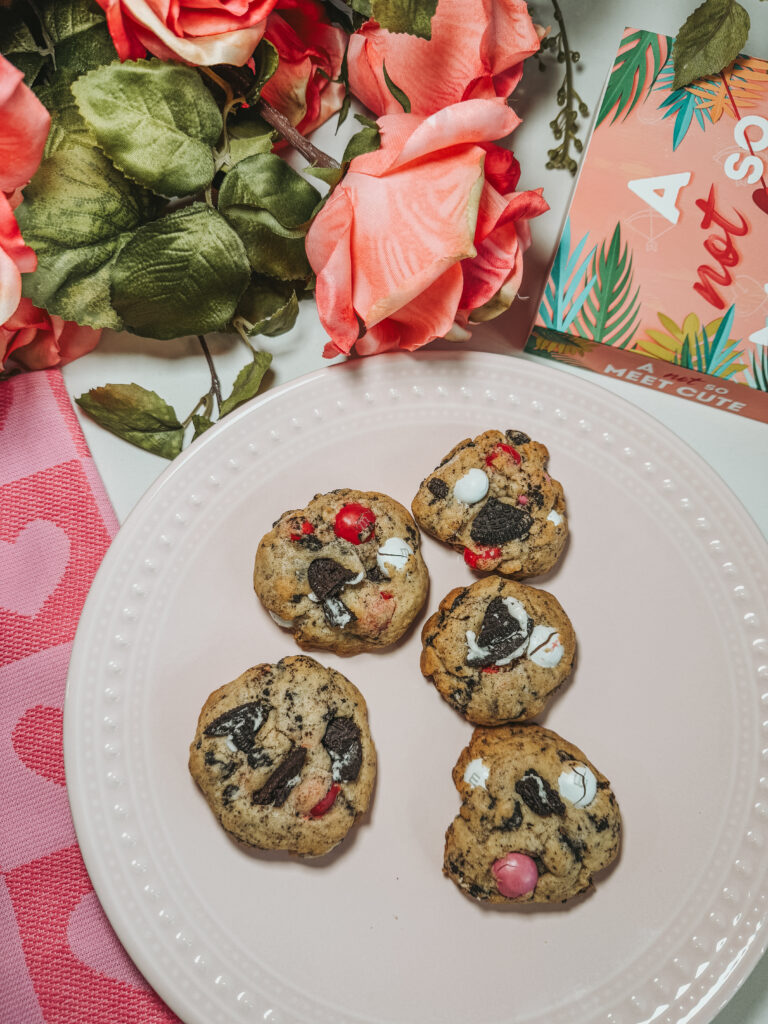
Bake for 13 minutes. The cookies will look slightly underbaked when you take them out—that’s perfect! They’ll continue to cook as they cool. - Cool and Enjoy:
Let the cookies cool on the baking sheet for a few minutes before transferring them to a wire rack. Then, grab a cookie (or two) and enjoy your masterpiece!
Why These Cookies Are the Best
• Texture Goals: The perfect balance of soft, chewy, and crunchy is thanks to the M&Ms and Oreo pieces.
• Versatility: You can customize these cookies for any holiday or occasion! For instance, imagine using green and red M&Ms for Christmas. Alternatively, pastel M&Ms are great for Easter, or the classic colors for a nostalgic treat.
• Easy to Make: No fancy tools or skills are required. Even though my Drew Barrymore mixer made life easier!
Pro Tips for Perfect Cookies Every Time
• Use regular Oreos, not double-stuffed. Trust me, the extra filling makes the cookies too thick.
• Chill the dough for 15 minutes if you want slightly thicker cookies.
• Always take the cookies out of the oven when they still look soft—they’ll firm up as they cool.
How to Store
• Room Temperature: Store in an airtight container for up to 5 days (if they last that long!).
• Freezer: Freeze the dough balls for up to 3 months. Just bake straight from the freezer, adding an extra minute or two to the bake time.
Recipe Variations
• Christmas Edition: Swap Valentine’s M&Ms for red and green ones.
• St. Patrick’s Day: Use green M&Ms and add a drop of peppermint extract for a minty twist.
• Classic Edition: Go for original M&Ms and Oreos for year-round nostalgia.
• February Bucket List: Pair these cookies with your Valentine’s plans from your February Bucket List.
• Loaded Baked Potato Soup: Simple dinner to cook on these cool nights.
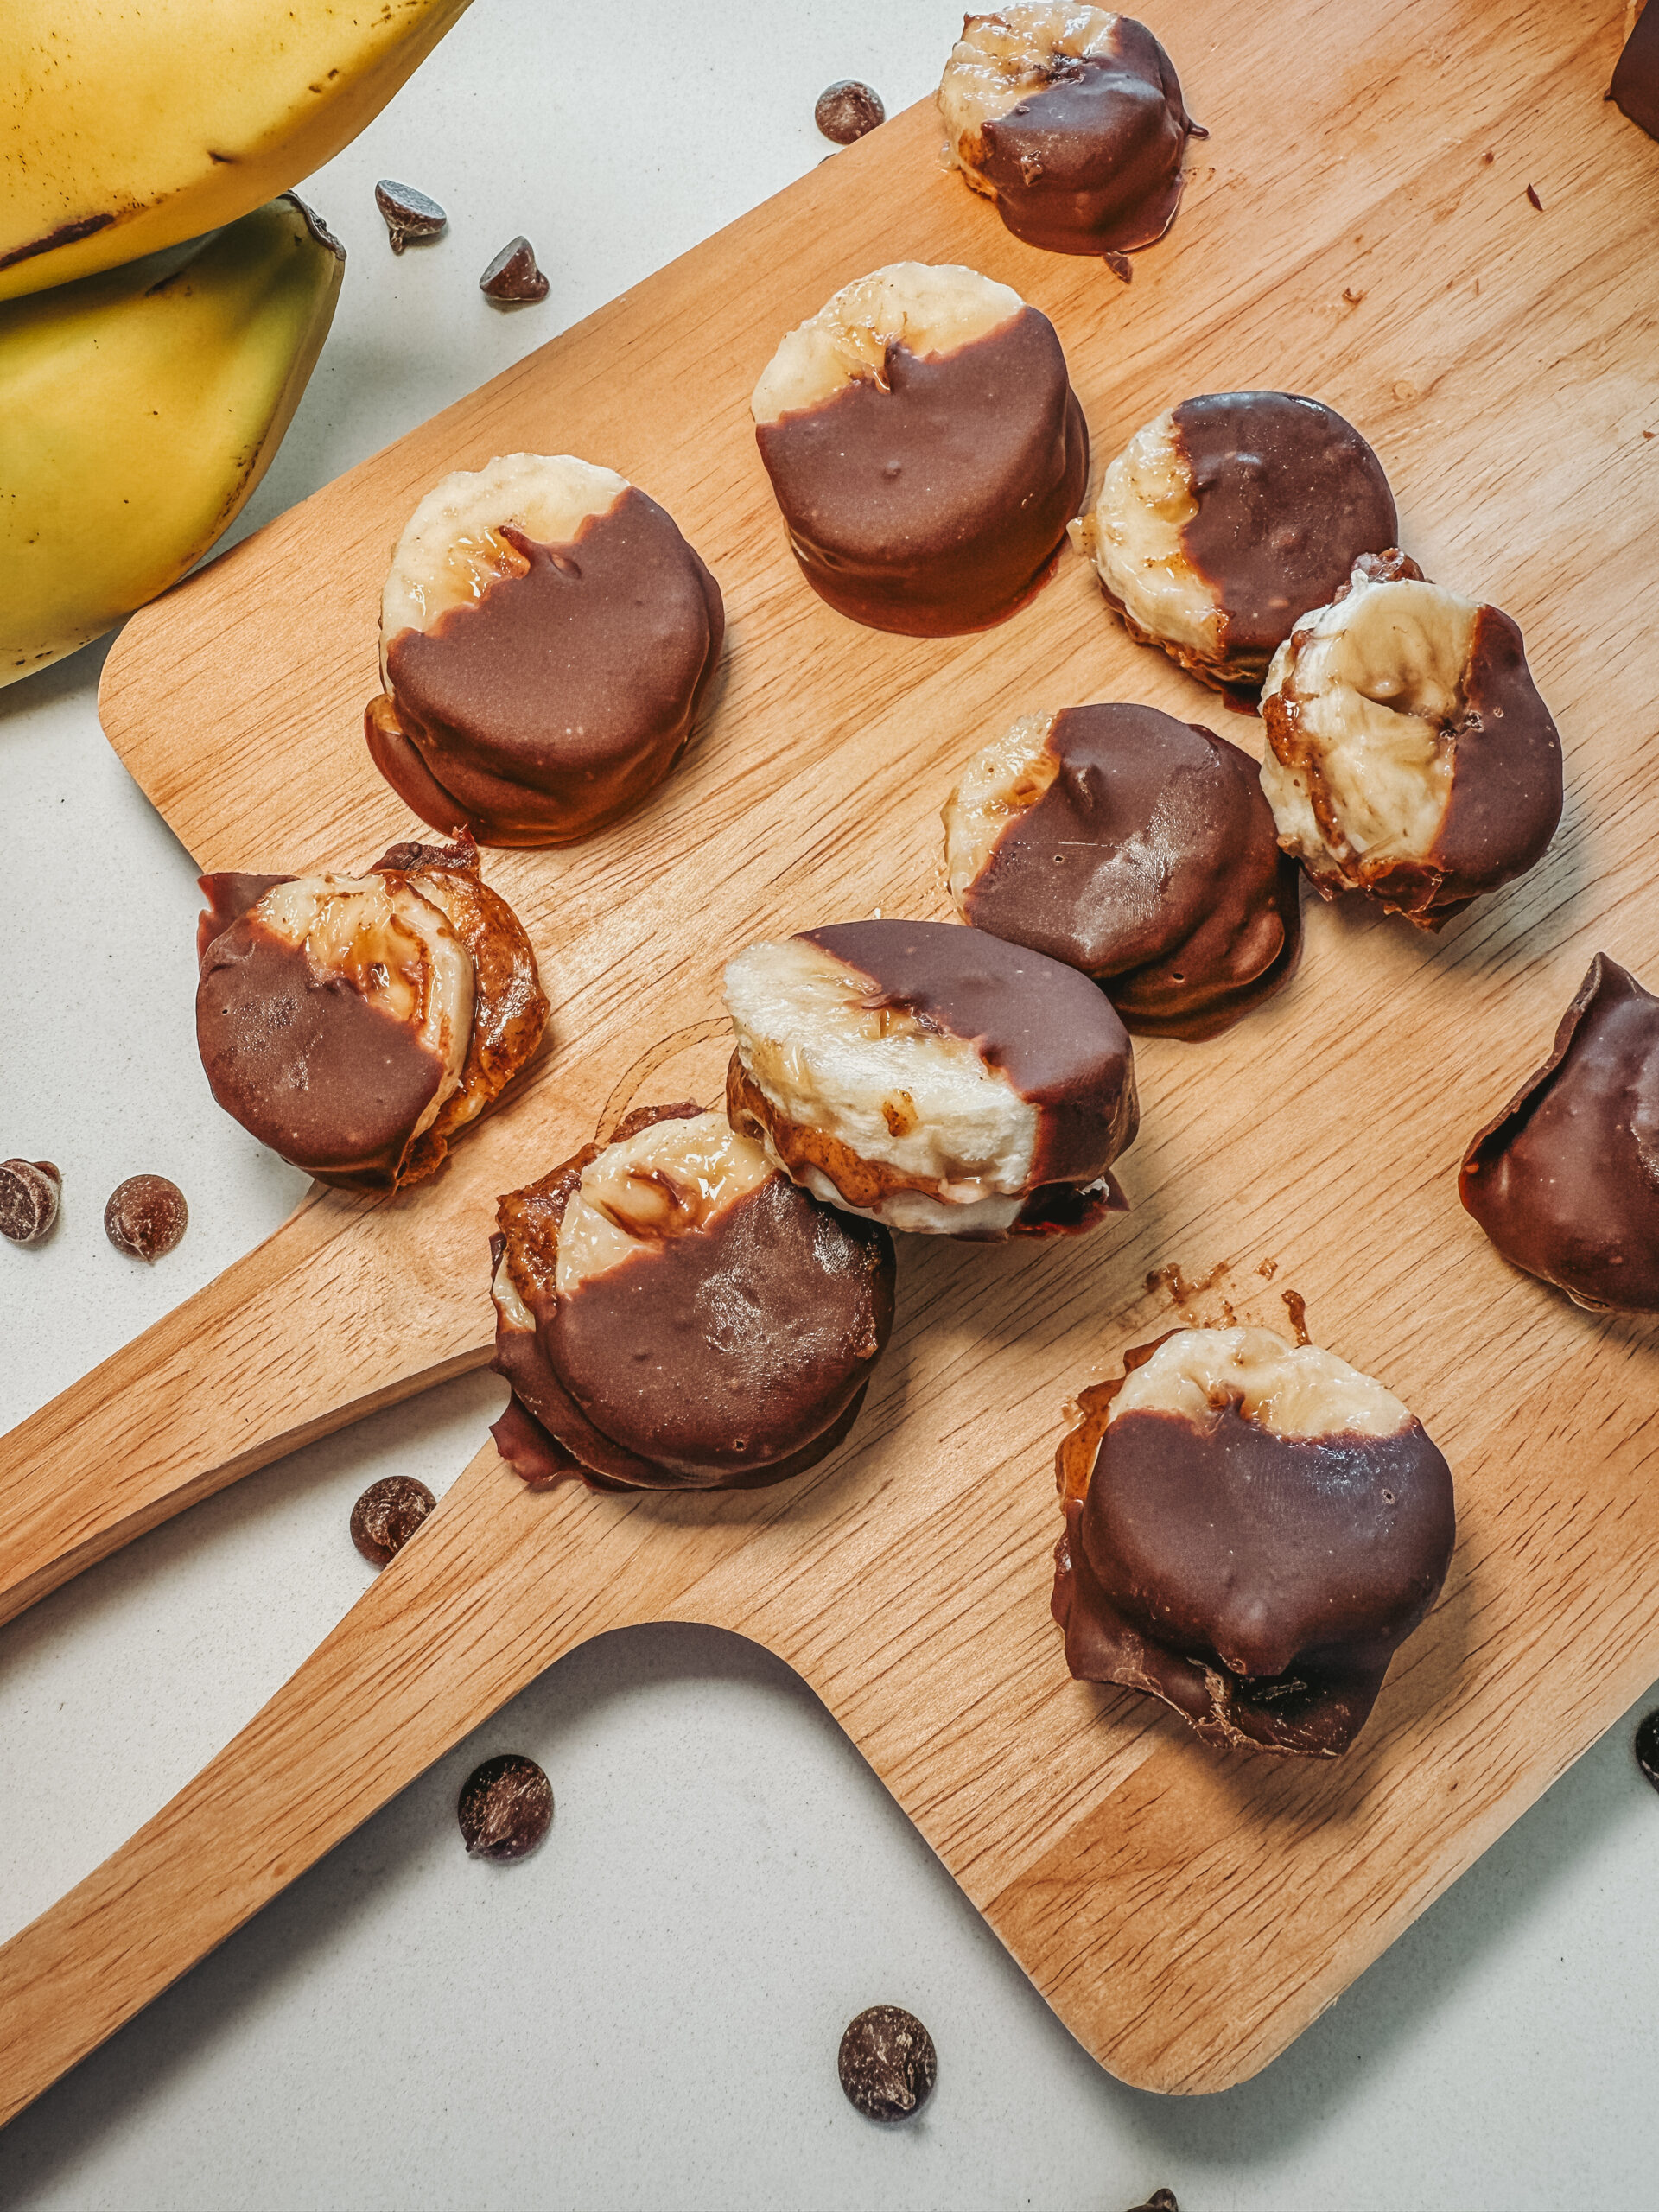
• Chocolate Strawberry Yogurt Clusters: The most delicious healthy treat & easy to make.
These Valentine’s Oreo & M&M cookies are the festive treat you need in your life! Whether you’re baking for your family, your crush, or just yourself (because self-love is real), they’re guaranteed to impress. Don’t forget to tag me on Instagram (@AshtonSedita) if you recreate these. Also, check out the blog for more festive recipes!


Valentine’s Oreo & M&M Cookies: The Ultimate Festive Treat Recipe
Ingredients
Instructions
- Preheat the Oven:
Preheat to 350°F and grease your baking sheet with baking spray. - Cream the Sugars:
In a large mixing bowl, cream together the softened butter, brown sugar, and granulated sugar until smooth. This step is key for that perfect chewy texture! - Add Wet Ingredients:
Mix in the egg and vanilla extract until fully combined. - Combine Dry Ingredients:
Gradually add the flour, cornstarch, baking soda, and salt to the wet mixture. Mix until just combined—don’t overmix! - Fold in the Fun:
Gently fold in the M&Ms and Oreo pieces. (Pro tip: Crush your Oreos into medium-sized chunks so every bite has the perfect Oreo-to-cookie ratio.) - Scoop and Shape:
Use a large cookie scoop (or your hands—let’s not overcomplicate this!) to form 10 even cookie dough balls. Place them on your baking sheet, leaving space to spread. - Bake:
Bake for 13 minutes. The cookies will look slightly underbaked when you take them out—that’s perfect! They’ll continue to cook as they cool. - Cool and Enjoy:
Let the cookies cool on the baking sheet for a few minutes before transferring them to a wire rack. Then, grab a cookie (or two) and enjoy your masterpiece!