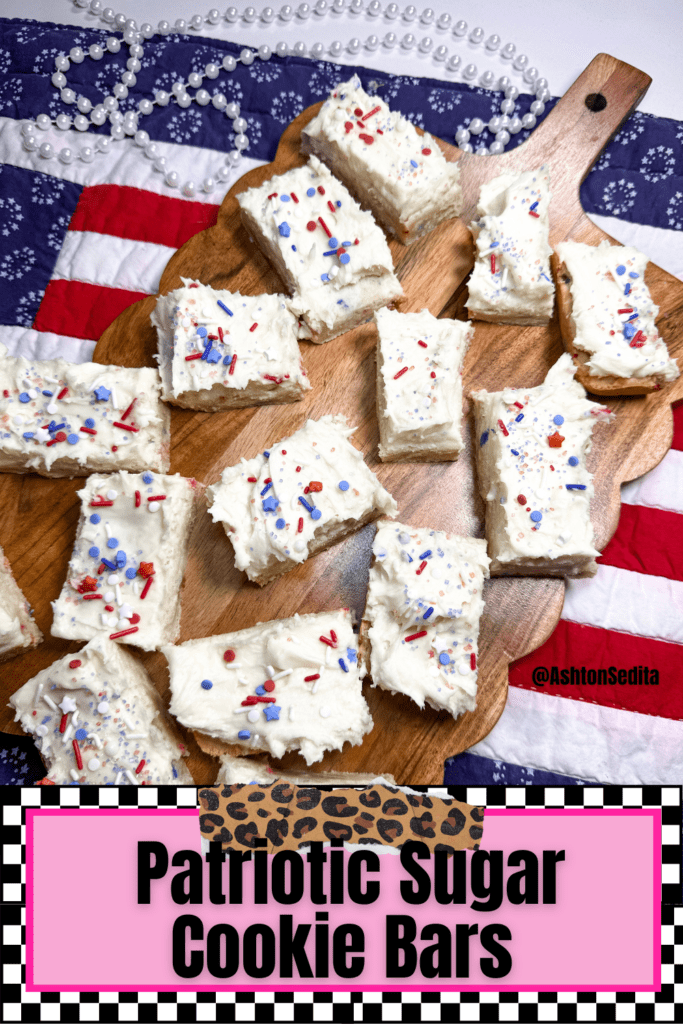
The Ultimate Patriotic Sugar Cookie Bars
Hello everyone, welcome back to the blog! If you are on the hunt for the absolute perfect, crowd-pleasing, melt-in-your-mouth dessert for your next summer gathering, you have just struck gold. Today, we are diving deep into my all-time favorite summer baking obsession: Patriotic Sugar Cookie Bars.
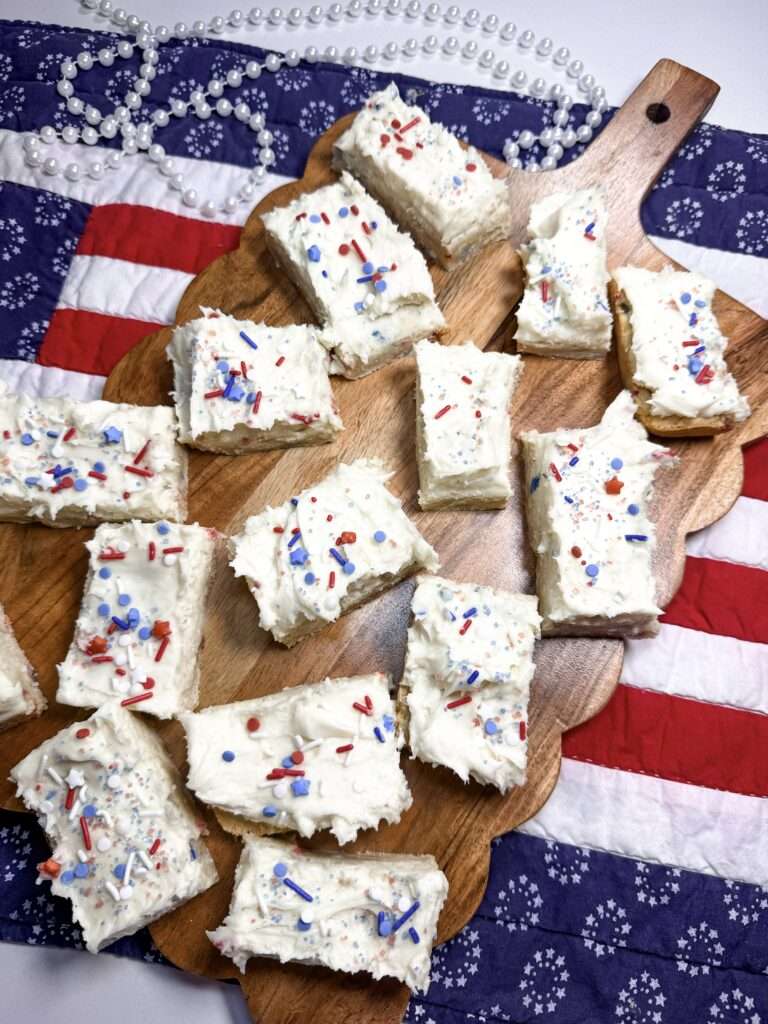
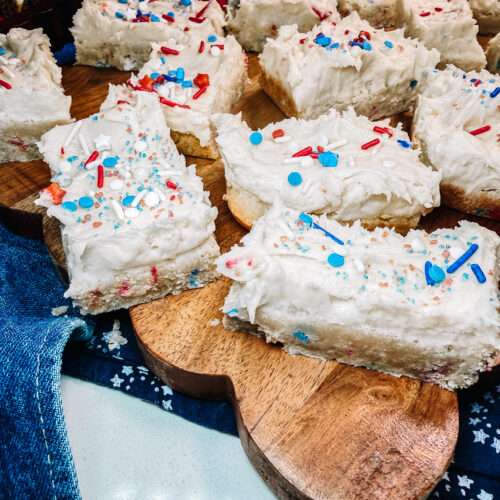
Whether you are gearing up for Memorial Day, the 4th of July, Labor Day, or you simply want to bring a pop of vibrant red, white, and blue to a neighborhood potluck, these thick, chewy, supremely soft sugar cookie bars topped with a rich, tangy cream cheese frosting are going to make you the star of the dessert table.
I’ve been testing and tweaking this recipe, and I am so incredibly excited to share it with you today. Not only am I going to give you the step-by-step instructions, but I am also going to share the exact tools I use, tips, and why a little stint in the refrigerator makes these bars go from “really good” to “absolutely mind-blowing.”
Grab a cup of coffee (or a glass of iced tea!), get cozy, and let’s get ready to bake the most festive, delicious patriotic sugar cookie bars you will ever eat!
Why You Will Fall in Love with These Patriotic Sugar Cookie Bars
Let’s be honest. Rolling out traditional sugar cookies, cutting them into shapes, and painstakingly frosting them one by one with royal icing is a labor of love. Sometimes we have the time for that, but during the busy summer months, we want maximum impact with minimum fuss.
That is exactly where these sugar cookie bars come in to save the day. Here is why this recipe is about to become your new holy grail dessert:
- No Chilling, No Rolling, No Cookie Cutters: You press the dough right into the pan. It is brilliantly simple and saves you hours of prep and cleanup time.
- The Texture is Pure Perfection: Because we bake these in a pan, the edges get just perfectly golden while the center remains incredibly soft, dense, and chewy—exactly how a sugar cookie should be.
- The Upgraded Frosting: Traditional recipes call for a standard buttercream or a tiny bit of cream cheese. I completely rebelled against the norm and bumped the cream cheese up to a full 4 ounces. This cuts the sweetness of the powdered sugar and creates a luscious, velvety, tangy frosting that perfectly balances the sweet cookie base.
- They Are Better COLD: Yes, you read that right! I am going to talk more about this later, but serving these straight out of the fridge elevates the texture to a dense, fudge-like consistency that is incredibly refreshing on a hot summer day.
- Completely Customizable: While we are using red, white, and blue sprinkles for a patriotic theme today, you can easily swap out the sprinkles to match any holiday, birthday, or baby shower theme!
The Secret to Perfect Baking: The “Softened Butter” Masterclass
Before we even look at the ingredients list, we need to have a serious heart-to-heart about the most crucial element of this entire recipe: softened butter.
In both the cookie dough and the frosting, the recipe calls for softened butter. If you try to use cold butter straight from the fridge, your dough will be crumbly, and your frosting will be lumpy. If you melt your butter in the microwave until it’s liquid, your cookies will turn out greasy, flat, and tough, and your frosting will be a soupy mess.
What does “softened” actually mean? Room temperature, softened butter should be around 65°F to 67°F. When you press your finger into the stick of butter, it should make an indentation easily, but the stick should still hold its shape completely. Your finger should not slide right through to the plate, and the butter should not look shiny or greasy.
My Top Tips for Softening Butter Quickly & Safely:
Life happens, and sometimes we forget to take the butter out of the fridge an hour before we want to bake. Here are my favorite hacks for softening butter perfectly every single time:
- The Cube Method (My Favorite): Cut your cold butter into small, 1/2-inch cubes and spread them out on a plate. Because you are increasing the surface area, the butter will soften at room temperature in about 15 to 20 minutes!
- The Warm Glass Method: Pour boiling water into a tall glass or a mason jar. Let it sit for 5 minutes so the glass gets nice and hot. Dump the water out, quickly dry the inside of the glass, and invert the hot glass over your stick of cold butter (standing on its end). The residual heat trapped in the glass will soften the butter in about 10 minutes without melting it.
- The Rolling Pin Method: Place your stick of cold butter between two pieces of parchment paper and whack it a few times with a rolling pin to flatten it out. The friction and the flattened shape will bring it to room temp almost instantly.
- What to Avoid: Please, I am begging you, step away from the microwave! Even on the “defrost” setting, microwaves heat unevenly and will melt the center of your butter before the outside is soft.
Remember: The cream cheese for the frosting needs to be softened, too! Use the cube method for the cream cheese to get it ready quickly.
The Ingredient Lineup: What You Need and Why
Baking is a science, and understanding your ingredients is the first step to becoming a powerhouse baker. Let’s break down exactly what goes into these patriotic sugar cookie bars.
For the Sugar Cookie Base:
- 1 Stick (1/2 cup) Salted Butter, Softened: I prefer using salted butter in my baking because it naturally enhances the flavors and balances the sweetness. If you only have unsalted butter, just add 1/4 teaspoon of salt to your dry ingredients!
- 1 Cup Granulated Sugar: This provides the classic, clean sweetness and the tender crumb structure of our cookie bars.
- 1 Large Egg: Your egg should also be at room temperature! A cold egg will shock your softened butter and cause your batter to curdle. (Pro tip: place your cold egg in a bowl of warm water for 5 minutes to bring it to room temp quickly).
- 1 Teaspoon Vanilla Extract: Always use pure vanilla extract, not imitation, for the best flavor.
- 2 Cups All-Purpose Flour: Make sure to measure your flour correctly. Spoon the flour into your measuring cup and level it off with a butter knife. If you scoop directly from the bag, you will pack too much flour into the cup, resulting in dry, crumbly bars.
- 1 Teaspoon Baking Powder: This is our leavening agent. It gives the bars a slight lift so they are soft and thick, rather than dense and flat.
- 1/4 Cup Patriotic Sprinkles: CRITICAL TIP: You must use “jimmies” (the long, cylindrical sprinkles) or “quins” (the flat, shaped sprinkles like stars). Do NOT use nonpareils (the tiny little round balls). Nonpareils will bleed their dye into your dough the second they get wet, turning your beautiful blonde cookie dough into a muddy, streaky gray/purple mess. Stick to jimmies for perfectly distinct pops of red, white, and blue!
For the Cream Cheese Frosting:
- 2 Cups Powdered Sugar: Also known as confectioners’ sugar. This sweetens and thickens the frosting.
- 1 Stick (1/2 cup) Salted Butter, Softened: Again, this must be perfectly softened so it whips up light and fluffy.
- 4 oz Cream Cheese, Softened: Here is my secret weapon! The original recipe called for just 3 tablespoons, but I found that bumping it up to 4 ounces (half a standard block) creates a much more robust, creamy, and tangy frosting. It transforms a basic buttercream into a luxurious bakery-style topping.
- 1 Teaspoon Vanilla Extract: For that signature flavor.
- 2 Tablespoons Milk: This helps thin the frosting to a perfectly spreadable consistency. You can use whole milk, 2%, or even heavy cream if you want it extra decadent.
- Extra Red, White, and Blue Sprinkles: Because we eat with our eyes first, and we want that festive topping!
My Favorite Kitchen Equipment for This Recipe
Having the right tools makes baking so much more enjoyable. Whenever I post videos of my baking process, my inbox floods with questions about my equipment. For this recipe, these are my absolute must-haves:
- My Beautiful Drew Barrymore Handheld Mixer: I cannot say enough good things about this hand mixer! You do not need a massive, heavy stand mixer to make these bars. This hand mixer is powerful, aesthetically stunning, lightweight, and whips up my cookie dough and cream cheese frosting in absolute record time. It is an absolute staple on my kitchen counter.
- My Favorite Clear Mixing Bowls: I adore using clear glass mixing bowls. Not only do they look beautiful and professional, but they serve a highly functional purpose: you can look at the bottom and sides of the bowl to make sure you have scraped up all the hidden pockets of unmixed flour or butter!
- 9×9 Inch Metal Baking Pan: I prefer metal pans for baking bars because they conduct heat more evenly than glass or ceramic, giving you a perfectly even bake.
- Parchment Paper: Do not skip this! Creating a parchment paper “sling” allows you to lift the entire block of cookie bars out of the pan once they are cooled, making cutting them into perfect squares an absolute breeze.
Step-by-Step Instructions to Baking Brilliance
Ready to bake? Follow these steps exactly, and you will have flawless sugar cookie bars.
Step 1: Prep Your Space
Preheat your oven to 350°F (175°C). Take your 9×9 inch baking pan and line it with parchment paper. Leave a little overhang on the sides—this acts as handles later! Lightly spray the parchment with non-stick cooking spray just for extra insurance.
Step 2: Cream the Butter and Sugar
In your large clear mixing bowl, combine your properly softened butter (1/2 cup) and the granulated sugar (1 cup). Grab your hand mixer and beat them together on medium-high speed until the mixture is incredibly light, fluffy, and pale in color. Do not rush this step! It should take about 2 to 3 minutes. This process beats air into the butter, which is the secret to a tender cookie.
Step 3: Add the Wet Ingredients
Turn your mixer down to low and add in your room-temperature egg and the vanilla extract. Beat just until the egg is incorporated. Use a silicone spatula to scrape down the sides and the bottom of the bowl.
Step 4: Whisk the Dry Ingredients
In a separate, smaller bowl, whisk together the all-purpose flour (2 cups) and baking powder (1 tsp). Whisking them together first ensures the baking powder is evenly distributed, so your bars rise uniformly without weird lumps.
Step 5: Combine Wet and Dry
Slowly pour the dry ingredients into your wet butter mixture. Use your hand mixer on the lowest speed to gently mix them together. Stop mixing as soon as the last streak of flour disappears. Overmixing at this stage develops the gluten in the flour, which can make your cookie bars tough and bready instead of soft and chewy.
Step 6: Fold in the Festivity!
Pour in your 1/4 cup of patriotic jimmies. Put the electric mixer away for this part! Use your silicone spatula to gently fold the sprinkles into the dough by hand. The dough will be quite thick, almost like playdough.
Step 7: Press and Bake
Transfer the dough into your prepared 9×9 baking pan. Use your hands or the back of a flat measuring cup to press the dough out into an even layer. Take your time to get it as level as possible so it bakes evenly. Pop the pan into the oven and bake for 20 to 22 minutes. You are looking for the very edges to turn a light golden brown. The center might look slightly underdone, but that is exactly what you want! They will continue to set up in the hot pan as they cool. If you wait until the center is browned, your bars will be dry and hard.
Step 8: The Waiting Game (Cooling)
Remove the pan from the oven and set it on a wire cooling rack. You must let the bars cool completely to room temperature before frosting them. If the bars are even slightly warm, your beautiful cream cheese frosting will melt right off the sides. Patience is key!
Step 9: Make the Powerhouse Frosting
While the bars cool, let’s make the best frosting of your life. In a clean bowl, beat together your softened butter (1/2 cup) and softened cream cheese (4 oz) until completely smooth and cohesive. Add your powdered sugar (2 cups), vanilla extract (1 tsp), and milk (2 tbsp). Start your mixer on low so you don’t end up in a cloud of powdered sugar! Once incorporated, turn the speed up to high and beat for 2 full minutes until the frosting is light, airy, and spectacularly fluffy.
Step 10: Frost, Decorate, and Slice
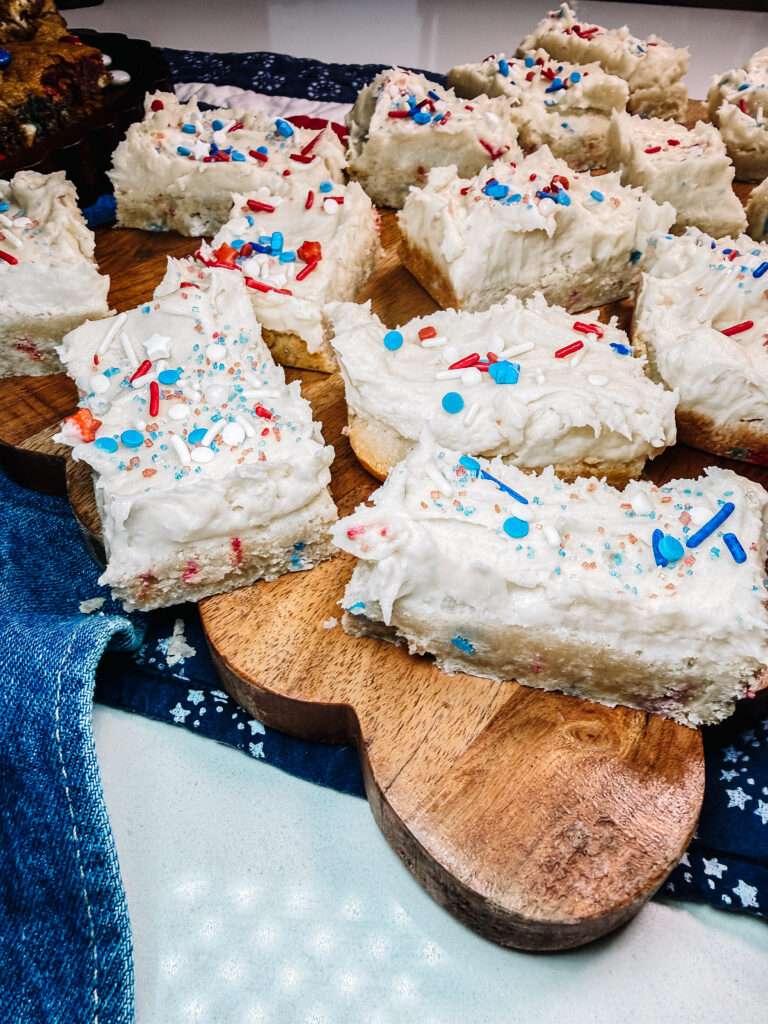
Once the cookie bars are completely cool to the touch, use your parchment paper overhang to lift the whole slab out of the pan and onto a cutting board. Dollop that magnificent frosting on top and spread it into an even, swoopy layer using an offset spatula or the back of a spoon. Liberally cover the top with your extra red, white, and blue sprinkles (feel free to mix in some star-shaped quins here for extra flair!). Use a large, sharp chef’s knife to slice the slab into even squares. Wipe the knife blade clean with a damp paper towel between each cut for those pristine, bakery-worthy edges.
THE PRO-TIP THAT CHANGES EVERYTHING: Serve Them COLD!
I promised you I would explain this, and I am telling you, this is the secret to taking these bars from an A to an A++.
You need to eat these sugar cookie bars cold. Once you have frosted and sliced your bars, arrange them in an airtight container (in a single layer, or separated by wax paper) and put them directly into the refrigerator for at least 2 hours before serving.
Why? Sugar cookies have a high butter content, and our frosting is made of butter and cream cheese. When left at room temperature on a hot July afternoon, they become very soft. But when you chill them, the butter in the cookie sets up, creating an incredibly dense, chewy, almost fudge-like texture that is absolutely to die for. Furthermore, the cream cheese frosting firms up into a cool, refreshing, cheesecake-like topping. Biting into a cold, dense sugar cookie bar with that tangy frosting on a hot summer day is a culinary revelation. Try it, and I promise you will never eat them at room temperature again!
Frequently Asked Questions (Troubleshooting Your Bake)
I want you to have massive success in the kitchen, so I have compiled the most common questions I get about making cookie bars to ensure your bake is flawless.
Can I make these bars ahead of time? Yes, absolutely! In fact, because I recommend serving them cold, they are the perfect make-ahead dessert. You can bake and frost these up to 3 days in advance. Store them in an airtight container in the refrigerator until you are ready to serve.
Can I freeze sugar cookie bars? You sure can! These freeze beautifully. You have two options:
- Freeze unfrosted: Bake the cookie slab, let it cool completely, wrap it tightly in a double layer of plastic wrap and a layer of aluminum foil, and freeze for up to 3 months. Thaw at room temperature, then make your fresh frosting and decorate.
- Freeze frosted: Slice the frosted bars, place them on a baking sheet in the freezer for an hour until the frosting is hard. Then, wrap each individual bar tightly in plastic wrap and freeze. When you have a sweet craving, unwrap a bar and let it sit on the counter for 20 minutes before enjoying!
Why did my cookie bars turn out hard and dry? This is almost always caused by one of two things: measuring the flour incorrectly (packing too much into the cup) or overbaking. Remember to spoon and level your flour, and pull the bars out of the oven when only the edges are golden brown.
Can I use a 9×13 inch pan instead? This specific recipe is designed for a 9×9 inch pan to yield thick, substantial bars. If you spread this dough into a 9×13 pan, they will be very thin and will overbake quickly. If you want to use a 9×13 pan for a larger crowd, you need to double the entire recipe! Bake time may increase slightly, so keep an eye on them.
Keep the Patriotic Party Going: More Festive Ideas!
If you are hosting a summer barbecue or holiday party, you can’t just stop at dessert! I love curating a cohesive theme for my gatherings. If you loved these sugar cookie bars, you absolutely have to check out these other posts on the blog to round out your summer celebrations:
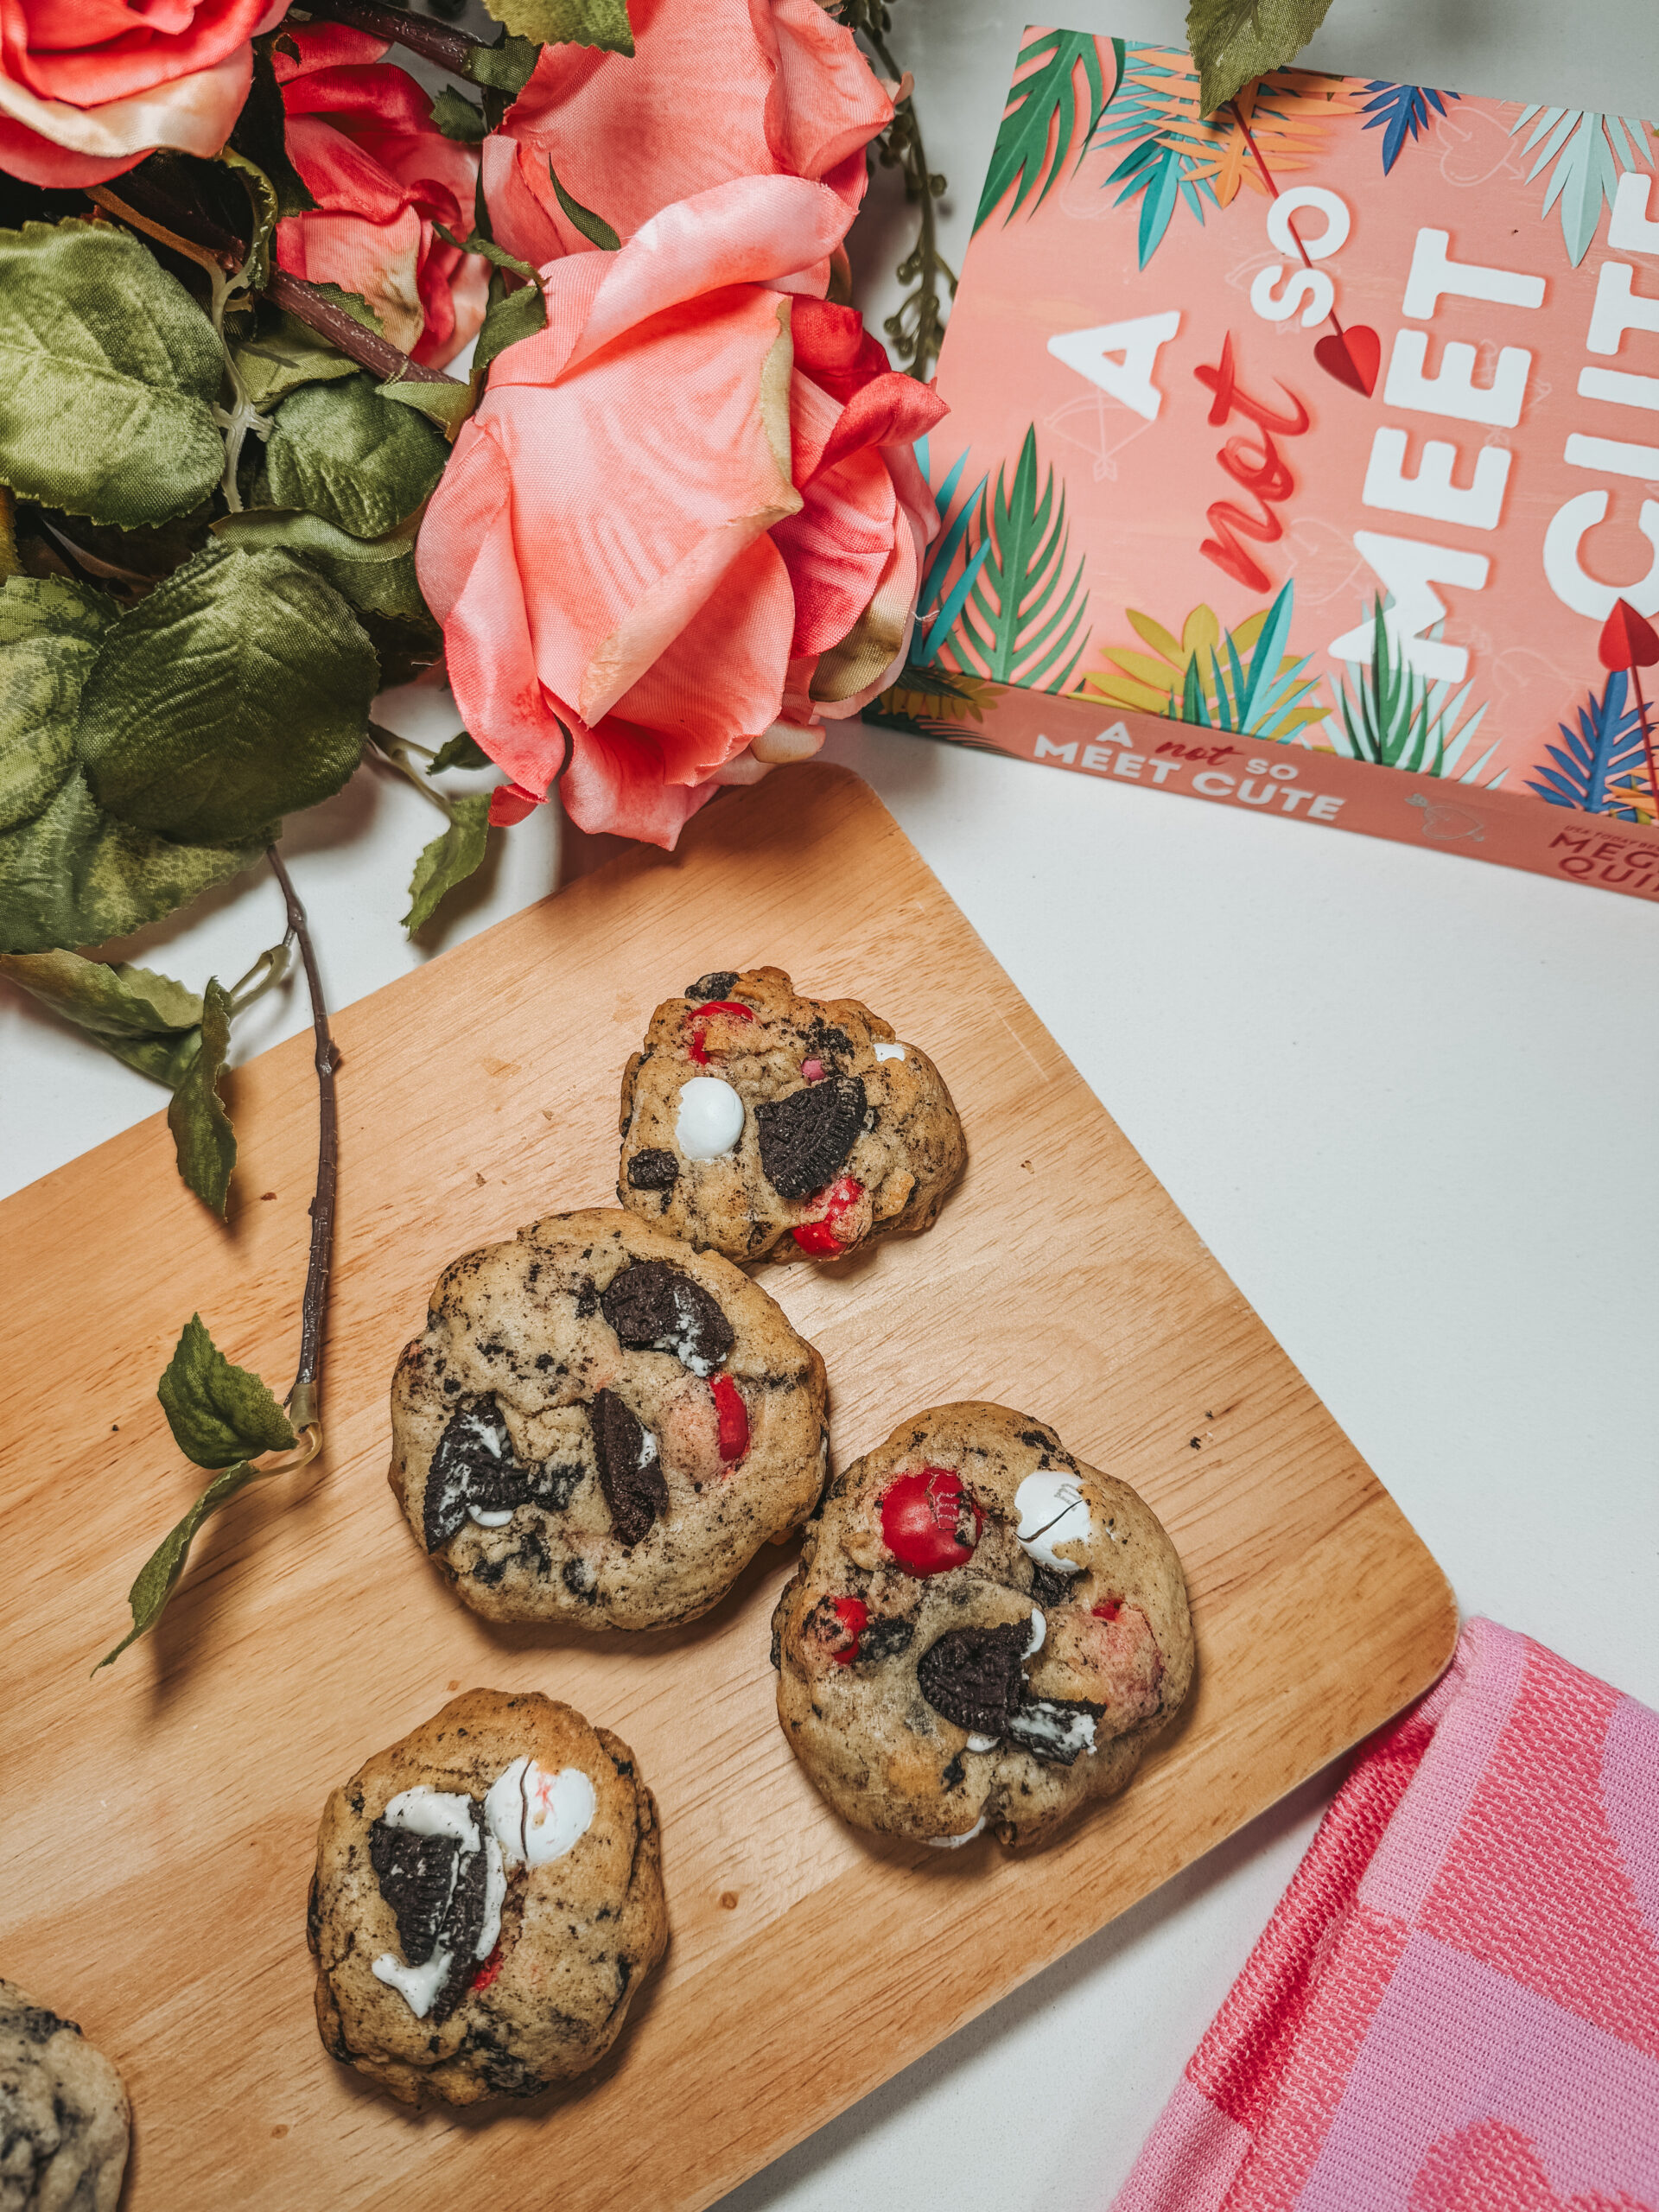
- Craving Chocolate? If you have guests who are staunch chocoholics, you have to whip up a batch of my Red White & Blue M&M Cookie Bars. They are packed with chewy oats, brown sugar, and massive handfuls of festive M&Ms. They are the perfect sister-dessert to serve alongside these sugar cookie bars!
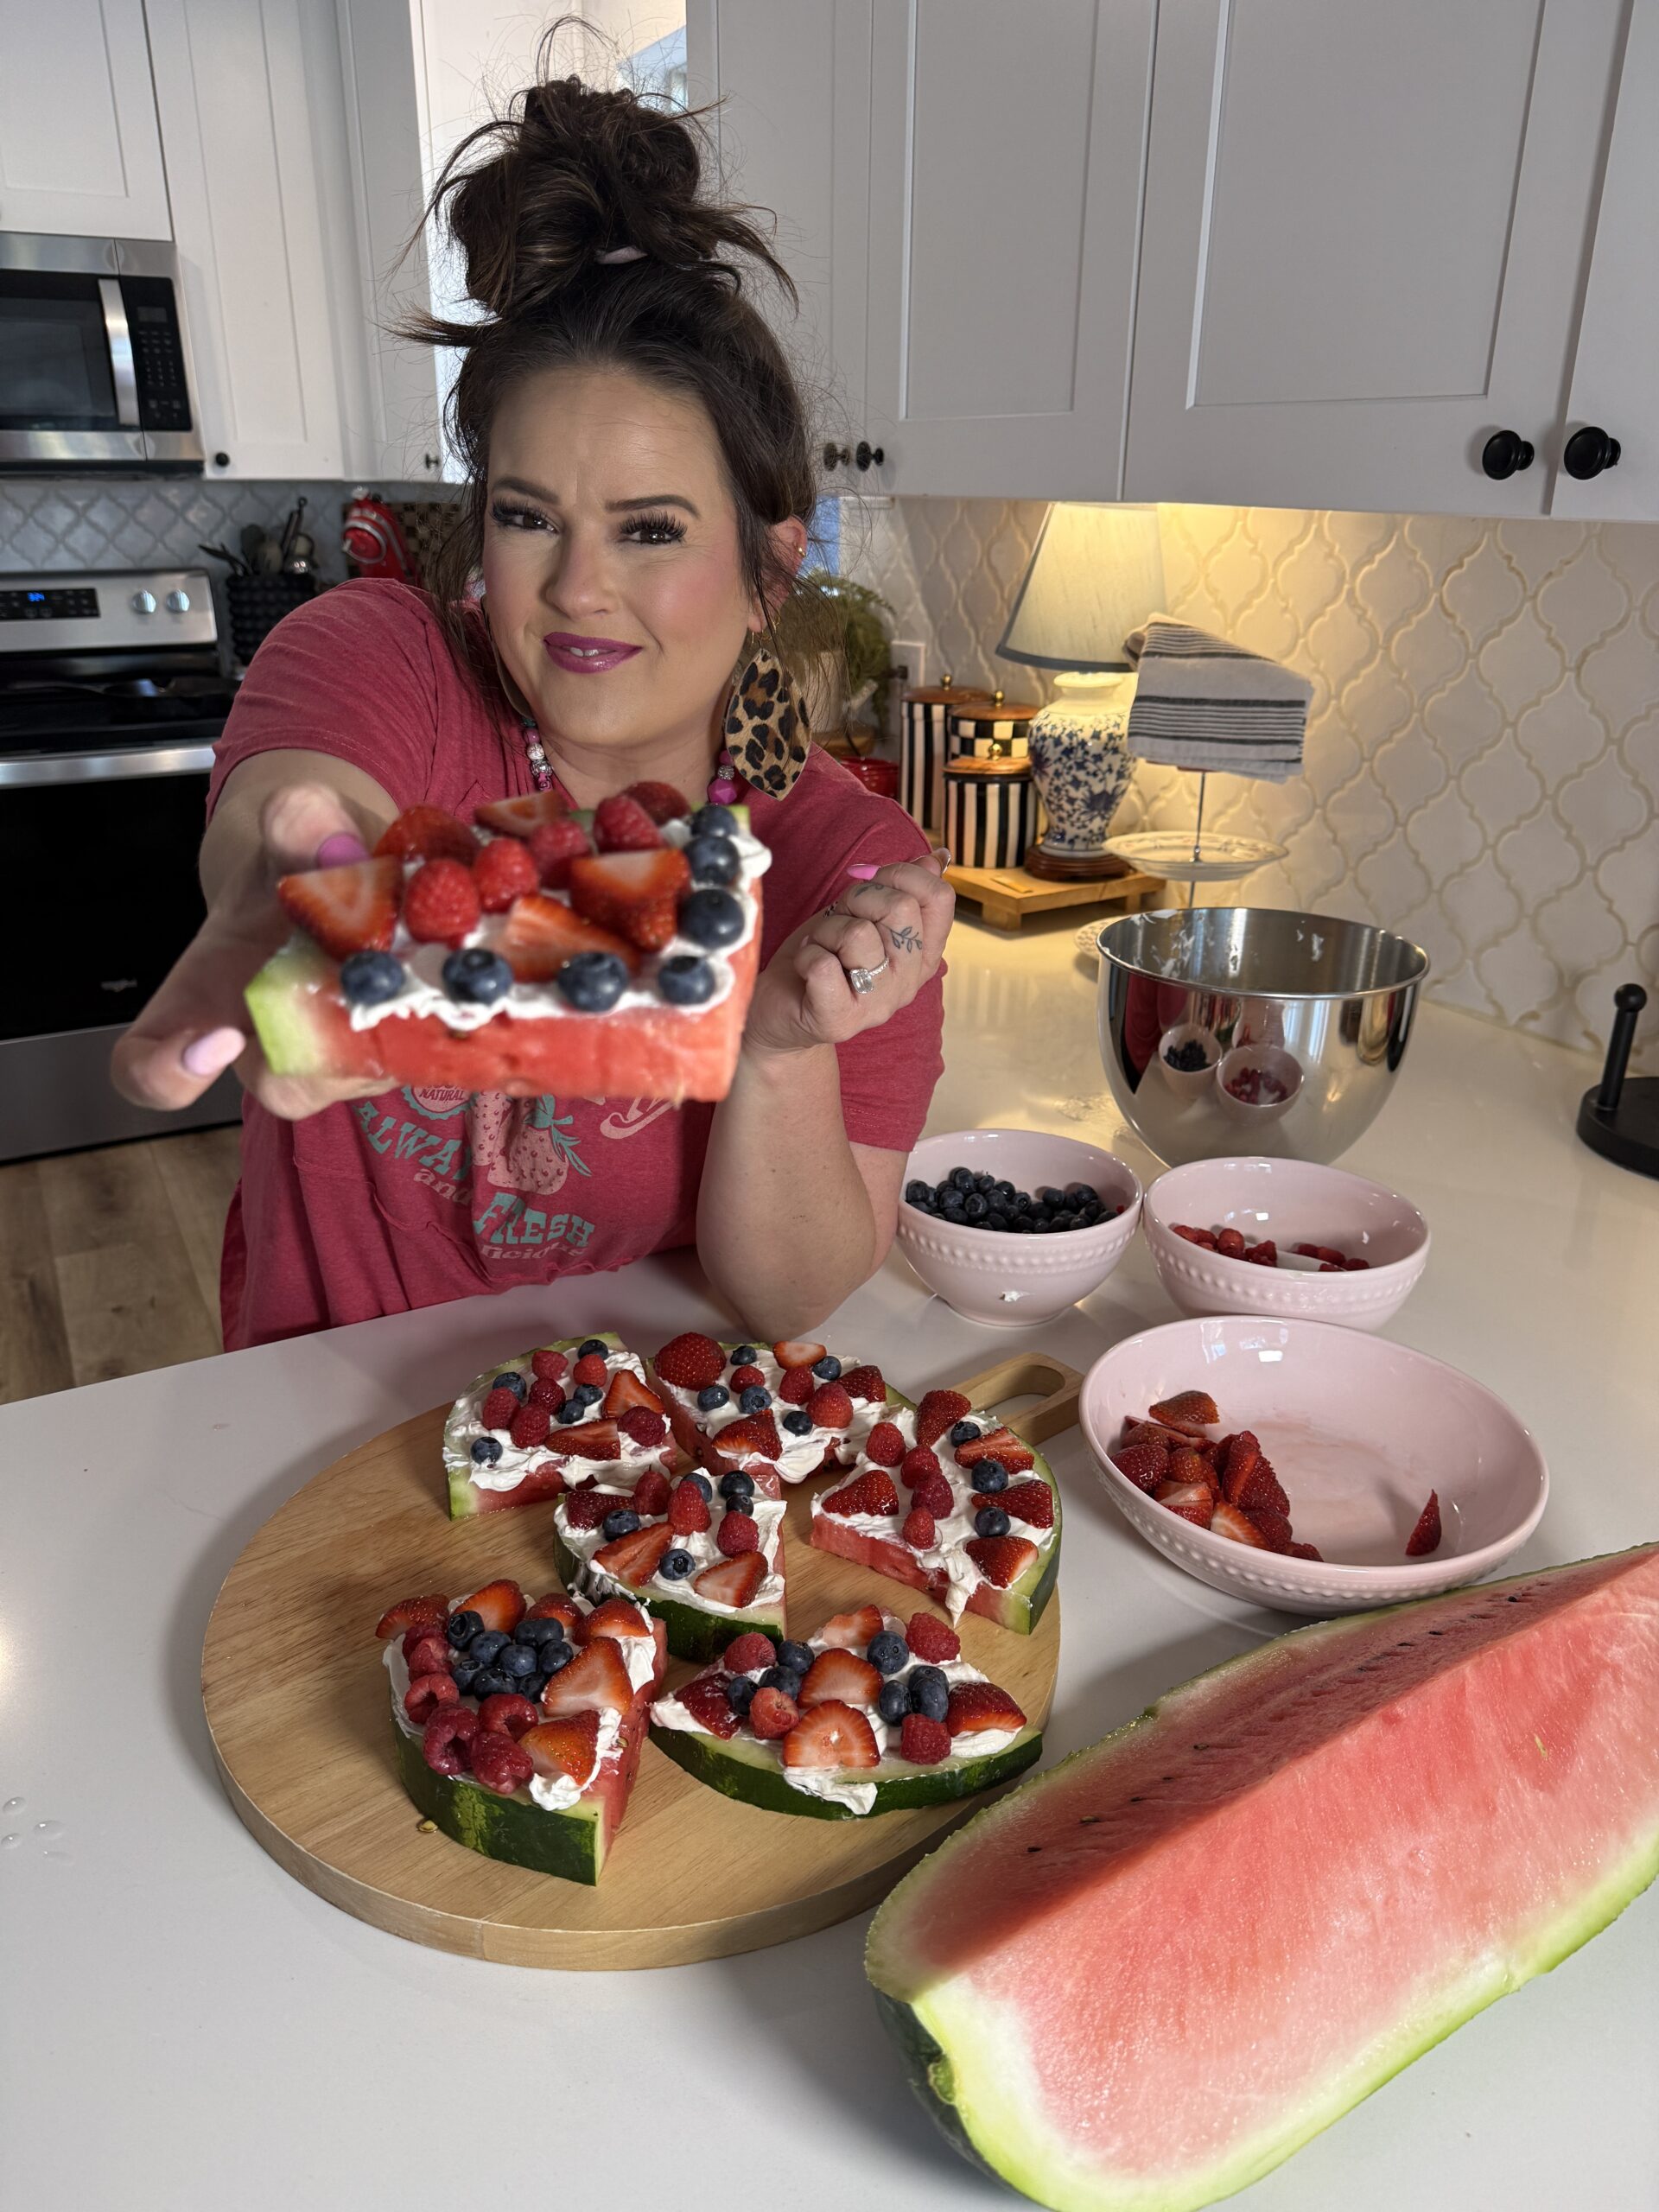
- Want Something Lighter? If you are looking for a healthier, refreshing option that still looks spectacular on a dessert table, my Watermelon Fruit Pizza is a showstopper. A base of fresh, juicy watermelon topped with a light yogurt “sauce” and arranged with fresh berries to look like a flag. The kids go crazy for it!
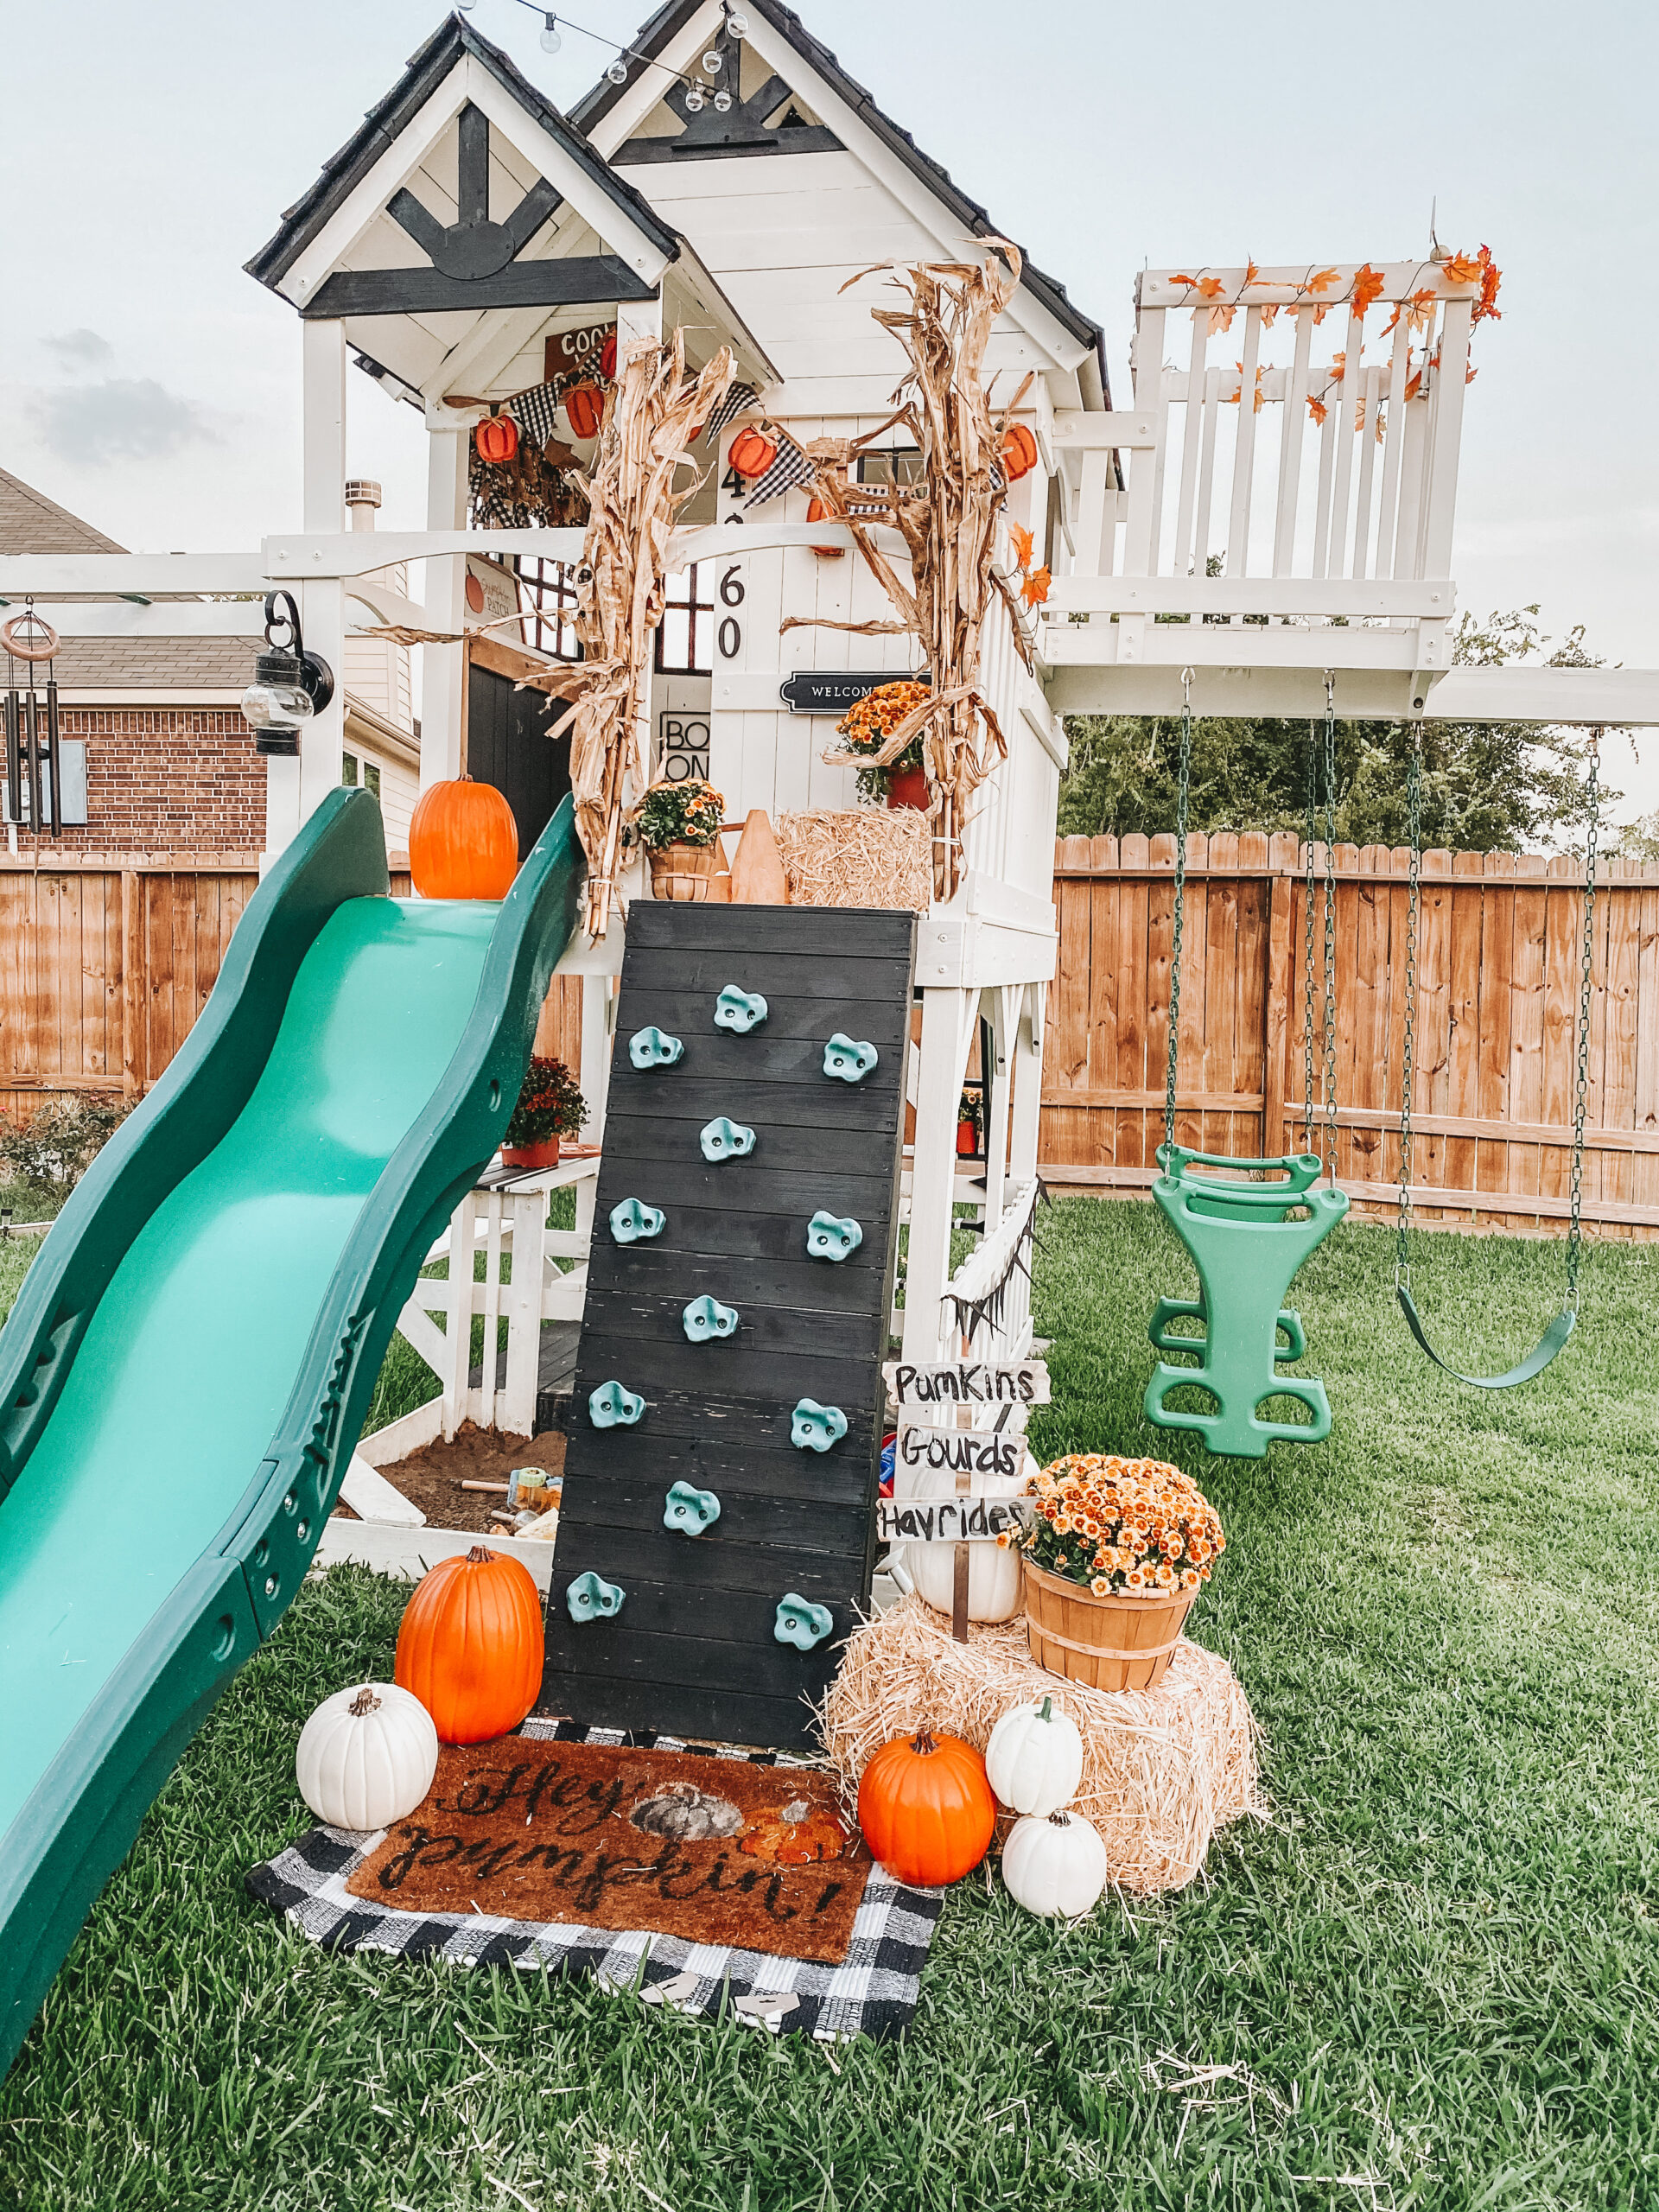
- Set the Scene: The decor is just as important as the food! You have to check out my step-by-step DIY tutorial for my Patriotic Shag Fabric Garland. It is ridiculously easy, uses up fabric scraps, and adds the most gorgeous texture to your party space.
- Elevate Your Home: While you’re crafting, don’t miss my full Patriotic Mantle Tutorial where I show you how to style your fireplace with vintage flags, the shag garland, and beautiful seasonal florals. It brings the whole aesthetic together beautifully!

A Heartfelt Invitation: Join “Festively Booked”!
Before I let you go bake these incredible treats, I want to take a moment to invite you to something very near and dear to my heart.
If you love the community we are building here on the blog, you absolutely have to join my monthly romance book club, Festively Booked!
Here is how it works: Every single month, I pick a super fun, seasonal theme. Based on that theme, you get to pick your own romance novel to read! It takes the pressure off having to read a specific book you might not love, but still gives us a cohesive topic to discuss.
At the end of the month, we all jump on a cozy Zoom call. We pour a glass of wine (or grab a sugar cookie bar!), talk about the tropes, the characters, and the spicy scenes of the books we chose. But here is the best part: I also choose a simple, fun craft corresponding to the month’s theme, and we all craft together while we chat! It is the most uplifting, hilarious, and wonderful group of women, and I would be so honored to have you join us. Click the “Book Club” tab at the top of the menu to sign up for this month’s newsletter and get the Zoom link!

Let’s Connect!
I am so incredibly excited for you to try these Patriotic Sugar Cookie Bars. The elevated cream cheese frosting, that dense, chewy texture from chilling them… I just know they are going to become a staple in your summer baking rotation.
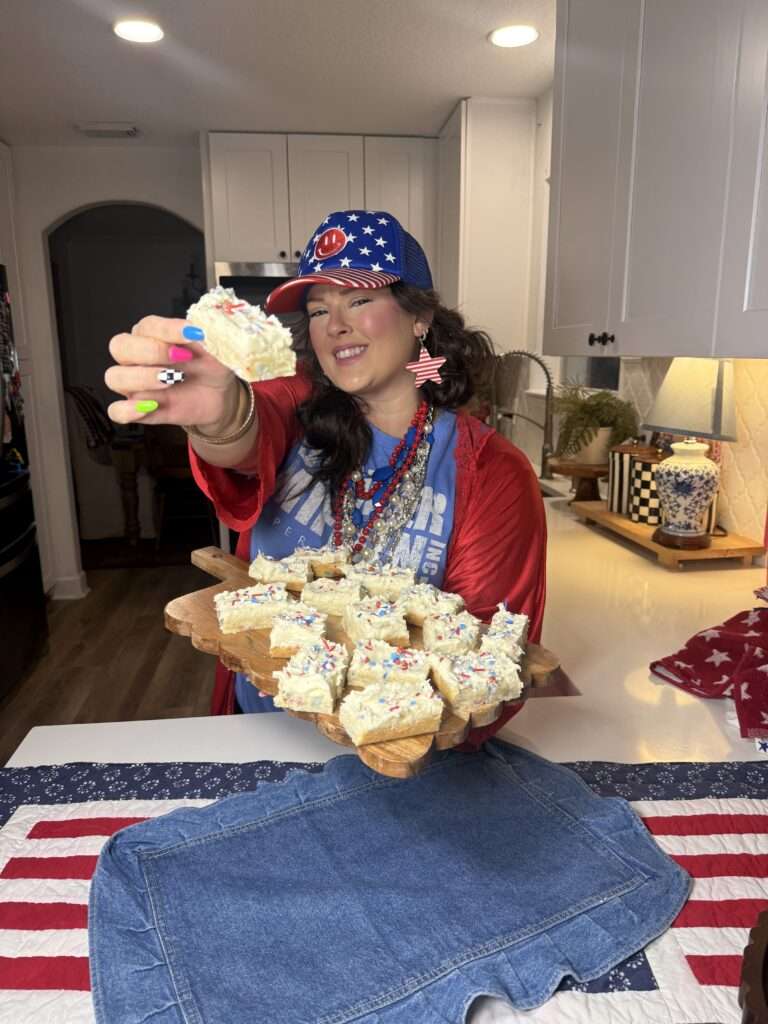
If you bake these, please, please take a photo and share it! I love seeing my recipes come to life in your kitchens.
Leave a comment below and let me know: What is your favorite summer holiday to celebrate, and are you Team Room-Temp or Team Cold when it comes to cookies?
Happy baking, my friends, and have a beautiful, festive summer!
Follow me on all my socials for more maximalist decor, DIYs, thrifting hauls, and Festive Fun updates: Instagram|Pinterest|TikTok | YouTube |Facebook
xoxoxo,Ashton Sedita “The Festive Queen”
The Ultimate Patriotic Sugar Cookie Bars
Equipment
- Hand Mixer
- Mixing Bowls
- 9×9 Metal Baking Pan
- Parchment Paper
Ingredients
- 1 stick Salted Butter (softened)
- 1 cup Granulated sugar
- 1 Egg
- 1 teaspoon Vanilla
- 2 cups All-purpose Flour
- 1 teaspoon Baking Powder
- ½ cup Patriotic Sprinkles
TOPPING INGREDIENTS
- 2 cups Powdered Sugar
- 4 oz Cream Cheese
- 1 stick ½ cup) salted butter (softened)
- 1 tsp vanilla extract
- 2 tbsp Milk
- Extra Sprinkles for topping
Instructions
- Prep: Preheat your oven to 350°F (175°C) and line a 9×9” baking pan with parchment paper, leaving an overhang for easy removal.
- Cream Butter & Sugar: In a large bowl, cream the softened butter and sugar together using a hand mixer on medium speed until light and fluffy (about 2–3 minutes).
- Wet Ingredients: Beat in the room-temperature egg and vanilla extract until just combined.
- Dry Ingredients: In a separate bowl, whisk together the all-purpose flour and baking powder.
- Combine: Slowly add the dry ingredients to the wet mixture and mix on low speed until just combined. Do not overmix.
- Sprinkles: Gently fold in the 1/4 cup of patriotic sprinkles using a silicone spatula.
- Bake: Spread the thick dough evenly into the prepared pan. Bake for 20–22 minutes, or until lightly golden at the edges. Do not overbake. Let the bars cool completely to room temperature in the pan.
- Make Frosting: To make the frosting, beat together the softened butter and softened cream cheese until smooth. Add the powdered sugar, vanilla, and milk. Beat on high speed until smooth, fluffy, and spreadable.
- Decorate: Use the parchment overhang to lift the cooled bars out of the pan. Spread the frosting in an even layer over the bars and top generously with more patriotic sprinkles.
- Chill & Serve: Slice into squares. For the absolute best texture and flavor, store the bars in an airtight container in the refrigerator and serve them COLD!
Notes