The Ultimate Teacher Appreciation Master Guide: DIY No. 2 Pencil Tins & Summer Send-Offs
If there is one thing you know about me, it’s that I don’t do boring and everything has to be xtra. We like things bright, we like them checkered, we like them leopard print, and we definitely like them festive.
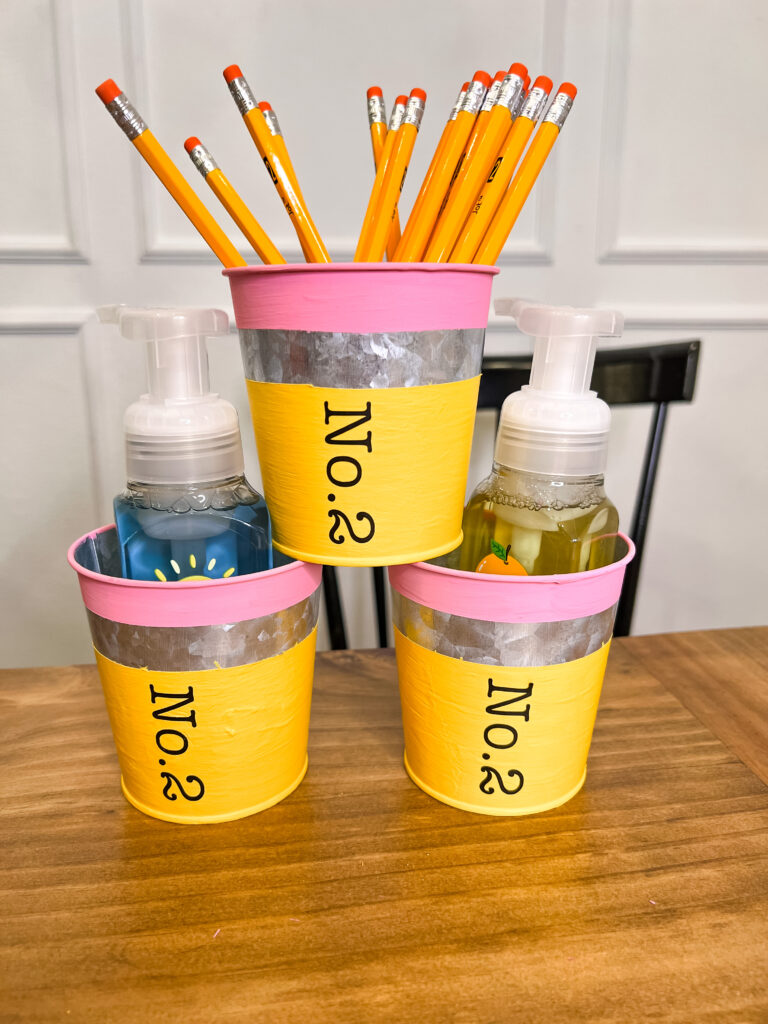
Today’s project is a labor of love that combines my obsession with school-themed nostalgia and my passion for gift-giving. We are making DIY No. 2 Pencil Metal Tins.
I recently shared a Pencil Gumball Machine DIY (which you guys went absolutely wild for!), and I realized I had some leftover yellow and pink paint. In a maximalist household, we never let good paint go to waste! These tins are the perfect “sister project” to that gumball machine. While the gumball machine is a quirky desk statement, these tins are functional, durable, and the perfect vessel for an end-of-the-year “Happy Summer” gift.
The Heart Behind the Craft: Why I Love Teachers
Before we get into the “how-to,” I want to get a little personal. If you’ve followed my blog for a while, you know that I come from a family full of teachers. I have seen firsthand the late nights, the out-of-pocket expenses for classroom supplies, and the emotional energy it takes to shape young minds.
My husband’s family, my own relatives—we are surrounded by educators. I’ve watched them navigate the highs and lows of the school year, and I’ve seen how much a small, thoughtful gesture can turn a bad week around. That is exactly why I’m so passionate about Teacher Appreciation. It’s not just about a gift; it’s about saying, “I see you, I value you, and I know how hard you are working.”
When is Teacher Appreciation? (The “When” and “How”)
A lot of people get confused about the timing. Teacher Appreciation Week officially falls during the first full week of May. In 2026, that means we are looking at May 4th through May 8th.
However, as a Texas blogger who loves a theme, I don’t think we should stop there! I like to look at teacher gifting in three phases:
- The “Getting to Know You” (August/September): This is when you set the tone for the year.
- The Official Week (May): The big celebration!
- The Summer Send-Off (Late May/June): This is specifically what today’s DIY is for. It’s a way to say, “Go enjoy your summer, you’ve earned it!”
The DIY Tutorial: No. 2 Pencil Metal Tins
The Supplies
To recreate this look exactly, you’ll want to grab these specific items. I’m a big fan of high-pigment paints because metal can be tricky to cover!
- Galvanized Metal Tins: I found mine in the dollar section, but any small metal bucket or tin will work.
- Multi-Surface Satin Paint: You need a “No. 2 Pencil Yellow” and a “Bubblegum Pink.”
- The Silver “Ferrule” (The Metal Part): Since these tins are galvanized, I actually left a strip of the natural metal exposed to act as the “ferrule” (that’s the technical name for the metal bit that holds the eraser!).
- Cricut Machine & Black Permanent Vinyl: For that crisp “No. 2” lettering.
- Angled Brushes: Essential for getting that straight line around the rim.
- Clear Gloss Sealer: Since these might end up near a sink (if you put soap in them), you want to protect the paint from water.
Step-by-Step Instructions
1. Prep the Surface
Metal has a slick surface. If you just start painting, it might peel. I always take a cotton ball with a little rubbing alcohol and wipe down the tins first. This removes any oils or price tag residue.
2. The Yellow Body
Start with your yellow paint. I did about three thin coats. Remember: Thin coats are better than one thick coat. It prevents drips and ensures a smooth, professional finish. Leave the top inch of the tin and the middle “ring” unpainted if you want that silver metal to show through.
3. The Pink Eraser
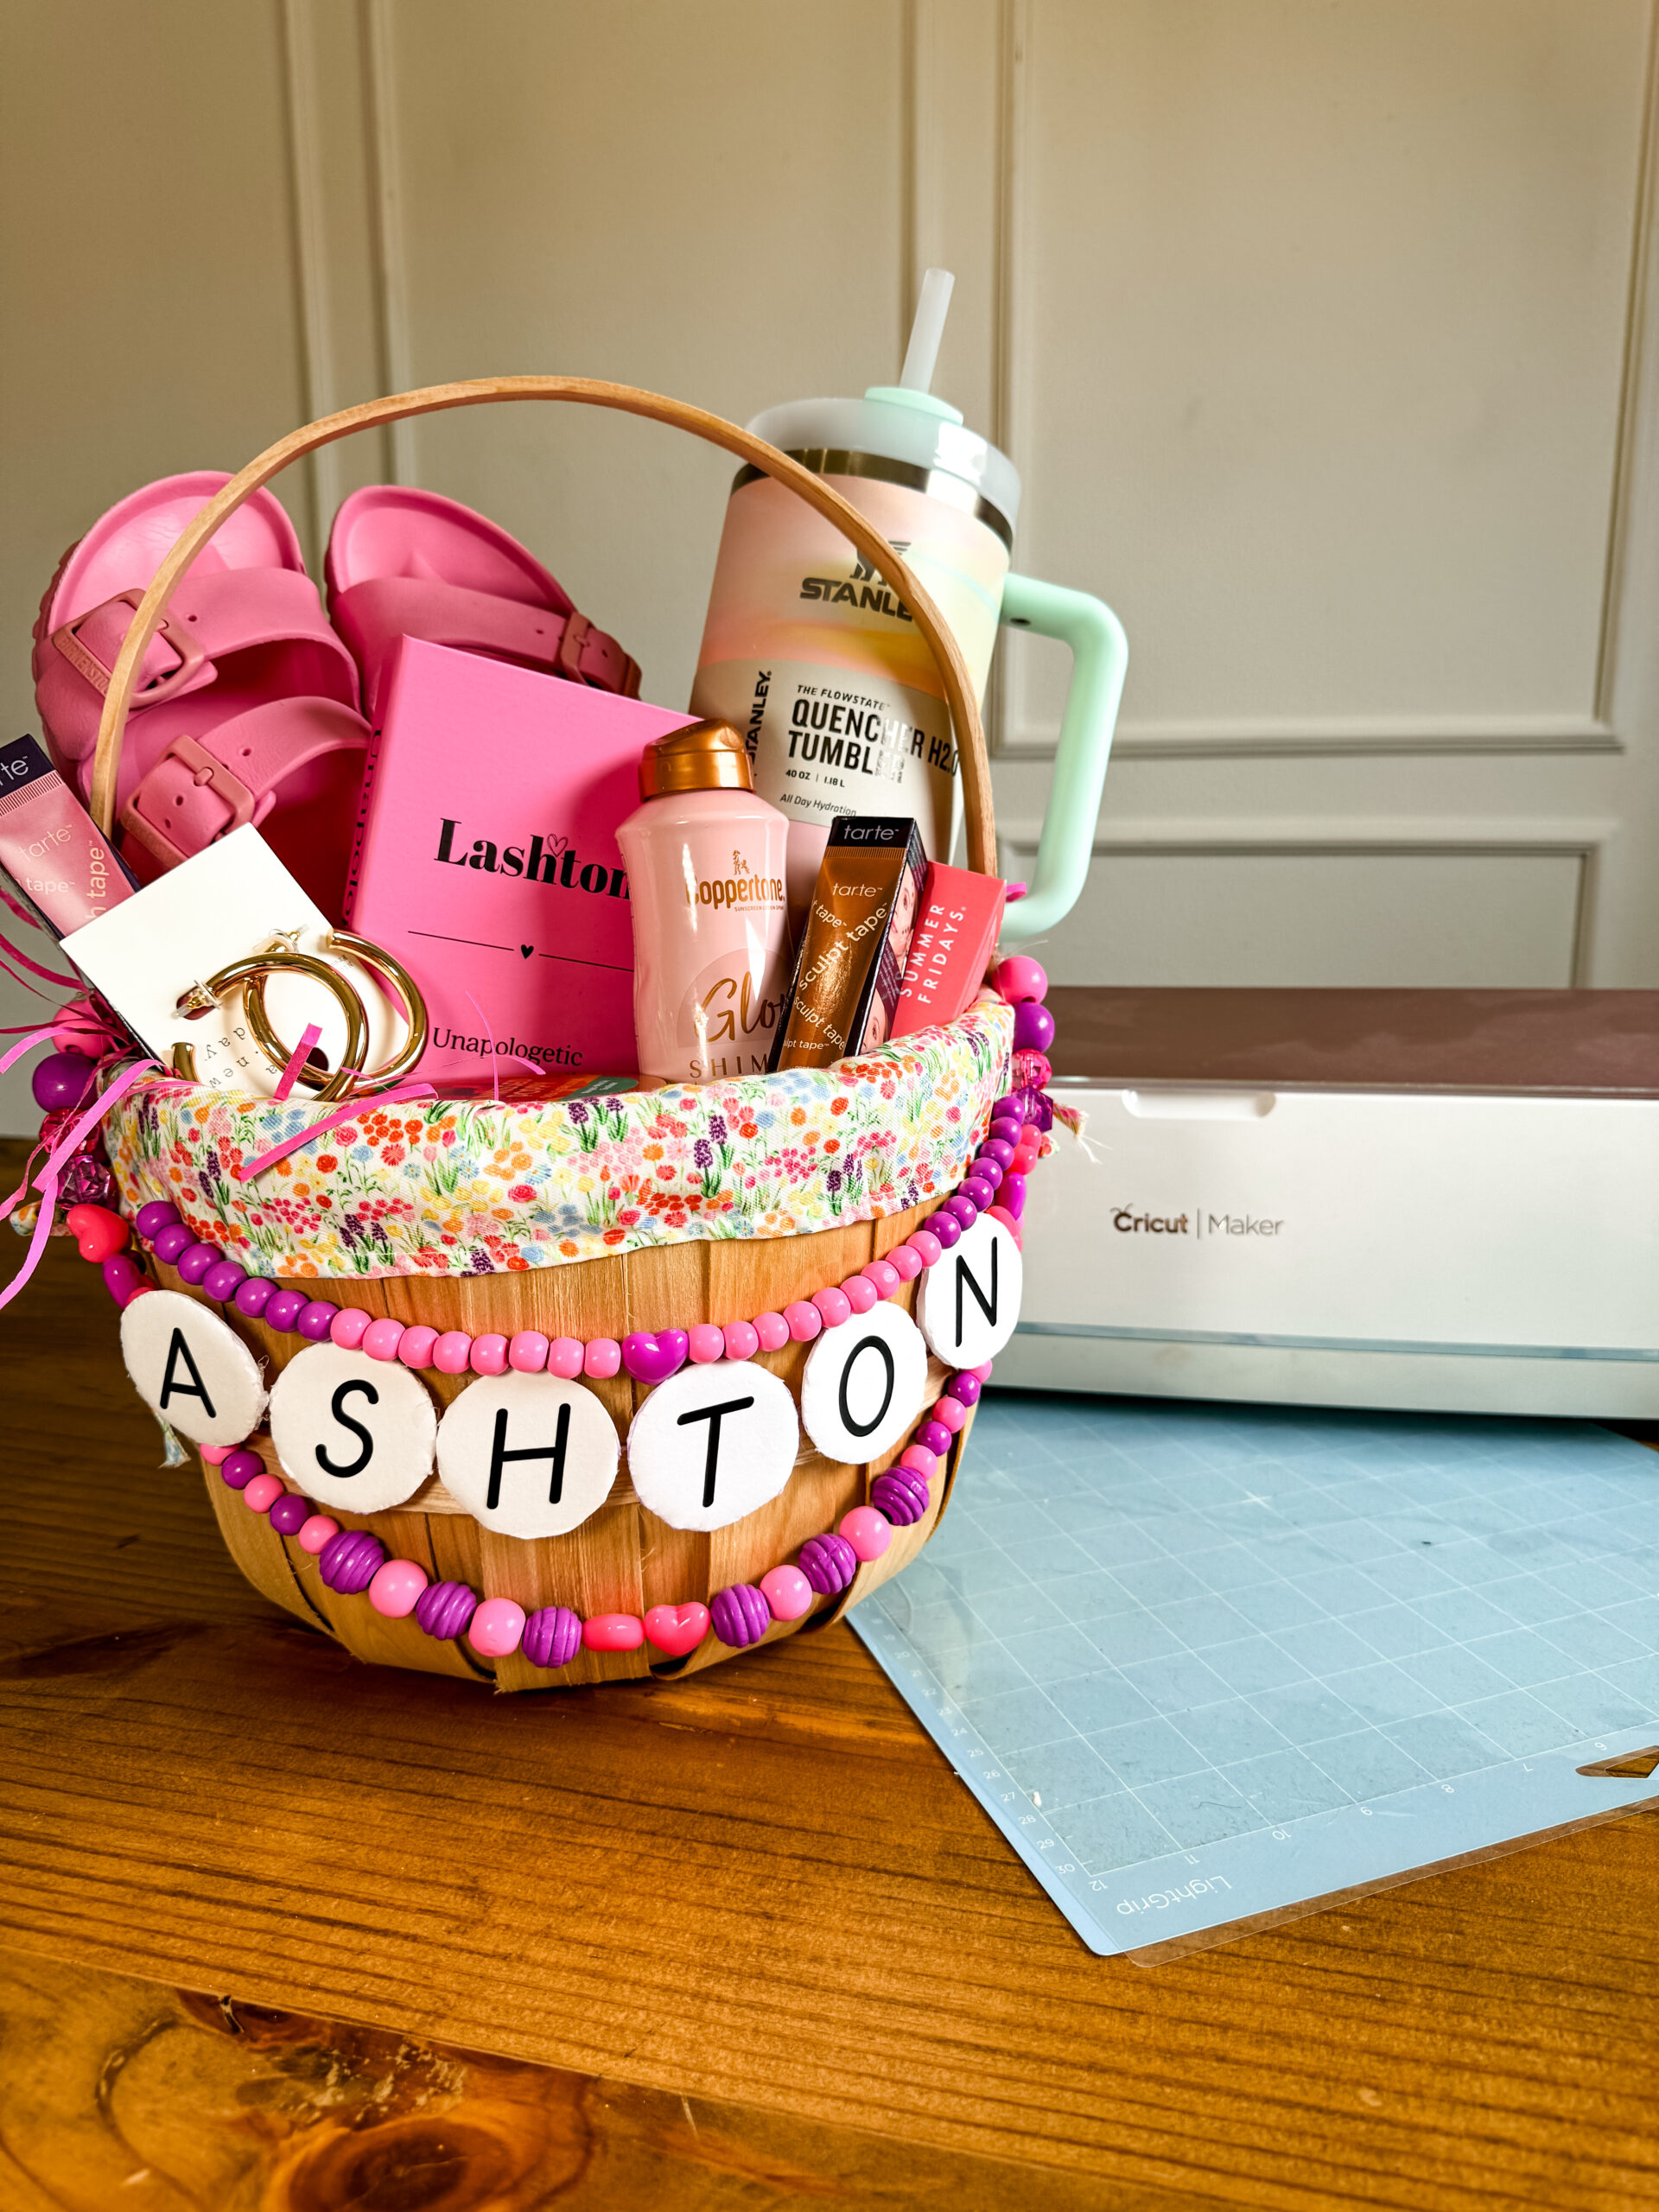
Once the yellow is dry, take your pink paint and paint the very top rim. This represents the eraser. There is something so satisfying about the contrast between the yellow and pink—it’s quintessential “Ashton Sedita” style!
4. The “No. 2” Decal
Using your Cricut, cut out “No. 2” in a classic serif font. I like to make mine about 2 inches tall so it really pops. Apply it to the center of the yellow section. If you don’t have a Cricut, don’t worry! You can use a black paint pen or even mailbox stickers from the hardware store.
5. Sealing for Longevity
Give the whole thing a quick spray of a clear gloss sealer. This gives it a “finished” look and keeps the vinyl from peeling off.
What to Put Inside: The Summer Transition Kit
The beauty of these tins is that they are sturdy. You aren’t just giving a gift; you’re giving a functional piece of decor. Here are my favorite things to tuck inside, specifically for the end of the year:
1. The “Summer Refresh” Soap
Teachers spend all day around germs. By the end of the year, they are ready for a “home refresh.” I love putting a high-quality foaming hand soap inside (like the ones shown in my photo). Scents like Lemon, Orange, or Eucalyptus feel like a spa day in a bottle.
2. The “Must-Have” Flair Pens
If you know, you know. Teachers have a cult-like devotion to Flair Pens. They are the gold standard for grading and planning. I like to stick a fresh pack in the middle of the tin so they have them ready for their summer journaling or next year’s prep.
3. Gift Cards (The “Real” MVP)
Let’s be honest: Teachers love gift cards. But tucked inside a hand-painted tin, it feels so much more personal than an envelope.
- Sonic or Starbucks: For those summer afternoon drinks.
- Target: For… well, everything.
- Amazon: So they can clear their “Classroom Wishlist” for next year.
4. Summer Essentials
Throw in a cute pair of pink sunglasses, a festive scrunchie, or a small bottle of sunblock. It signals that school is out and it’s time for them to relax.
Exploring the “Festive Teacher” Ecosystem
This project is just one piece of the puzzle! Over on ashtonsedita.com, I have built out a whole world of teacher-appreciation content. If you loved this tin, you should check out these other favorites:
The Pencil Gumball Machine
This is the “big sister” to the tins. It uses a glass jar and a terra cotta pot base to create a vintage gumball machine look, but painted like a pencil! It’s the ultimate eccentric desk accessory. It’s perfect for holding paperclips, wrapped candies, or even rubber bands.
The “Teacher Love” PDF (My Best Secret!)
One of the hardest parts of gifting is knowing what they actually like. Do they drink coffee? Are they allergic to nuts? Do they prefer silver or gold? I created a free printable PDF that I recommend giving to your teacher on the very first day of school (or even now, to save for next year!). It’s a “Favorites List” where they can jot down their favorite snacks, scents, and stores. Having this on file makes you the most organized parent in the PTA!
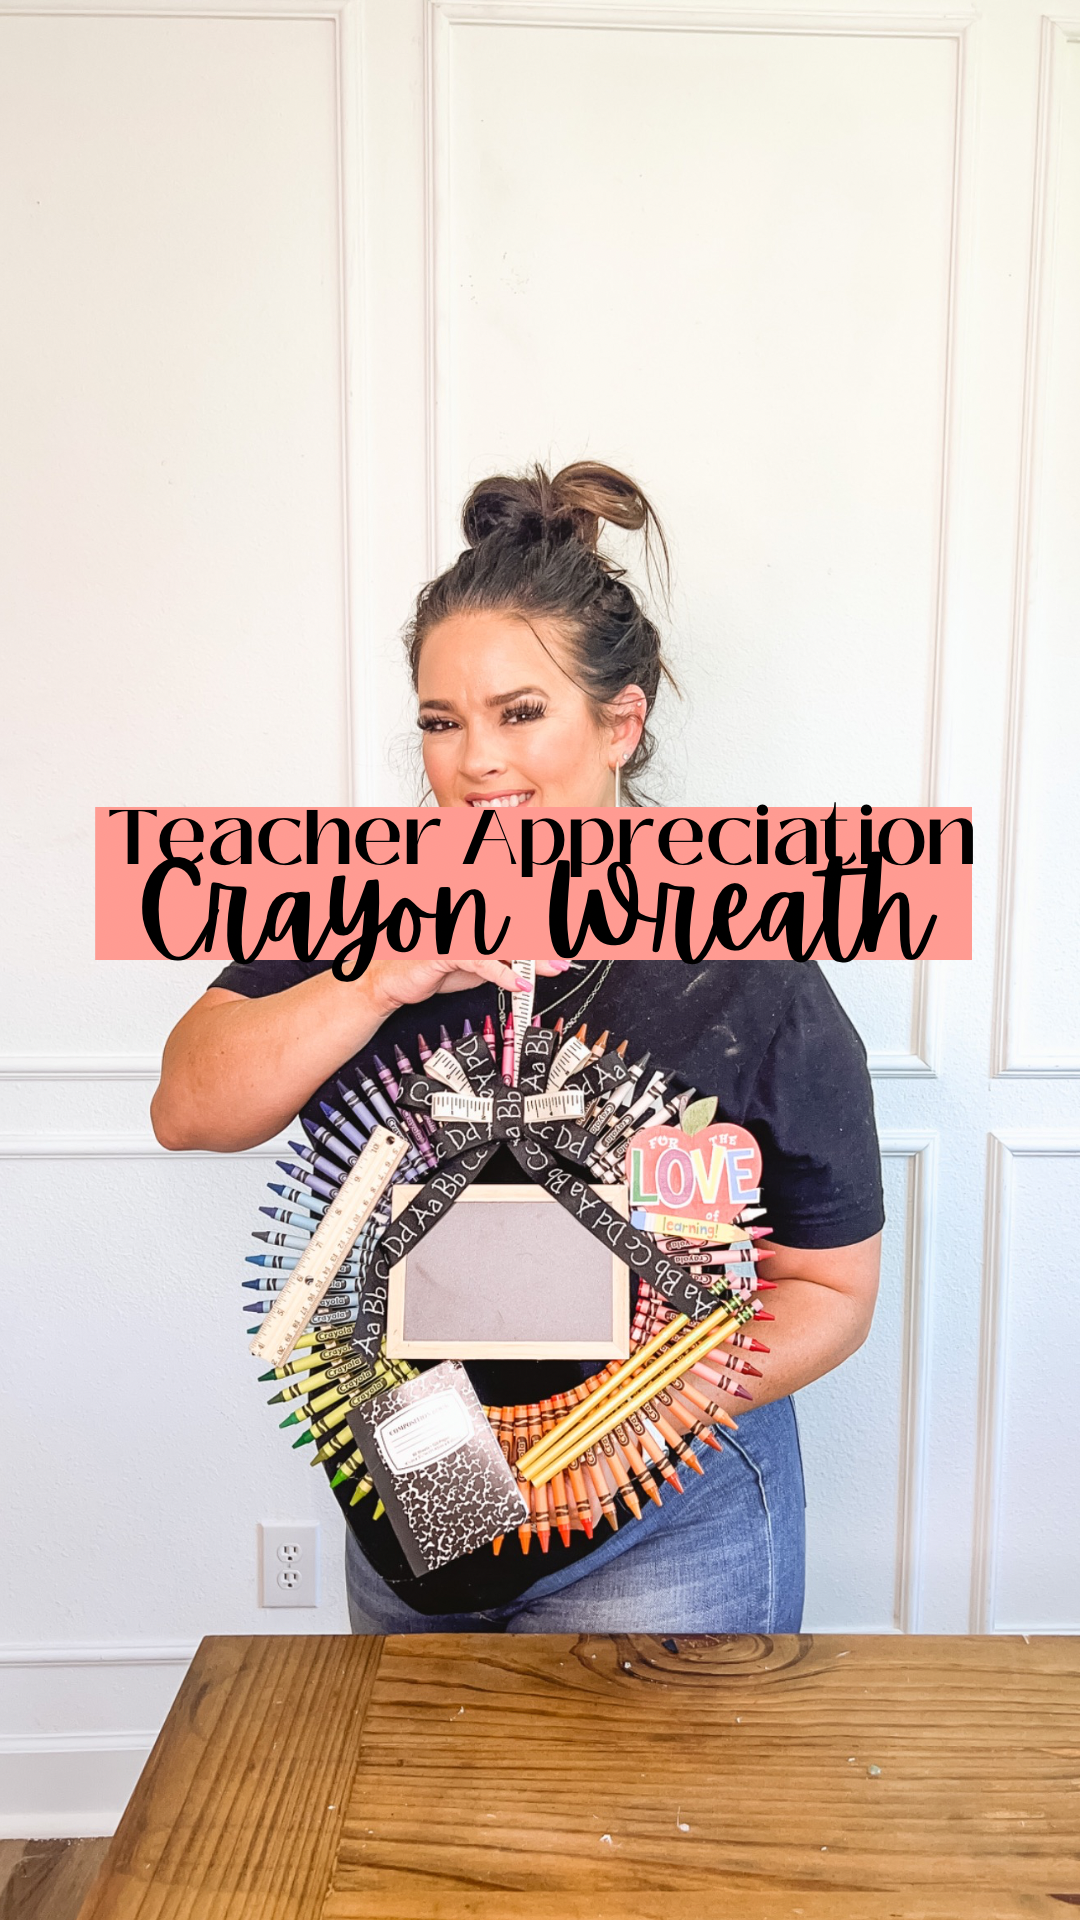
The Crayon Wreath
If you want to go big, the Crayon Wreath is a maximalist dream. It uses hundreds of crayons glued in a sunburst pattern to a wreath frame. It’s bright, it’s textural, and it looks incredible on a classroom door.
The DIY Crayon Pencil Cup
Not a fan of the metal look? I have another tutorial where we use hot glue to attach crayons vertically around a recycled tin can. It’s a great project for kids to help with because it’s so tactile and colorful.
Living the Festive Lifestyle
Why do I go to this much trouble for a pencil cup? Because life is too short for boring gifts. Being a “Modern Maximalist” means finding joy in the details. It means taking a $1 tin and turning it into a conversation piece. It means celebrating the “Reset” (like my Sunday Reset routines!) by preparing these gifts in advance so you aren’t rushing on the last day of school.
I want my blog to be a place where you find inspiration to make every moment a little more “festive.” Whether it’s through my DIYs, my outfits, or the fictional small-town Texas world I’m building in my romance novels, I want to encourage you to go all-in on what you love.
FAQs: Teacher Gifting Edition
Q: Is it okay to give a group gift? A: Absolutely! In fact, many teachers prefer one large gift card to a dozen small items. You could make one giant version of this pencil tin and have every student in the class chip in for a large gift card to put inside.
Q: What if I’m not “crafty”? A: That is why I provide the links! If you don’t want to paint, you can find pre-made yellow tins and just add a pink ribbon. The “festive” spirit is about the thought, not the perfection of the paint lines.
Q: Do male teachers like these gifts? A: Yes! While I lean into pink and “maximalist” vibes, you can easily swap the pink for a classic wood-toned tan or just keep it yellow and silver. Every teacher appreciates a desk organizer!
Final Thoughts & How to Stay Connected
Teachers are the backbone of our community. As we head into the end of the school year, let’s make sure they feel the love. These DIY No. 2 Pencil Tins are just a small way to show that appreciation, but I promise you, they make an impact.
If you make these, please tag me on social media! I live for seeing your recreations. Use the hashtag #FestiveFun and tag @AshtonSedita so I can share your work on my stories.
Ready to get started? Comment the word LINK or BLOG below, and I will send you the direct link to the full supply list, the “Teacher Love” PDF, and the step-by-step video tutorial!
Don’t forget to follow for more teacher appreciation ideas, DIY home decor, and a look into my life as a Texas blogger and author. We have so much more “Festive Fun” coming your way this summer!
Follow me on Instagram | Pinterest | TikTok | YouTube Visit the Shop: ashtonsedita.com