DIY Pumpkin Pail Chandelier: A Fun and Festive Halloween Hack!
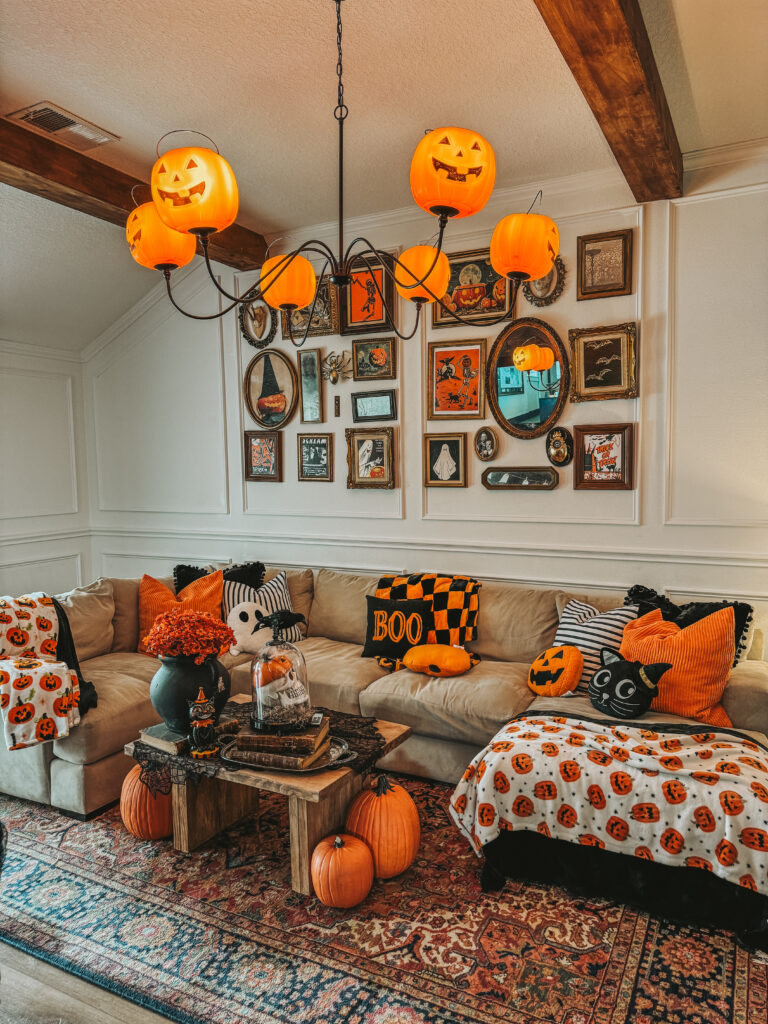
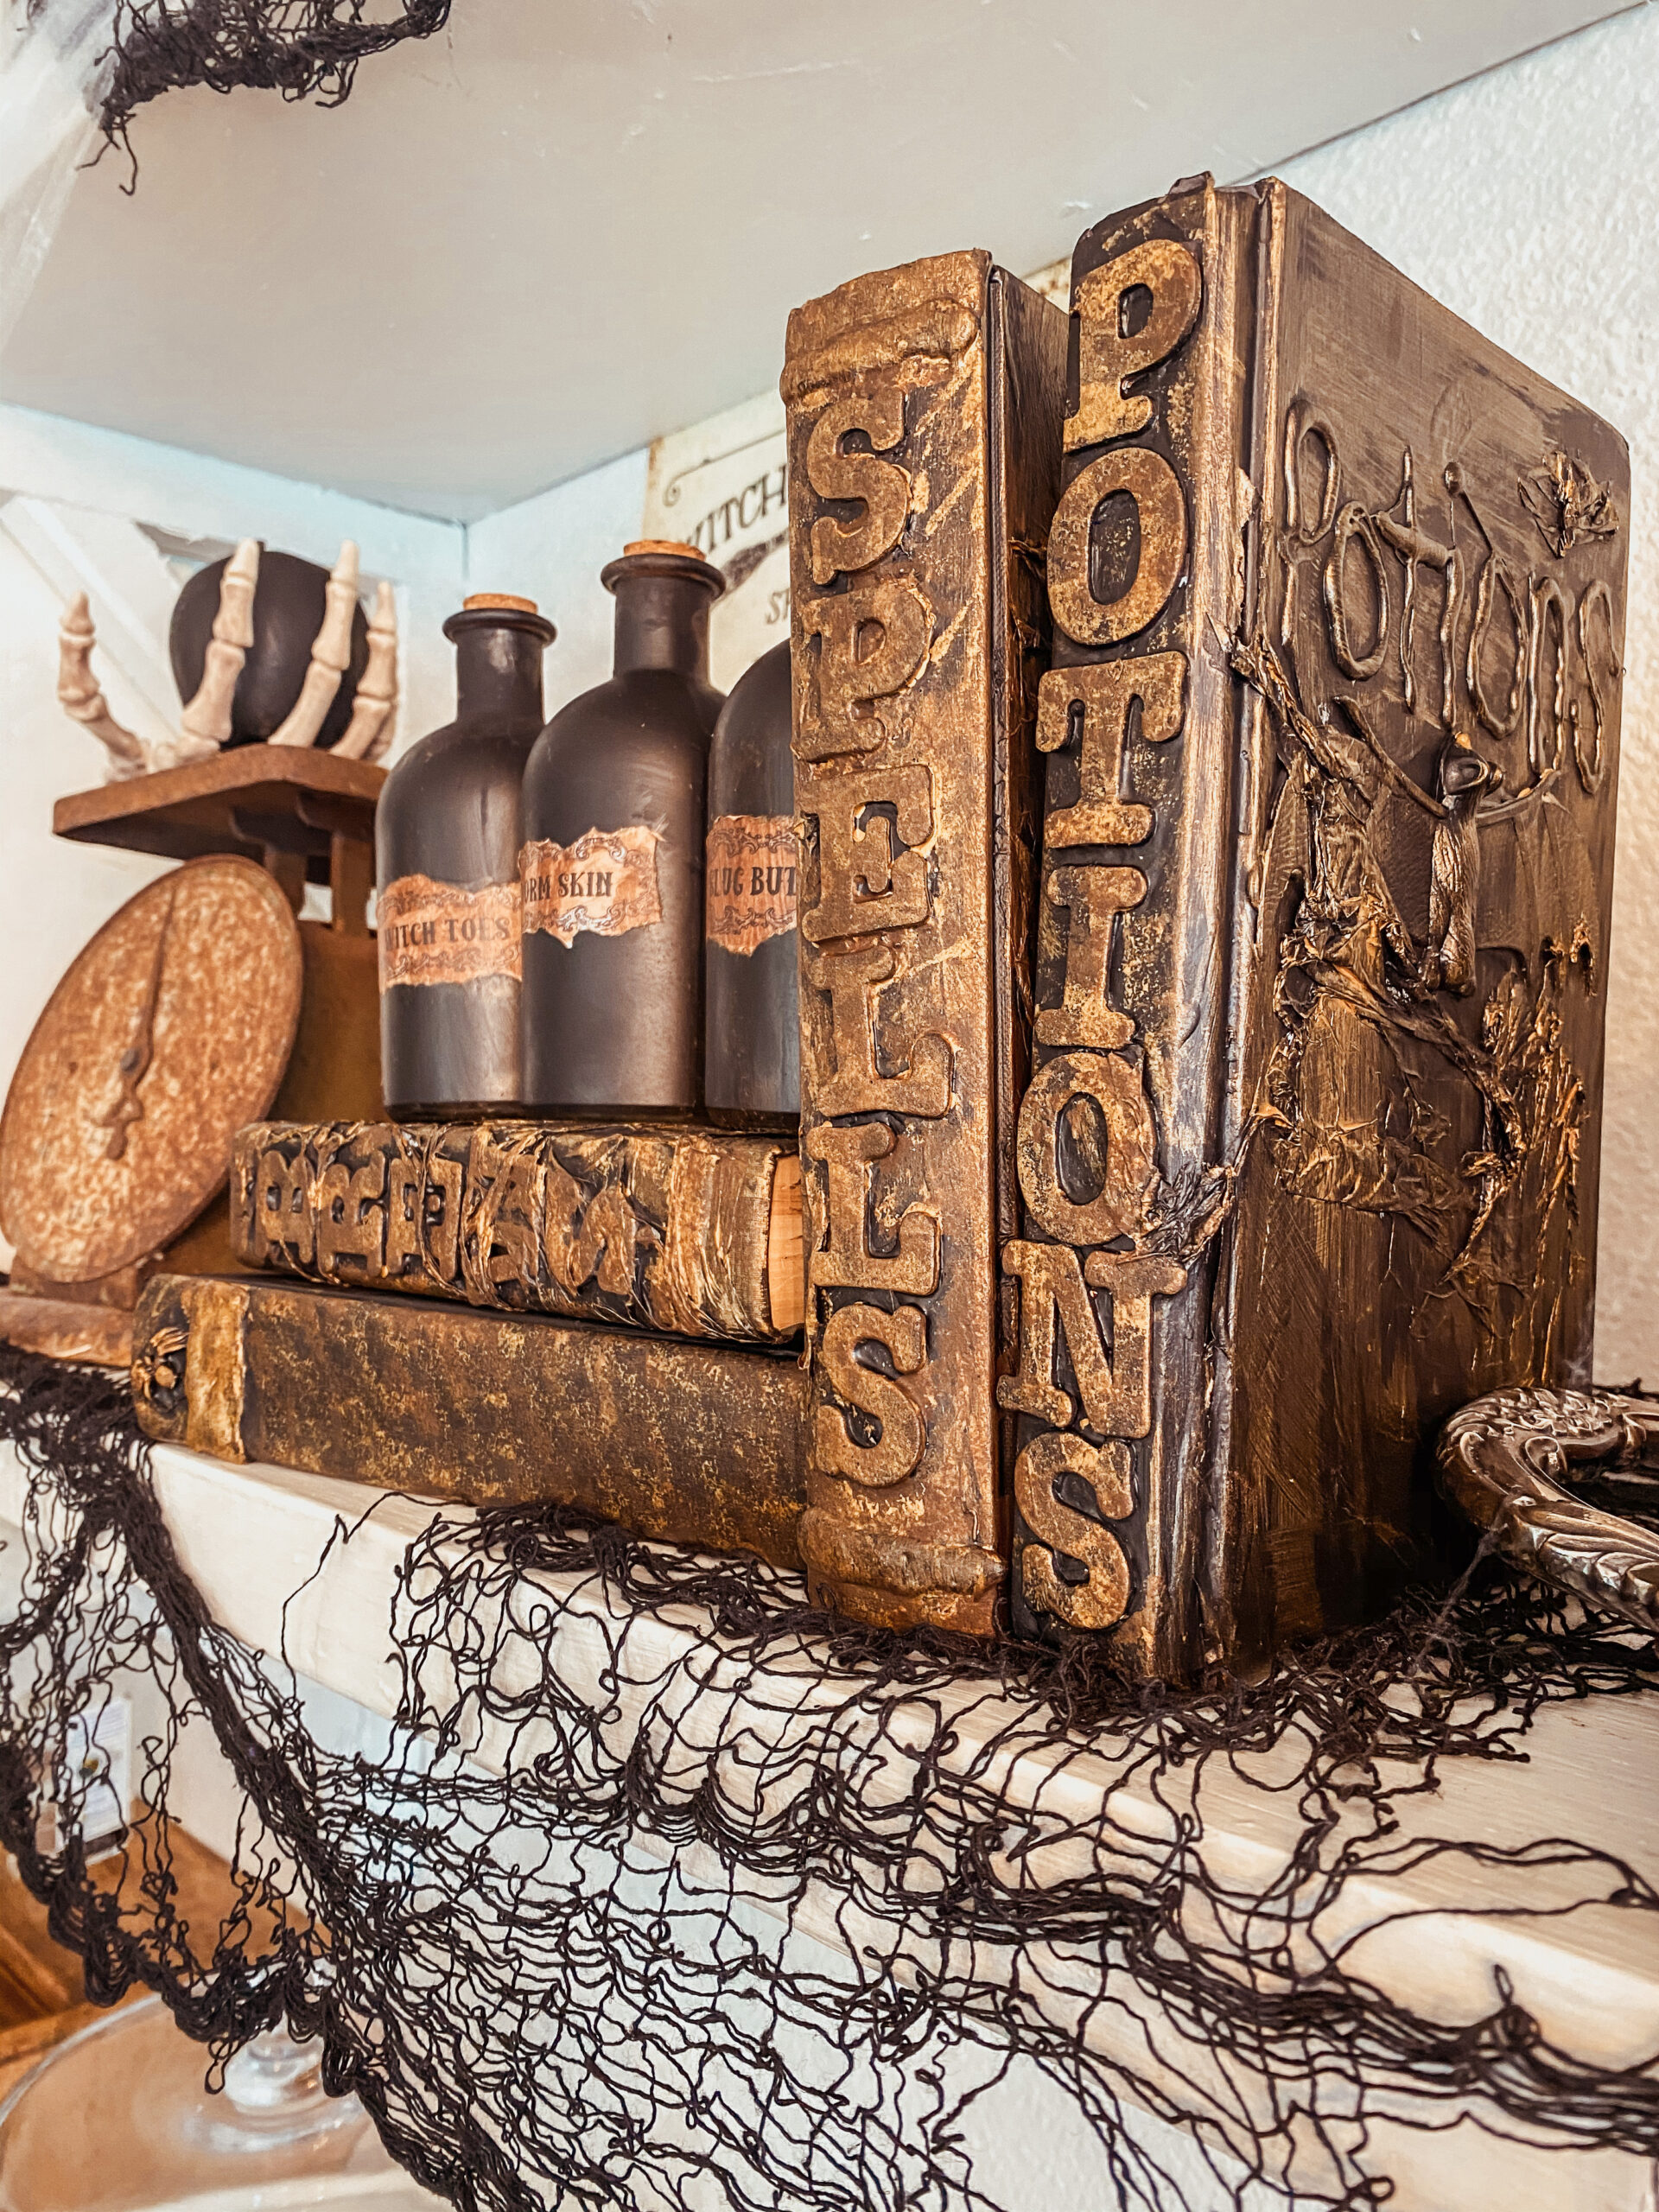
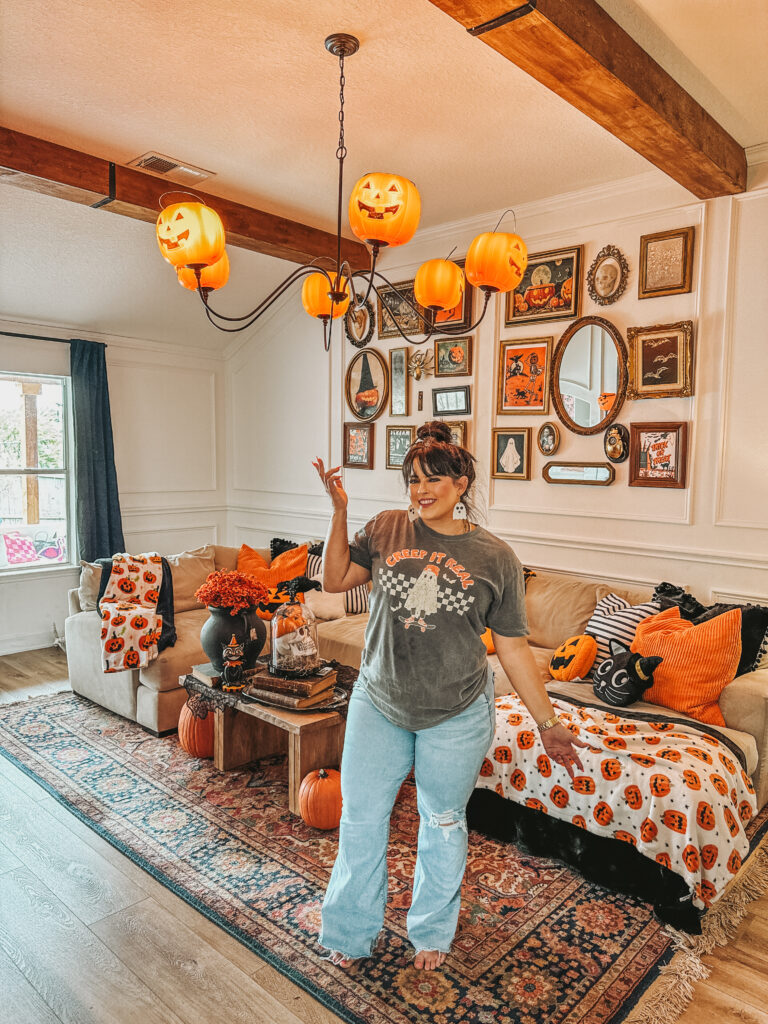
Halloween is one of my favorite times of the year, and nothing gets me more excited than decorating my home in all things spooky, fun, and festive! This year, I definitely have those retro orange and black traditional Halloween vibes. I recently did this vintage inspired gallery wall and I feel the whole vibe this year is just it! [VINTAGE GALLERY TUTORIAL] I decided to take my Halloween decor to the next level by creating a unique and eye-catching DIY project: a pumpkin pail chandelier! Using the traditional pumpkin pails you can find at Walmart for just $1.98, I transformed a regular chandelier into a glowing pumpkin masterpiece that adds the perfect vintage-inspired touch to my Halloween setup. The most impactful and budget friendly DIY totaling $12!!!!
In this tutorial, I’ll walk you through the steps of making your own pumpkin pail chandelier, share some tips to customize it for your home, and offer ideas for additional Halloween decor projects that fit the same fun and nostalgic vibe. Whether you’re throwing a Halloween party, decorating for trick-or-treaters, or just adding festive touches to your living space, this easy DIY project will make your home feel ready for the spooky season!
Why I Love Vintage-Inspired Halloween Decor
There’s something magical about the classic orange and black Halloween decor that takes me right back to my childhood. The bright orange pumpkins, spooky black cats, and witch hats remind me of the simpler, fun side of Halloween. With so many modern Halloween trends out there—everything from pastel goth to farmhouse spooky—I find myself coming back to the traditional color scheme this year.
The pumpkin pail chandelier is the perfect embodiment of that classic Halloween spirit. It’s affordable, simple to make, and instantly brings that nostalgic feel into any space. Plus, the glowing pumpkins create a fun, whimsical ambiance that looks stunning both day and night!
Materials You’ll Need to Create a DIY Pumpkin Pail Chandelier
Here’s what you’ll need to get started on your own pumpkin pail chandelier:
– 6 Traditional Pumpkin Pails (I got mine at Walmart for just $1.98 each)
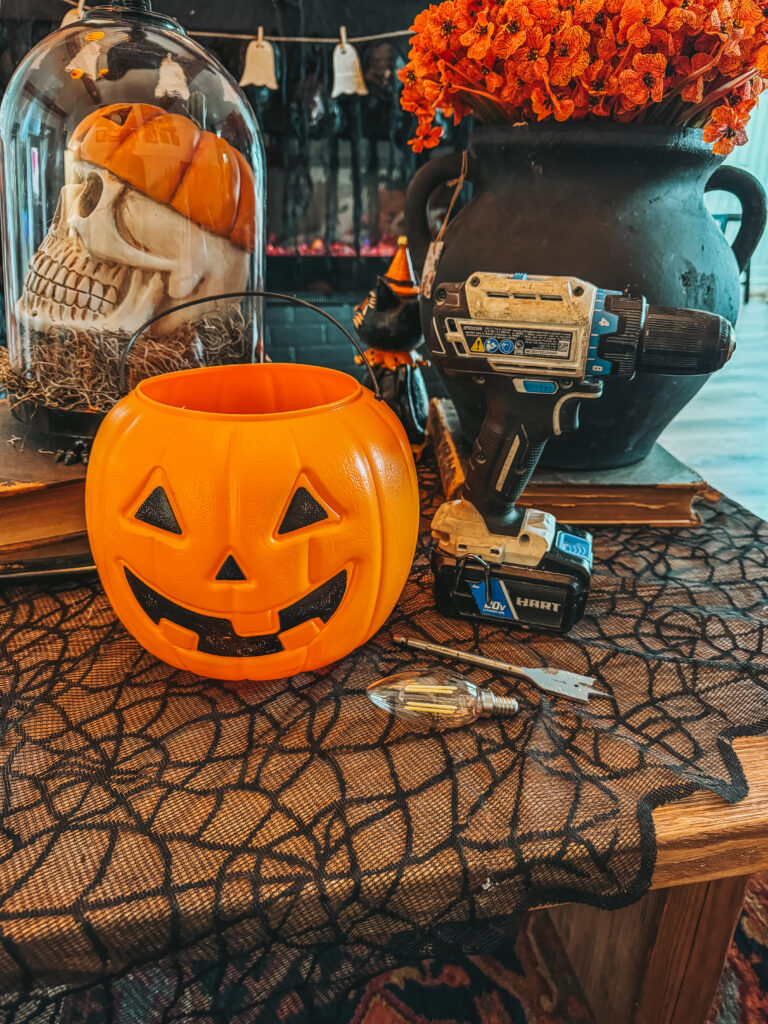
– 1″ Spade Drill Bit Set (you’ll need this to create the holes at the bottom of the pumpkin pale & use the bit that allows pumpkin to fit over your chandelier)
– Drill for the Drill Bit (this is the one I used)
– Chandelier ( I love how large this one is my living room- but any chandelier with lights that can hold the pails)
– Lightbulbs (if you want to make sure your chandelier glows bright through the pails, choose bulbs that don’t overheat but still give off enough light- I love the E12 LED lights- don’t heat up at all)
Once you’ve gathered your materials, you’re ready to get creative!
Step-by-Step Guide: How to Make a Pumpkin Pail Chandelier
Step 1: Choose Your Chandelier
The first step is selecting the right chandelier for your space. I used an existing chandelier that already had exposed bulbs, which made it super easy to work with. If your chandelier has shades or covers, you’ll want to remove those so that the pumpkin pails can fit directly over the lightbulbs.
Make sure your chandelier has multiple arms to attach the pumpkin pails to—ideally, one arm for each pail you plan to use. My chandelier has six arms, so I used six pails in total, but you can adjust the number based on your specific light fixture.
Step 2: Prepare the Pumpkin Pails
Next, you’ll need to prepare the pumpkin pails. Using a drill and a spade drill bit, carefully create a hole in the bottom center of each pail. This hole will allow the pail to slide over the spot your lightbulb on your chandelier sits. Be sure to choose a drill bit size that matches the diameter of the pole that holds the light bulb, if the hole is too small, it won’t fit, and if it’s too large, the pail might wobble. You DO not want it the size of the light bulb it might be to large for the chandelier and be wobbly.
**Pro Tip:** Drill the hole slightly smaller than the lightbulb, and then gently twist the pail into place. This way, it’ll fit snugly without slipping!
Step 3: Attach the Pumpkin Pails to the Chandelier
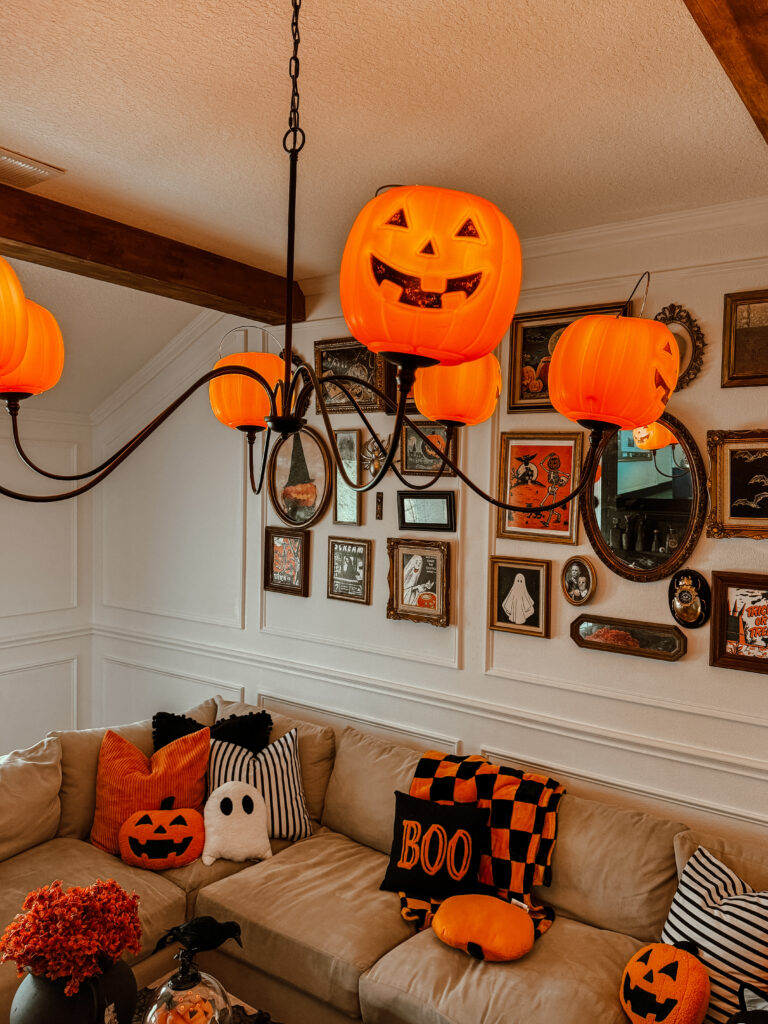
Once your pails are drilled, it’s time to attach them to the chandelier. Slide each pumpkin pail on the chandelier, adjusting the position so that the face of the pumpkin is facing outwards for maximum visual impact. Next add your LED light bulb.
If your chandelier has arms that are a bit too wide for the pails to stay secure on their own, you can use string or wire to secure them in place. Just tie the string around the arm of the chandelier and loop it through the handle of the pumpkin pail. This will help keep everything steady and prevent the pails from shifting.
Step 4: Turn on the Lights!
Now for the best part—turning on the lights! Once your pumpkin pails are in place, switch on your chandelier and watch it glow. The light shining through the pumpkin faces creates a warm, glowing effect that adds the perfect spooky vibe to your Halloween decor. Whether you’re lighting up your living room or hanging this chandelier in a front room for trick-or-treaters to admire, it’s sure to be a hit!
Tips for Customizing Your Pumpkin Pail Chandelier
While the classic orange pumpkin pails are iconic, there are plenty of ways to customize this DIY project to fit your own style! Here are a few ideas:
– **Add a Pop of Color:** If you want to mix things up, try spray-painting the pumpkin pails in different colors. Black, white, or metallic colors like gold or silver can give your chandelier a chic, modern twist.
– **Use Different Types of Pails:** You don’t have to limit yourself to just pumpkin faces! Look for other Halloween-themed pails, like black cats, ghosts, or skeletons, to give your chandelier even more personality.
– **Create a Multi-Tiered Effect:** If your chandelier has multiple layers, you can create a tiered effect by using different-sized pumpkin pails. Smaller pails on the upper tier and larger ones on the lower tier will add dimension to your chandelier and make it even more visually interesting.
– **Experiment with Lighting:** Depending on the ambiance you’re going for, you can switch out the lightbulbs in your chandelier for ones that give off a warmer, more orange glow. This will enhance the Halloween vibe and create a more cohesive look with the pumpkin pails.
Where to make Your Pumpkin Pail Chandelier
– **Dining Room:** Replace your usual chandelier in the dining room with your pumpkin pail version for a fun and festive Halloween dinner party setting. It’ll be the perfect conversation starter!
– **Front Porch:** If you have an outdoor space, hanging your pumpkin chandelier on the front porch can add a whimsical touch to your Halloween decorations. Just make sure it’s weatherproof if you live in a rainy area.
– **Entryway:** Wow your guests as soon as they step into your home by placing the chandelier in the entryway. It’s the perfect way to set the tone for a spooky but fun Halloween atmosphere.
Frequently Asked Questions (FAQ)
Can I use this DIY project with LED lights?
Yes! In fact, LED lights are a great option since they stay cool and won’t heat up the plastic pumpkin pails, making them safer to use in a home setting.
How can I store my pumpkin pail chandelier after Halloween?
The best way to store your chandelier is to disassemble it and keep the pumpkin pails in a plastic bin with the rest of your Halloween decor. This will prevent them from getting crushed or damaged.
Can I add other decorations to my chandelier?
Absolutely! You can get creative by adding other spooky elements like fake spider webs, bats, or small skeletons. The possibilities are endless when it comes to customizing your chandelier to match your overall Halloween decor.
This pumpkin pail chandelier is one of the easiest and most affordable ways to add a unique, vintage-inspired touch to your Halloween decor. Whether you’re crafting it for a party or just to enjoy at home with your family, it’s sure to bring smiles and spooky vibes to any room. Plus, it’s a fun way to repurpose those classic pumpkin pails we all grew up with!
I hope this tutorial has inspired you to get creative with your Halloween decorations this year. If you decide to make your own pumpkin pail chandelier, I’d love to see it! Be sure to tag me in your photos on social media (@AshtonSedita) so I can share them with my followers. Let’s get festive together!
**XOXO Ashton**
This blog post contains affiliate links which means I May earn a small commission at no extra costs to you if you make a purchase through these links. THANK YOU for shopping my links- it allows me to continue to do these fun festive DIYS for you!