THRIFTIN’ Thursday DIY Easy Halloween Button Frame
Thrifted, nostalgic, and perfectly “Festive.”
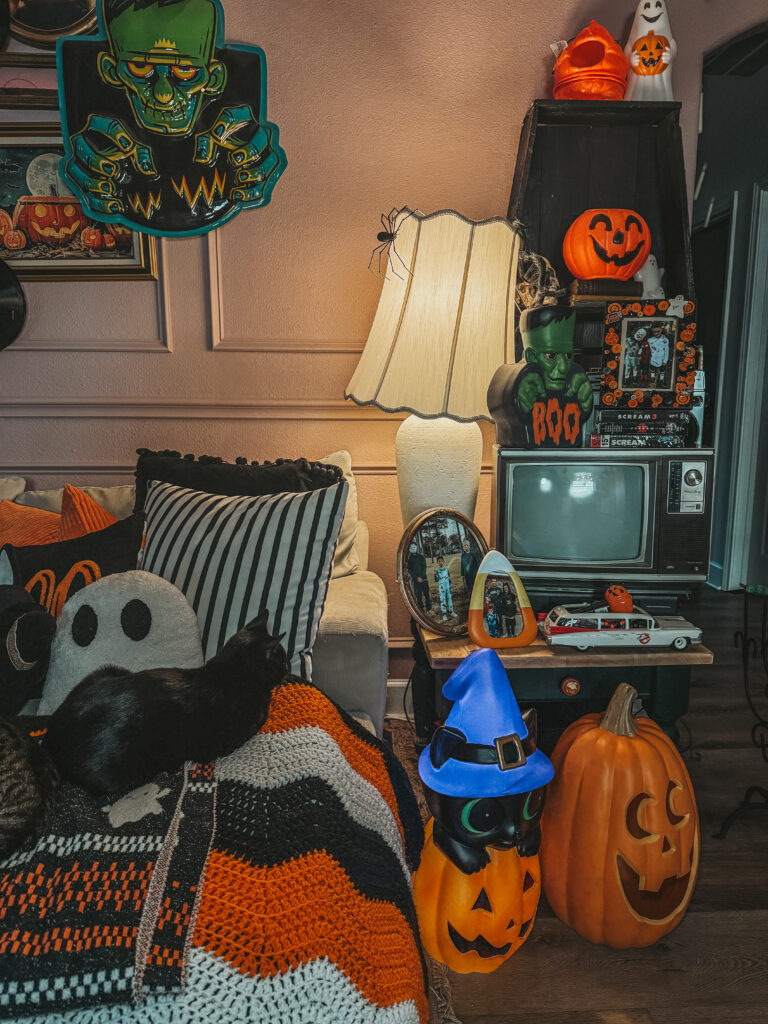
If you love affordable, creative Halloween décor that feels personal (and photograph-ready for your mantel, entry table, or party buffet), this Thriftin’ Thursday project is for you. I took a $2.99 picture frame from Goodwill and transformed it into a one-of-a-kind Halloween button frame packed with vintage personality—think pumpkin oranges, inky blacks, a tiny ceramic ghost, and a few retro pins I scored locally here in Conroe, Texas.
I’ve had this idea saved ever since I saw a similar frame on Etsy for around $50. It was adorable, but I knew I could recreate the vibe with thrifted supplies and favorite local shops—and make it even more “me.” The best part? This DIY is beginner-friendly, relaxing, and the perfect way to use up random buttons you’ve been collecting.
Why You’ll Love This DIY
• Budget-friendly: My frame base was $2.99 at Goodwill. Most embellishments came from button stashes, thrift bags, or dollar-bin treasures.
• Customizable: Pick any color story—orange + black for Halloween, black + silver for “spooky chic,” or even candy-corn tones.
• Kid-friendly crafting: Little hands can help sort colors and sizes (grown-ups should handle the hot glue).
• Memory-making: Incorporate heirloom buttons or thrifted finds from places you love so your décor tells a story.
Where I Sourced Everything (Conroe Local Love!)
• Goodwill – The star of the show: a simple black frame for $2.99. Clean lines = easy gluing.
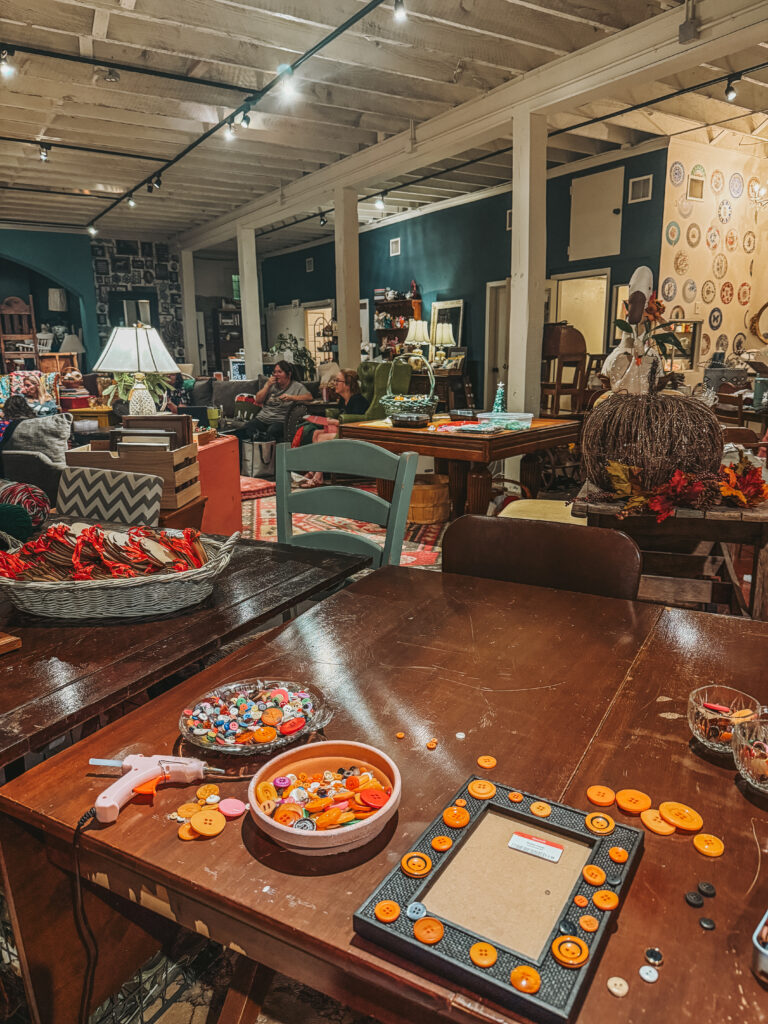
• Granny Camp (Conroe, TX) – If you’re new here and not local, you need to check out Granny Camp the next time you’re in Conroe. It’s a cozy, creativity-filled hub that hosts craft camp weekends once a month, shares vintage finds, and sparks all the nostalgic feels. I sourced several of my favorite vintage buttons from Granny Camp—think warm ambers, worn blacks, and little surprises that look like they’ve lived a life or two. This black cat I got from there.
• Michael’s – I grabbed a couple of button assortments in on-theme colors and some sparkly rhinestone embellishments that catch the light and add texture.
• Local Thrift Store – Those unmarked zip-bags of mixed buttons? Gold. Mine had orange, black, and smoky browns that were perfect.
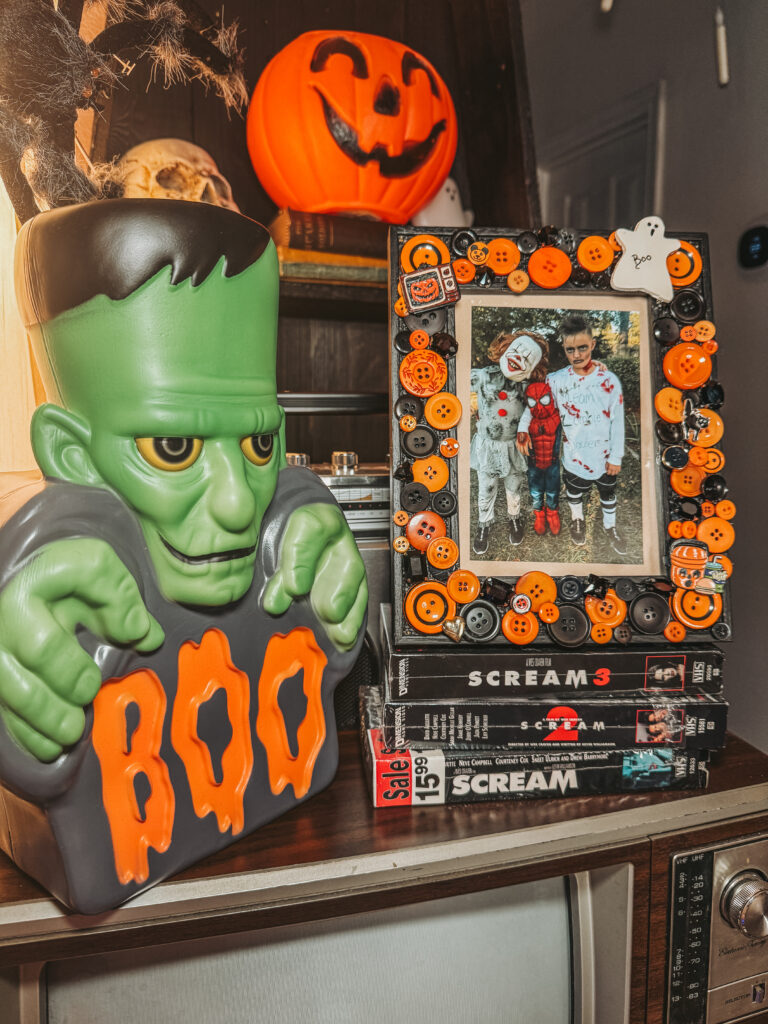
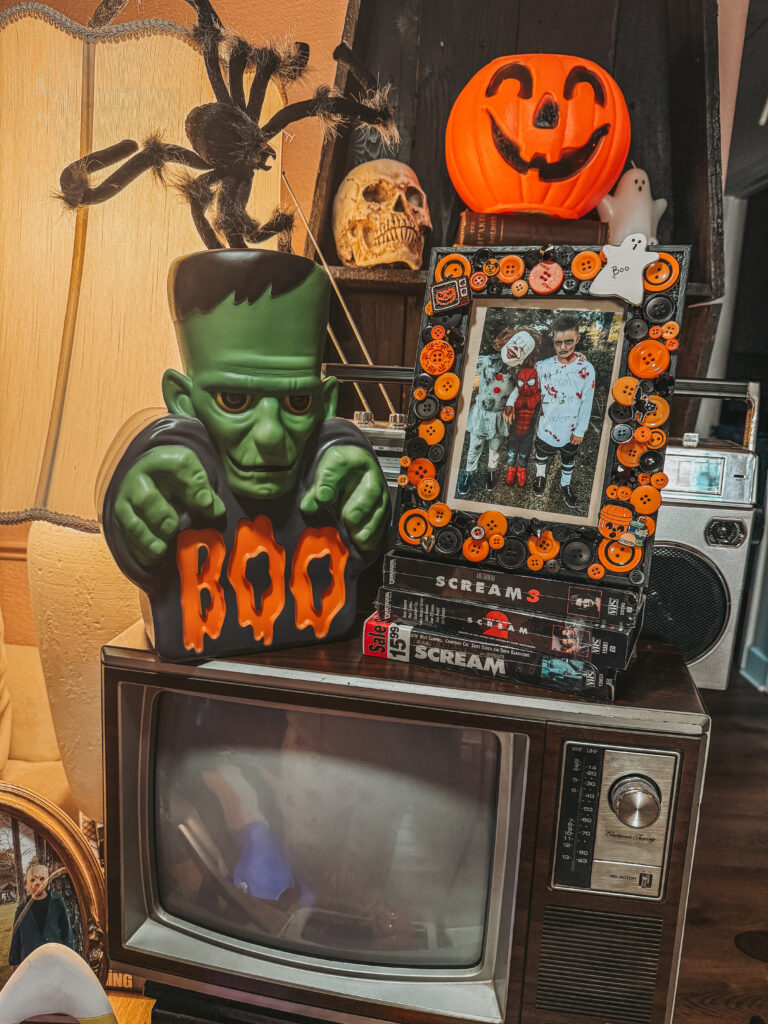
• Antique Store – The tiny ceramic ghost with “Boo” written on it? $1! He’s the sweetest little statement piece on the top right corner.
• The Collective (Downtown Conroe) – A favorite stop for quirky treasures. I found vintage-style Halloween pins here (like the jack-o’-lantern TV) that make the frame feel curated and retro.
PS: If you’re planning a Conroe day, add The Collective and Granny Camp to your itinerary—make a morning of thrifting, then craft your haul in the afternoon on Wednesday night at open craft night at 7pm.
Materials & Tools
Frame & Embellishments
• 1 thrifted picture frame (mine was a black Goodwill frame, 5×7)
• Assorted buttons in black, orange, amber, and pumpkin tones (mix sizes & finishes)
• Halloween trinkets/charms (ghost, cat, TV pin, enamel pieces, etc.)
• Rhinestone embellishments (I used a Michael’s set—great sparkle & variety)
Tools & Adhesives
• Hot glue gun + glue sticks (high temp for larger pieces, low temp for delicate)
• Tweezers (for small buttons & tight gaps)
• Small snips or craft scissors (to remove pin backs if needed)
• Optional: clear gloss sealer (brush-on or spray) to lock everything in place
• Optional: rubbing alcohol + cotton pad (to quickly de-dust the frame before gluing)
Step-By-Step: How to Make a Halloween Button Frame
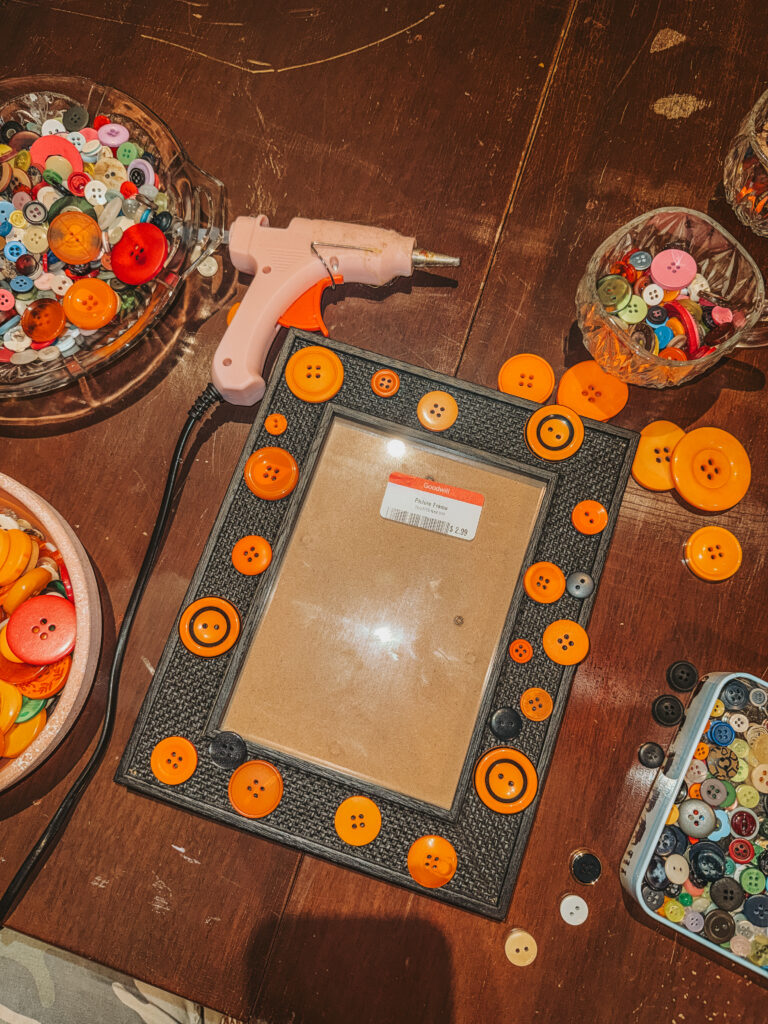
1) Prep the frame.
Remove the backing and glass. Wipe the frame’s surface with a dry cloth (or a bit of rubbing alcohol) to remove dust so glue adheres well.
2) Create your color plan.
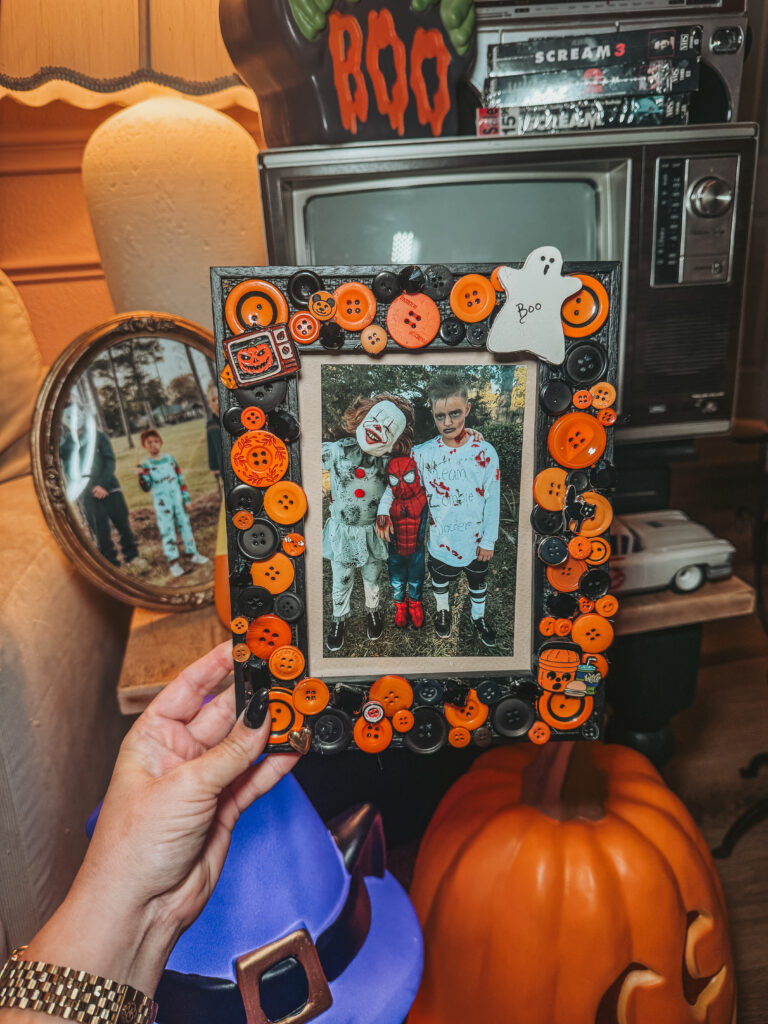
Lay out a handful of buttons in three piles: large, medium, small. I also pull out the “specials”—pins, charms, and my $1 ghost. For this project, I chose a classic orange + black palette with a few amber and glossy black accents for depth.
3) Start with the big buttons (the “anchors”).
Working one 2–3-inch section at a time, glue your largest buttons first. Stagger them so you don’t create a perfect pattern—random = charming. Corners are great for larger pieces because they visually “hold” weight.
4) Add medium filler.
Next, tuck medium buttons between the large ones, slightly overlapping edges for a layered look. Angle a few so you can see the thread holes pointing different directions—it keeps the frame from looking flat.
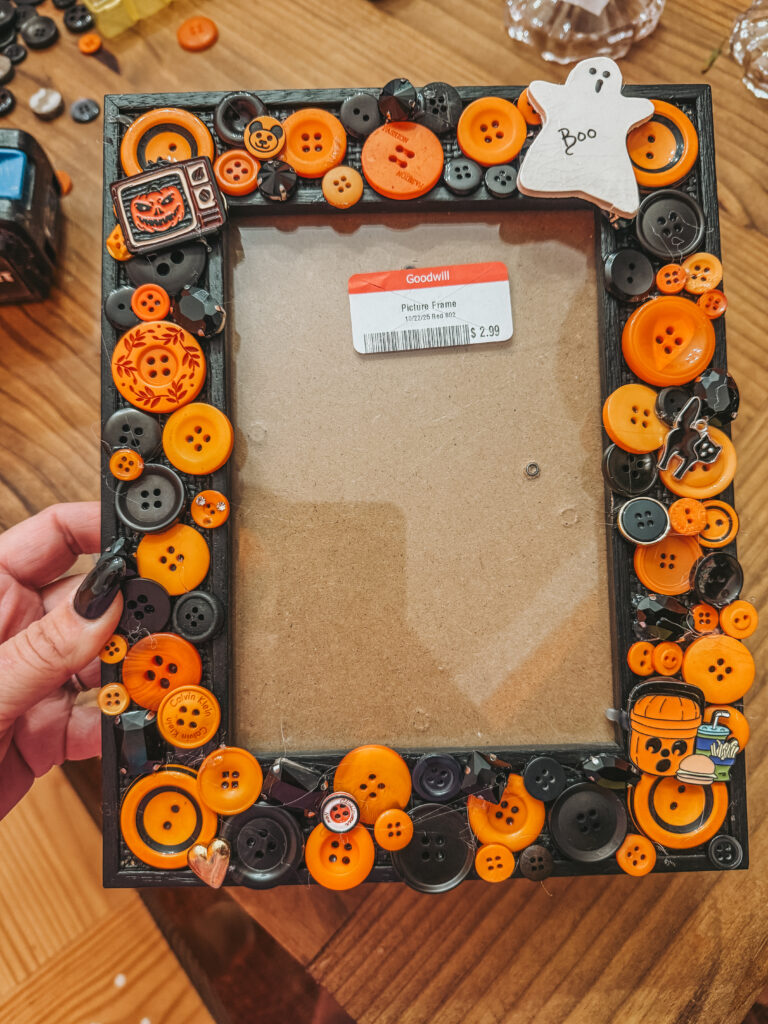
5) Place feature pieces.
Now add your statement trinkets—my cracked ceramic “Boo” ghost, the jack-o’-lantern TV pin, a tiny black cat charm, and a couple of faceted black gems. If any pins have backs, carefully snip them off and file gently so they sit flush.
6) Fill micro-gaps with small buttons & rhinestones.
This is where the frame comes to life. Use tweezers to place small buttons in tight spaces. Then add rhinestones sporadically for sparkle. Don’t overthink it—think “peppered” not “polka-dot.”
7) Check the inner lip.
Make sure no embellishments stick too far over the inner edge where the glass/backing need to slide back in. If they do, nudge pieces outward while the glue is warm.
8) Optional: seal.
Once dry, brush on or spray a clear gloss sealer to lock in shine and longevity (especially helpful if this will be handled a lot or displayed near a traffic area).
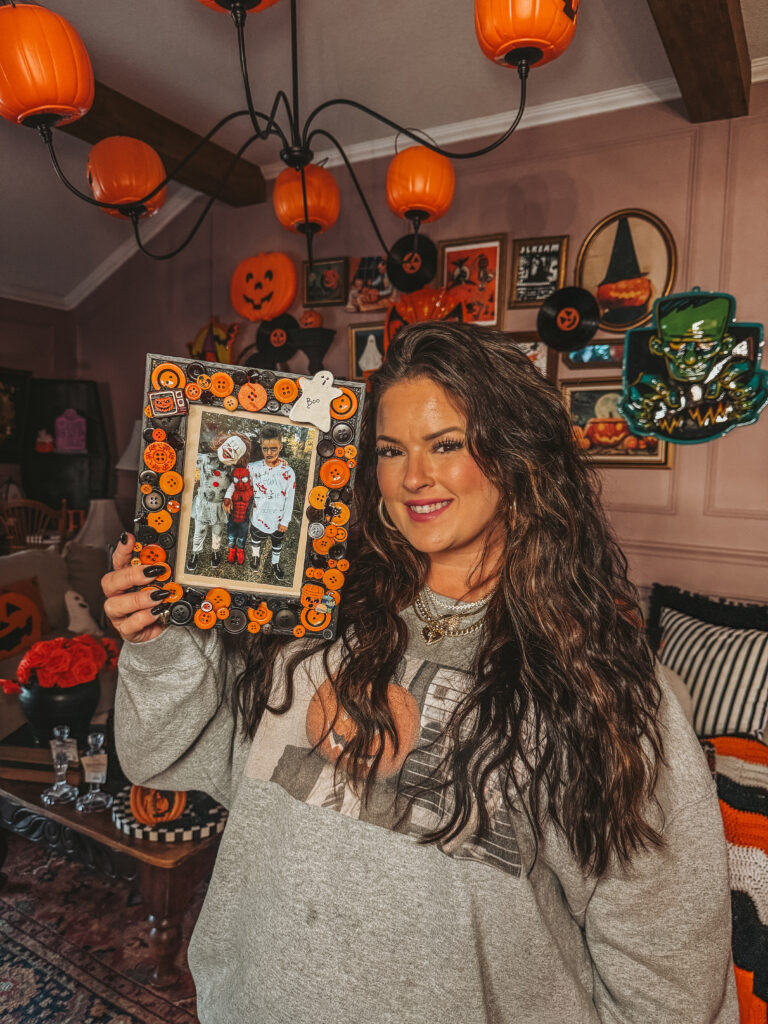
9) Reassemble & style.
Pop the glass and backing in, add a favorite Halloween photo, a vintage postcard, or a printout of your Halloween bucket list (linked below!). Style on a stack of books or your entry table with a mini pumpkin.
Cost & Time Breakdown
• Goodwill frame: $2.99
• Antique ghost: $1.00
• Button bags & rhinestones (portion used): $5–$10
• Pins/charms (portion used): $3–$6
Estimated Total: About $12–$20, depending on your stash
Time: 45–90 minutes, depending on how detailed you get (and how much you enjoy the layering part).
Pro Tips for a Polished Look
• Balance matte + glossy. Mix shiny plastic, matte vintage, and faceted rhinestones for rich texture.
• Odd numbers win. Cluster smaller buttons in groups of 3 or 5—it’s pleasing to the eye.
• Think diagonals. If you add an orange “pop” in the top left, add another in the bottom right to visually balance.
• Mind the corners. Corners love larger shapes; they “frame” the frame.
• Add a heart. A single tiny heart, charm, or initial hidden in the bottom corner makes it yours.
• For kids: Let them sort sizes/colors and place the smalls after you anchor the bigs. Use low-temp glue for safety.
Style Ideas: Where to Use It
• Mantel vignette: Layer with candlestick holders, a thrifted mirror, and faux spider webs.
• Front entry table: Prop the frame with a bowl of wrapped candy and a black-and-white checked runner.
• Bookshelf moment: Place beside your 31-Day Halloween Movie List printout (link below!) and a ceramic pumpkin.
• Party table: Label your buffet with a printed title card inside (e.g., “Spooky Snacks” or “Potion Bar”).
Variations to Try
• Candy-corn palette: Yellow, orange, white + a few black accents.
• Goth glam: All black buttons with silver studs and clear rhinestones.
• Vintage harvest: Rust, mustard, olive, and walnut wood buttons for a moody fall vibe.
• Photo-collage frame: Alternate buttons with tiny 1” photo squares of Halloweens past.
• Shadow-box upgrade: Use a deeper shadow box and add tiny bottlebrush trees, paper bats, or mini jack-o’-lanterns inside.
Troubleshooting
• Buttons won’t stay put: Lightly scuff glossy plastic backs with fine-grit sandpaper and use a dot more glue.
• Gaps look weird: Step back. Add 2–3 tiny buttons in a triangle rather than one lone dot.
• Too orange? Add matte black smalls and 2–3 clear rhinestones to break up color blocks.
• Glue strings everywhere: Wave a warm (not hot) hair dryer over the surface for 10–15 seconds to melt strings.
Make It a Memory: Host a DIY Night
Set up a button buffet with bowls by size and color, invite your friends, and throw on one of your favorite family-friendly Halloween movies. Need ideas? I’ve got you!
• Grab my free Halloween Bucket List packed with easy seasonal fun.
• Movie night planners: explore my three 31-day Halloween movie lists—something for every vibe:
• 31 Days of Kid-Friendly Halloween
• 31 Days of Nostalgic Halloween Classics
• 31 Days of Spooky Halloween
Print any of the lists to slip inside your button frame as your October “countdown art.” Swap in a photo on Halloween night!
Quick FAQ
How do I clean the frame once it’s finished?
Dust with a soft brush or microfiber cloth. Avoid wet cleaners; moisture can weaken glue.
Can I use craft glue instead of hot glue?
Yes, a strong tacky glue works but requires longer dry time. I prefer hot glue for instant grab.
What if I don’t have enough buttons?
Layer fewer large/medium pieces and fill gaps with rhinestones, flatback pearls, or tiny felt circles punched from craft felt.
Will this work on plastic frames?
Absolutely. Just de-dust first and avoid super slick corners where pieces want to slide—work in small sections.
Can I gift this?
Yes! Add a printed family photo or your recipient’s initial in one corner for a personal touch.
What to Put Inside the Frame
• A black-and-white family photo in costumes
• A vintage Halloween postcard
• Your printed Bucket List or 31-Day Movie List
• A menu card for your Halloween party or Soup-er Saturday night
• A mini art print you design in Canva (witch hats, bats, or a “Boo!” hand-lettering)
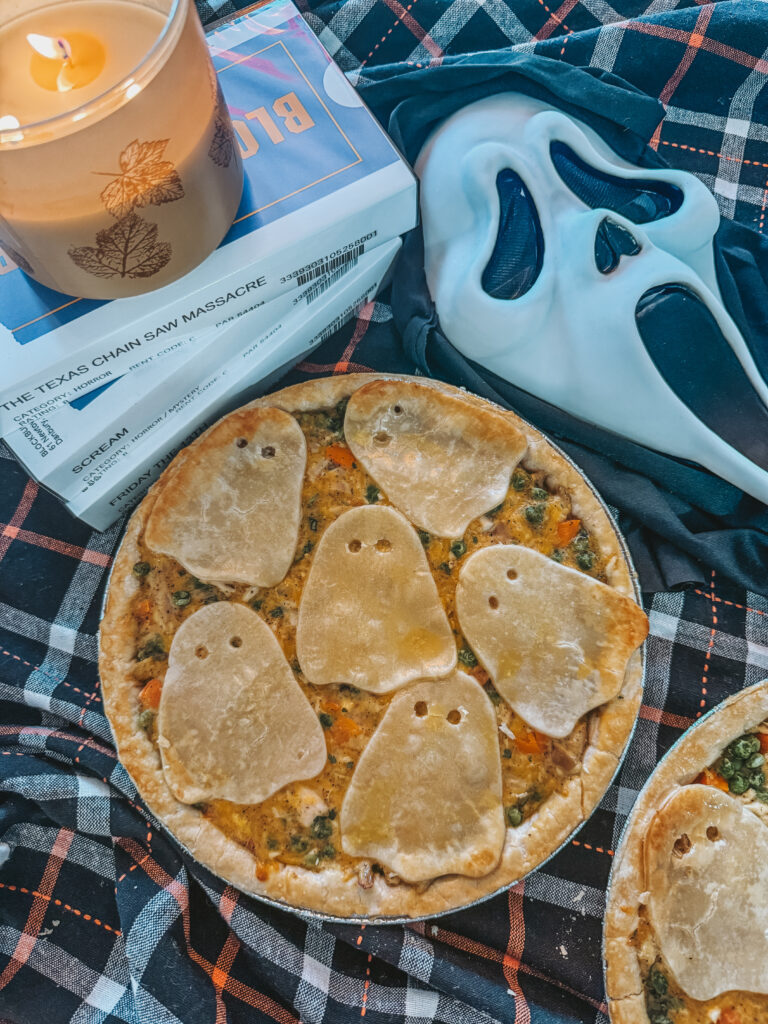
Dinner Tonight: Easy Halloween Chicken Pot Pie [RECIPE]
If your kitchen needs a cozy, low-stress dinner after crafting, you have to try my Easy Halloween Chicken Pot Pie—it’s honestly one of the easiest dinners I’ve ever made and always a hit with the kids. I cut little jack-o’-lantern vents in the pastry for a festive touch. Grab it here: Easy Halloween Chicken Pot Pie and pair it with a simple green salad. Done and delicious.
Shop the Look (Similar/Suggested)
• Assorted orange + black button packs (various sizes)
• Flatback rhinestone assortments
• Tiny Halloween enamel charms (ghosts, black cats, pumpkins)
• Hot glue gun + glue sticks
• Clear gloss sealer (brush-on or spray)
Final Thoughts
This little frame makes me smile every time I walk by it. It holds a story: the $2.99 Goodwill rescue, the Granny Camp button swap, the $1 ghost from an antique bin, and those retro pins that only a quirky local shop like The Collective would have. That’s what I love most about Thriftin’ Thursday—it’s not just a craft; it’s a memory you can set on a shelf.
If you try this, tag me so I can cheer you on and share your version with the Festive Crew! And if you’re planning your best October yet, don’t forget:
• Halloween Bucket List
• 31 Days of Kid-Friendly Halloween Movies
• 31 Days of Nostalgic Halloween Classics
• 31 Days of Spooky Halloween Movies
• Easy Halloween Chicken Pot Pie for a no-stress dinner
Happy crafting and happy thrifting! 🧡🖤
This post includes affiliate links. That means if you click and make a purchase, I may earn a small commission at no extra cost to you. As always, I only share items I use and love, and your support helps me keep creating free Thriftin’ Thursday DIYs for our community. Thank you!
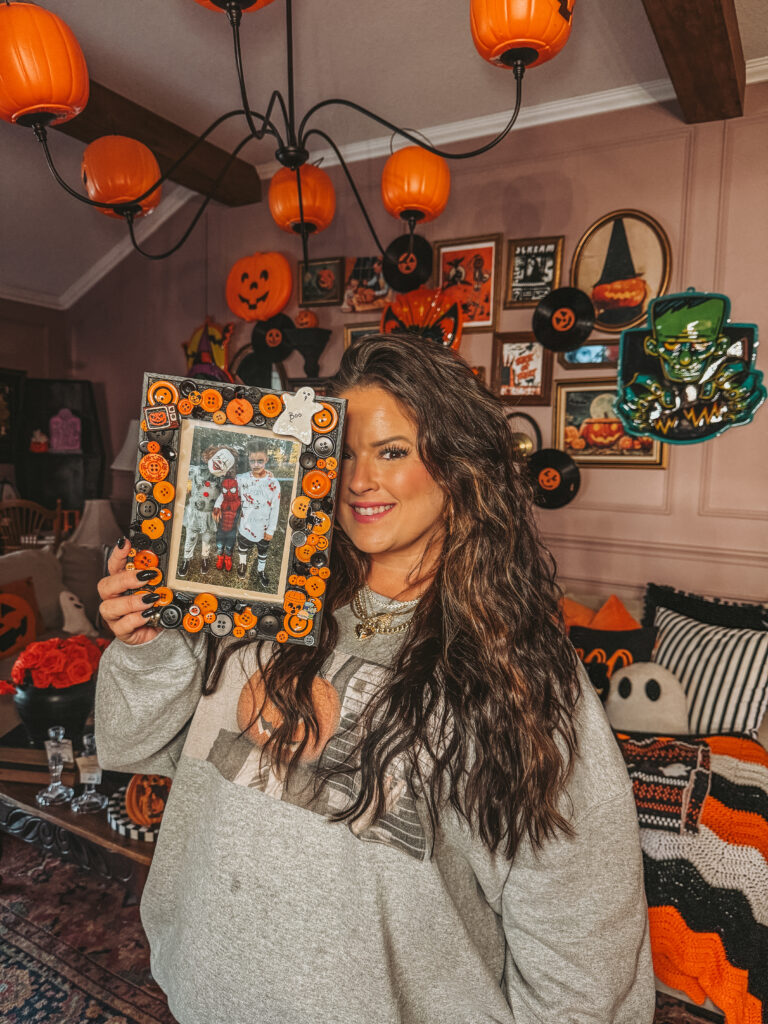
Make sure you are following me on social media (@AshtonSedita) on all platforms and subscribed to my blog so you never miss a DIY! And as always please tag me in your creations, I would love to see what you come up with!
xoxo,
Ashton Sedita