The Ultimate DIY Lip Gloss Charm Guide: The “Teacher Appreciation” Gift (And Girls’ Night Essential) Everyone is Obsessing Over
Let’s be real for a second: we’ve all seen the standard teacher gifts. The “Best Teacher” mugs are piling up in breakrooms across the country, and there are only so many vanilla-scented candles one person can burn before their house starts smelling like a bakery in a fever dream. This year, we are pivoting. We are moving away from the “safe” and sliding headfirst into something bold, bright, and brilliantly maximalist.
Whether you’re looking for the perfect end-of-year teacher gift, a birthday surprise for your soul-sister bestie, or you just need a little “treat yourself” project to feed your creative soul, these DIY Lip Gloss Charms are the answer. They are kitschy, they are personalized, and they turn a daily essential into a total statement piece. This isn’t just a craft; it’s a lifestyle.
Grab your beads, heat up your creative engines, and let’s get into the pink-hued aesthetic of it all. We’re going deep into the world of “Festive Fun” today!
The Philosophy of Modern Maximalism
If you’ve been around the blog for a while, you know I don’t do “boring.” My heart beats for Modern Maximalism—that perfect intersection where more is actually more, but in the most curated way possible. We’re talking layered textures, vibrant pops of pink, and enough charms to make a minimalist faint.
These lip gloss charms are a micro-expression of that style. In a world that keeps trying to push “sad beige” on us, we are choosing to bedazzle our lip balm. Why? Because life is too short for plain plastic caps. When you pull this out of your bag, it shouldn’t just be a hydrating treatment; it should be a conversation starter.
Pro-Tip for the Soul: While we’re branding these as the ultimate “Teacher Appreciation” idea, let’s be honest—these are the perfect activity for a Girls’ Night In. Imagine a massive grazing board, some chilled rosé, and a table overflowing with beads and baubles. Everyone leaves with a custom charm that matches their personality, and you get the credit for being the hostess with the mostess.
The Supply List: Building Your “Festive” Toolkit
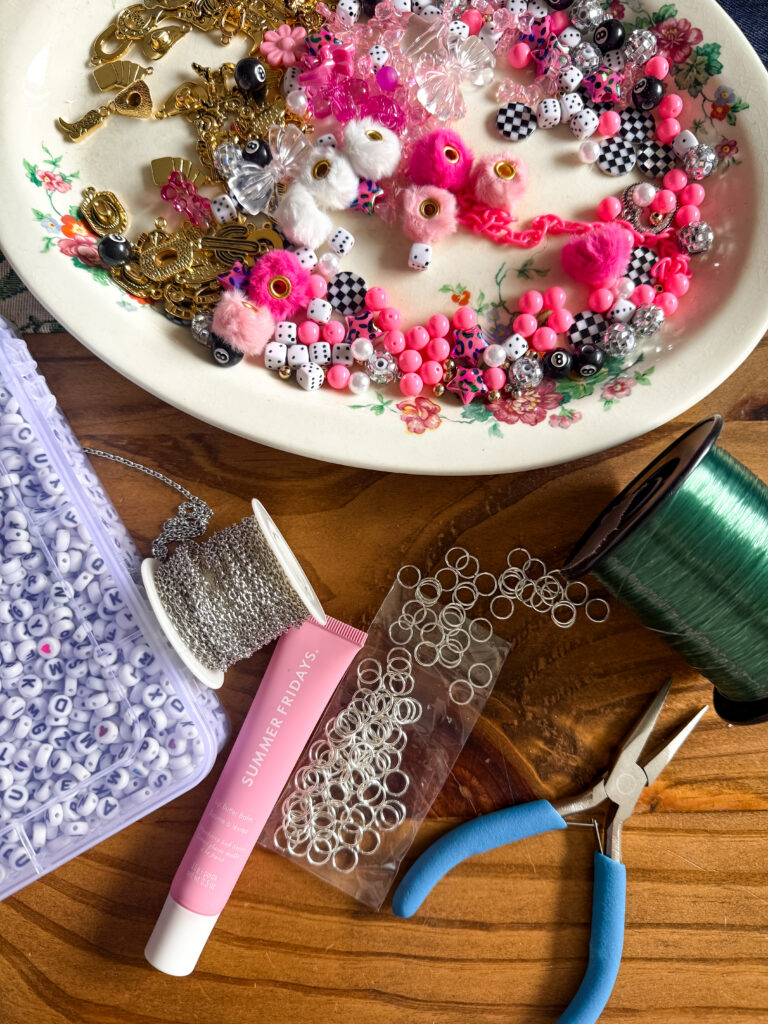
To get that professional, “Ashton-style” layered look, you need a mix of textures and sizes. You don’t want just one type of bead; you want a symphony of them. Here is everything you need to recreate the look from my workshop. I’ve linked my favorites below so you can stock up:
The Foundation
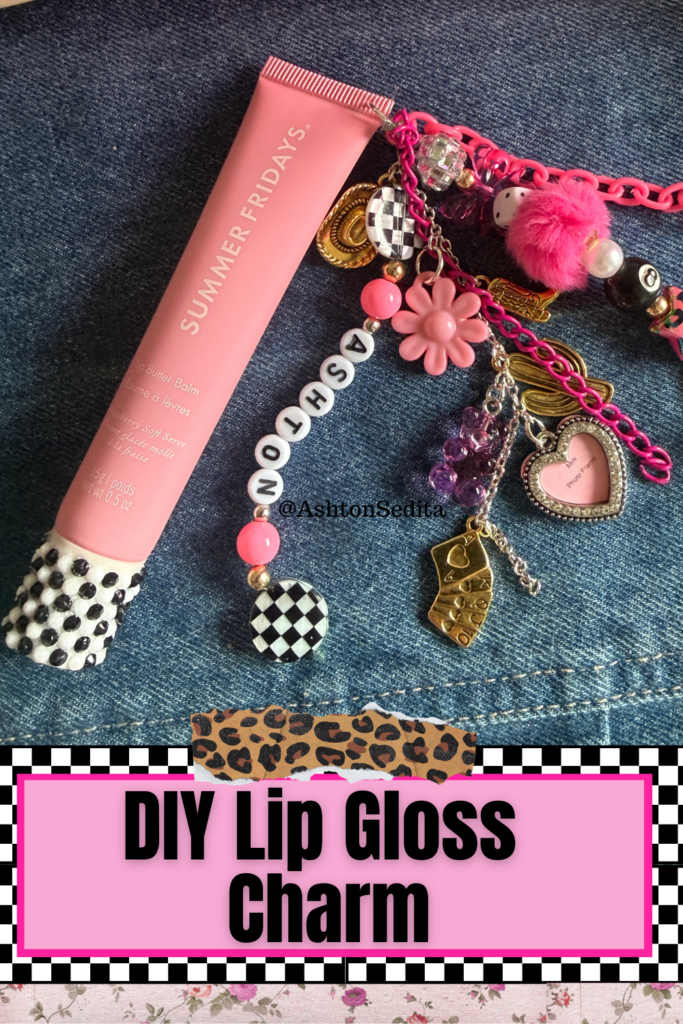
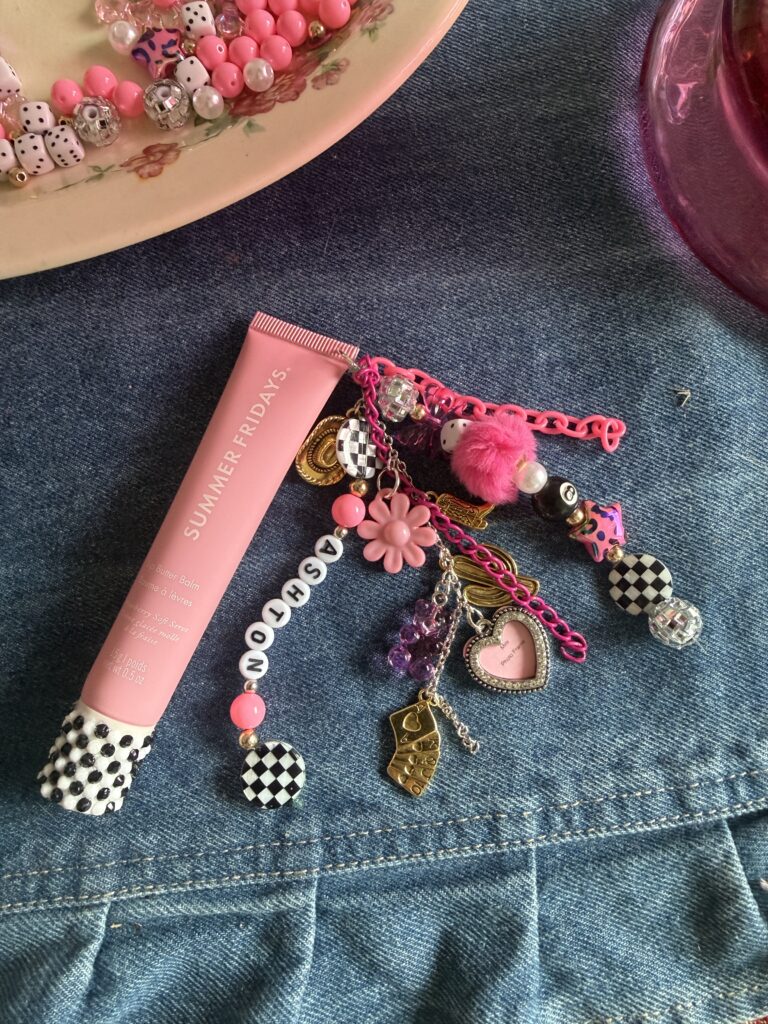
- The Hero Product: Summer Fridays Lip Butter Balm (Strawberry Soft Serve) – The pink packaging is iconic, and the formula is buttery heaven.
- The “Bones”: Heavy Duty Fishing Line / Monofilament or Silver Link Chain. Use the line for the beaded strands and the chain for the heavier metal charms.
- The Hardware: Silver Jump Rings (Multi-Size Pack) and Jewelry Pliers. Trust me, your fingernails will thank you for using the pliers.
The “Main Characters” (The Statement Beads)
- The Alphabet: White & Black Alphabet Beads. Whether you’re spelling out “Mrs. Smith” for a teacher or “Ashton” for yourself, these are non-negotiable.
- The Sparkle: Mirror Disco Ball Beads. These catch the Texas sun like nothing else.
- The Pattern: Black and White Checkered Beads. This gives that “Eccentric Maximalist” edge that keeps things from being too sugary sweet.
- The Charms: Pink Flower & Heart Charms.
- The Luck: 8-Ball & Dice Beads. I love adding a little “Vegas” or “Lucky” vibe to my crafts.
- The Gold: Mini Gold Card or Cowboy Boot Charms. Because we’re in Texas, and a boot is always appropriate.
The Texture Boosters
- The Softness: Hot Pink Pompom Beads. These add a 3D element that makes the charm feel expensive.
- The Playfulness: Colored Plastic Chain Links. I love these for adding a chunky, 90s-nostalgia feel to the dangle.
The Step-By-Step: Crafting Your Masterpiece
Creating a lip gloss charm is an exercise in “organized chaos.” You want it to look full, but you want it to be functional. Here is my tried-and-true process:
1. Prep the Cap (The Most Important Part)
You need a secure anchor. You can use a small hand drill to carefully put a tiny hole in the corner of the Summer Fridays cap, or you can use a strong adhesive (like E6000) to attach a jewelry bail.
- The “Ashton” Extra: Take some tiny rhinestones or some black-and-white paint and give the base of your cap a checkered pattern. It ties the whole look together and makes the lip gloss itself feel like part of the jewelry.
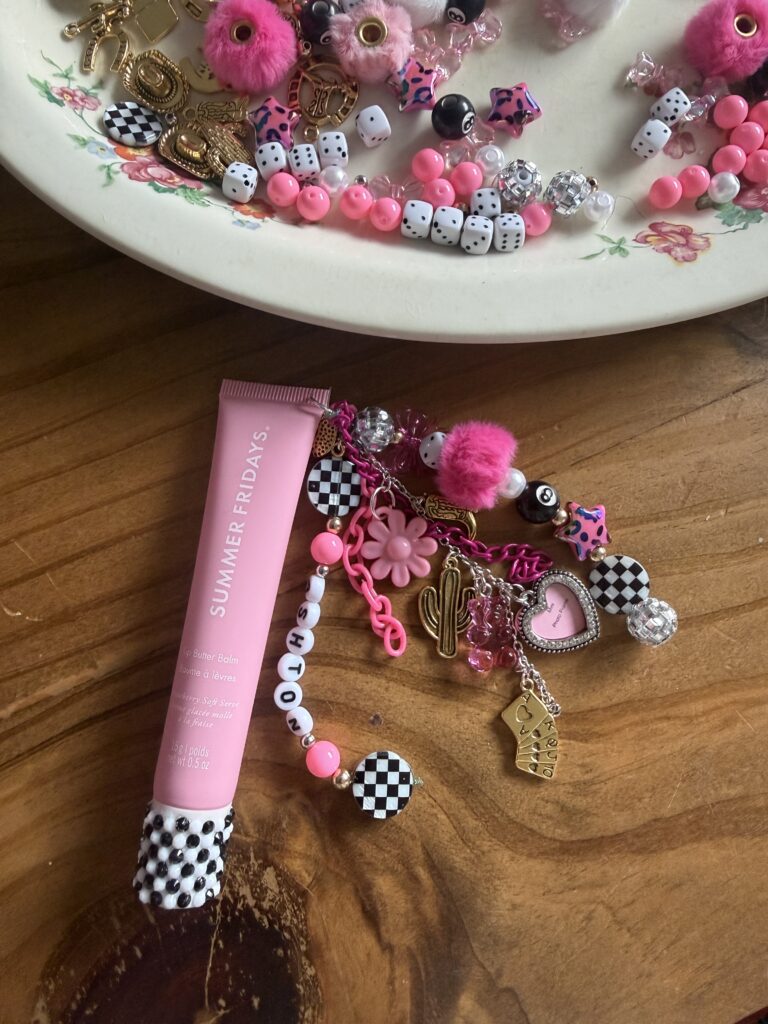
2. Designing the Layout
Don’t just start stringing. Lay your beads out on a tray (I use a vintage floral platter for the vibes). I usually aim for three distinct strands:
- Strand A: The “Name” strand. Keep this one slightly longer.
- Strand B: The “Texture” strand. Use your pompoms, plastic chains, and larger disco balls here.
- Strand C: The “Charm” strand. This is where your metal gold charms and tiny trinkets live.
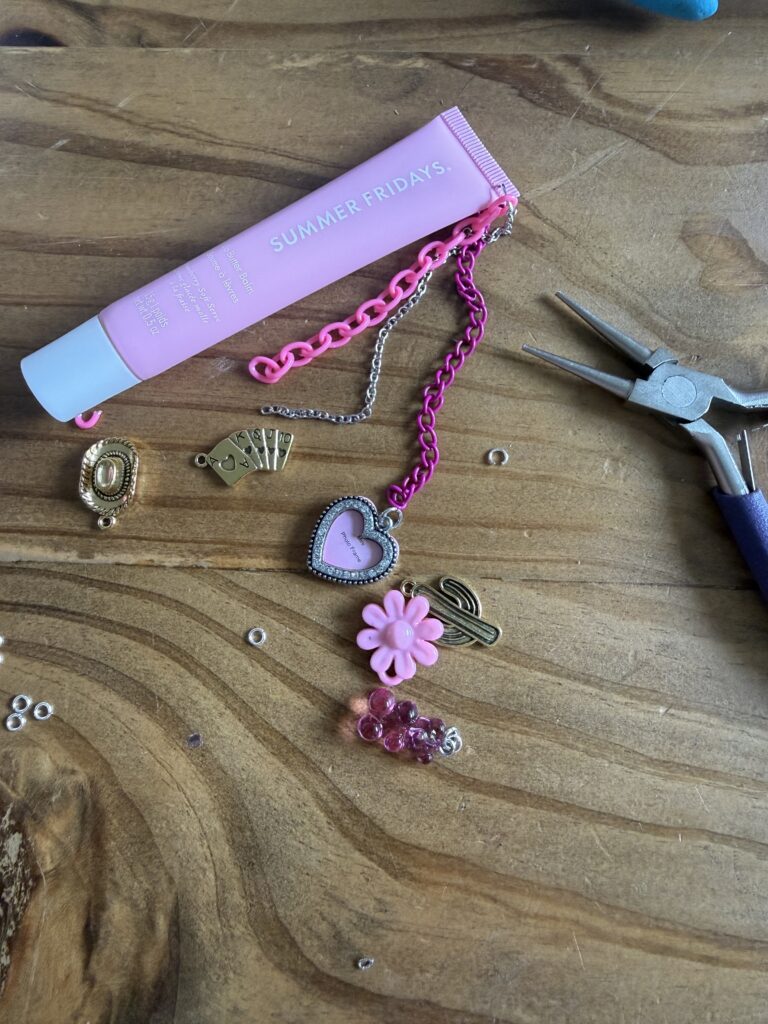
3. Stringing and Securing
If you’re using fishing line, make sure you double-knot and use a tiny dab of glue on the knot to ensure it doesn’t slip. If you’re using a silver chain, use your jump rings to attach each individual charm. The key to the maximalist look is layering. You want the strands to overlap and “clink” when you move.
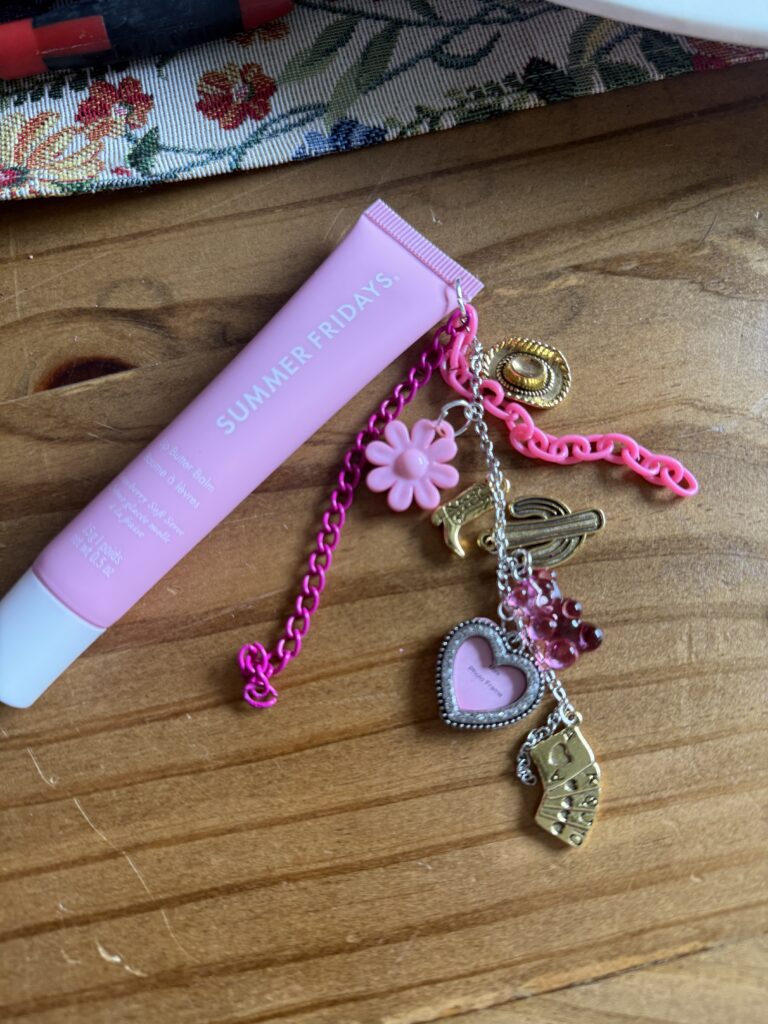
4. The Final Assembly
Attach all your finished strands to one large jump ring, then attach that ring to the cap. Give it a shake. Does it feel festive? Does it make you smile? If the answer is yes, you’re done. If it feels a little thin, add another pompom. In this house, we don’t do “minimal.”
Why This is the Ultimate Teacher Gift
Let’s talk about the educators for a second. Teachers spend their days giving 100% of their energy to our kids. By the time May rolls around, they are exhausted. Bringing them a gift that is thoughtful, trendy, and actually useful shows them you really see them.
Most teachers have their “essentials” on their desk—their water bottle, their pens, and their lip balm. By gifting a Summer Fridays balm with a custom name charm, you’re giving them a little piece of luxury they can use every single day. Plus, it’s a great way to use those leftover beads from your last “Festive Fun” event!
Come Craft With Me: Festive Fun Events
If you’re reading this and thinking, “Ashton, I want to do this but I don’t want to buy a thousand beads just for one charm,” then you need to come to a Festive Fun Event!
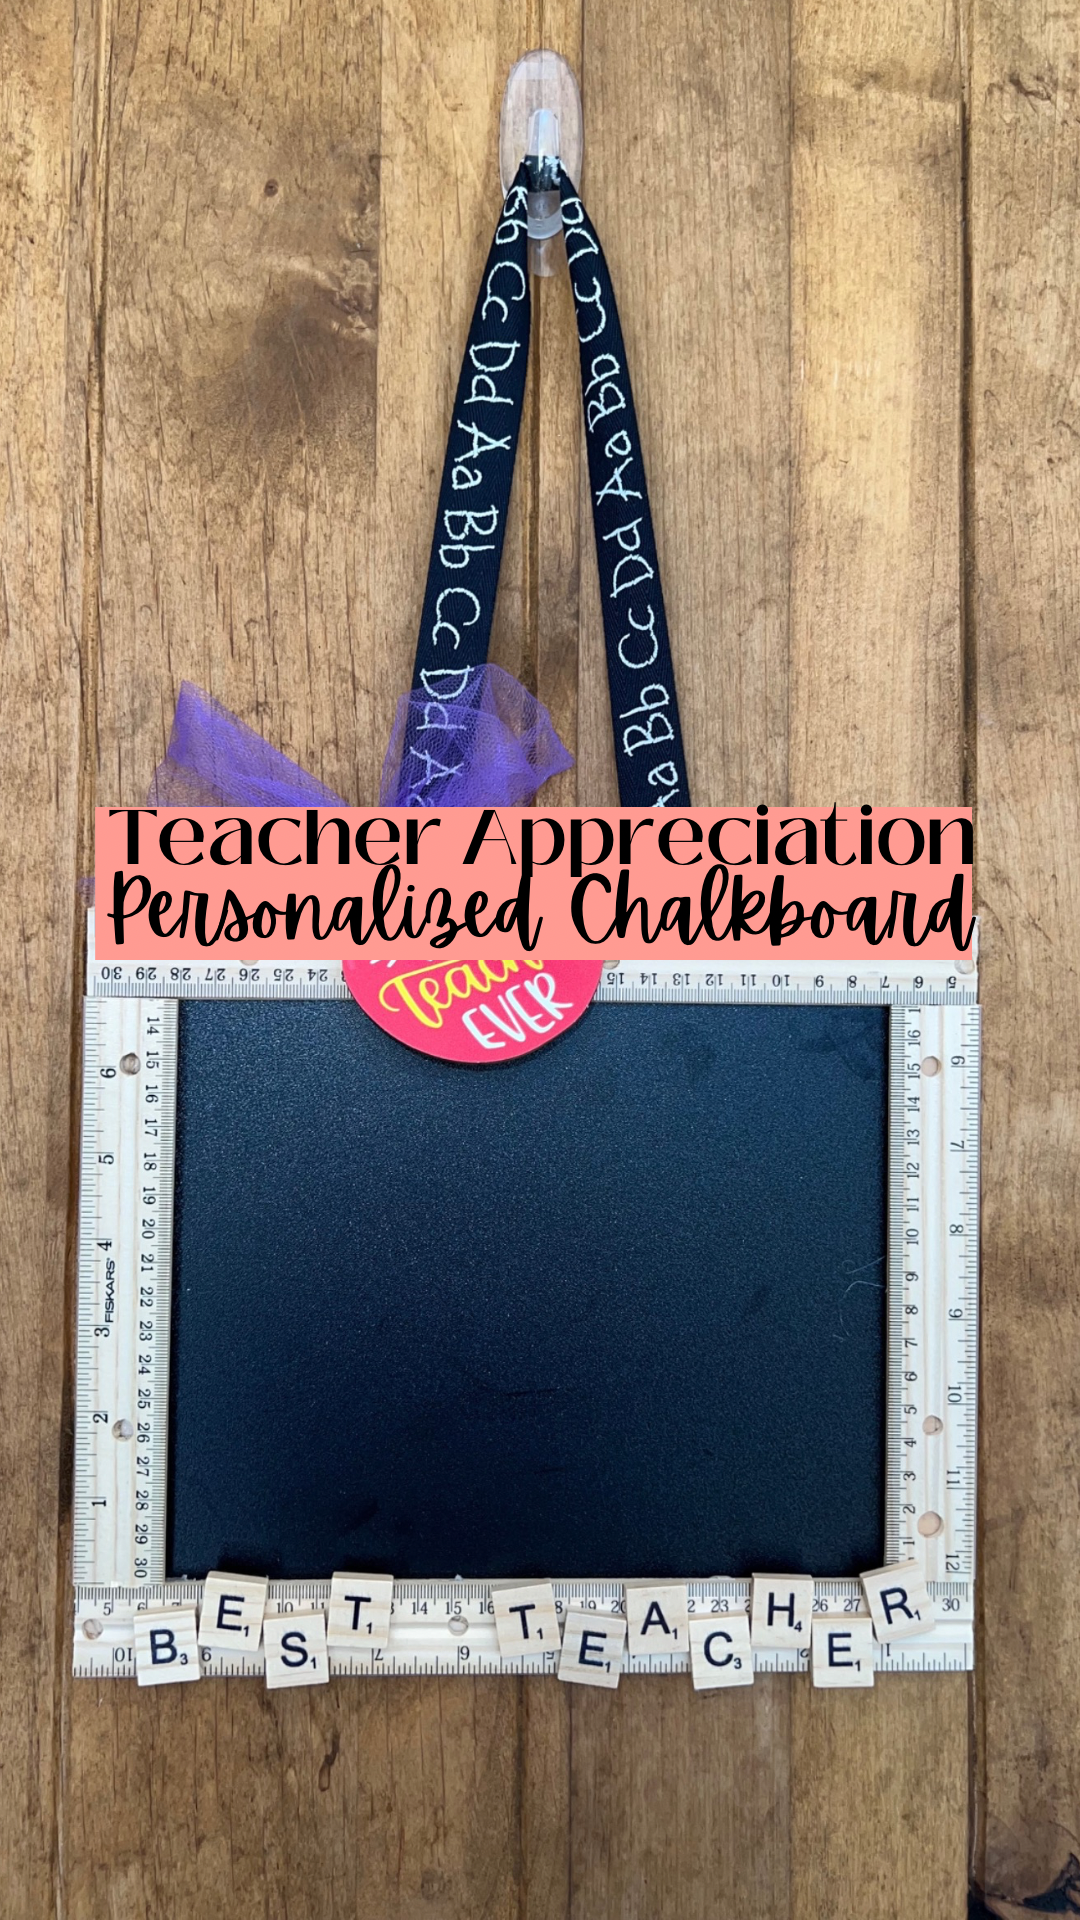
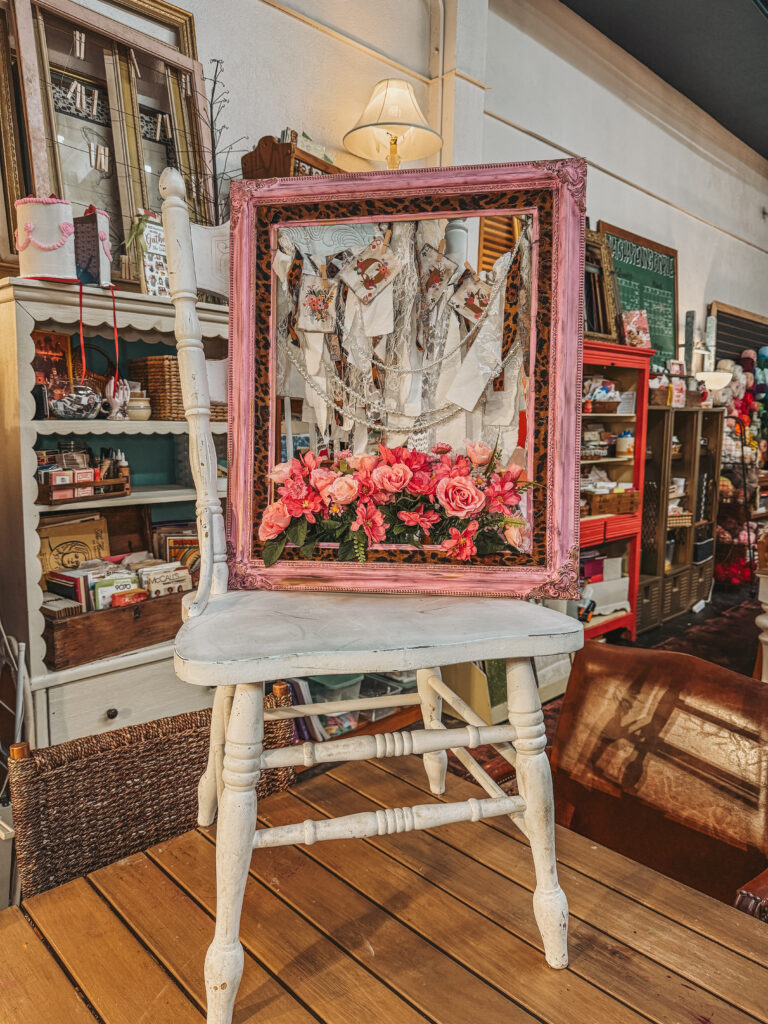
I host these workshops because I believe creativity is better when it’s shared. We’ve done everything from custom matchboxes to bedazzled lighters. One of my favorite recent memories was our Petals and Patina Workshop. We spent the morning sipping mimosas and turning vintage frames into these gorgeous, patina-style door hangers. It was the perfect blend of “old world” and “new festive.”
When you come to a Festive Fun event, I provide the supplies, the vibes, and the “how-to.” It’s the easiest way to get your DIY fix without the stress of a messy craft room at home. If you’re in the Texas area, check out the “Events” tab on the blog to see what’s coming up next!
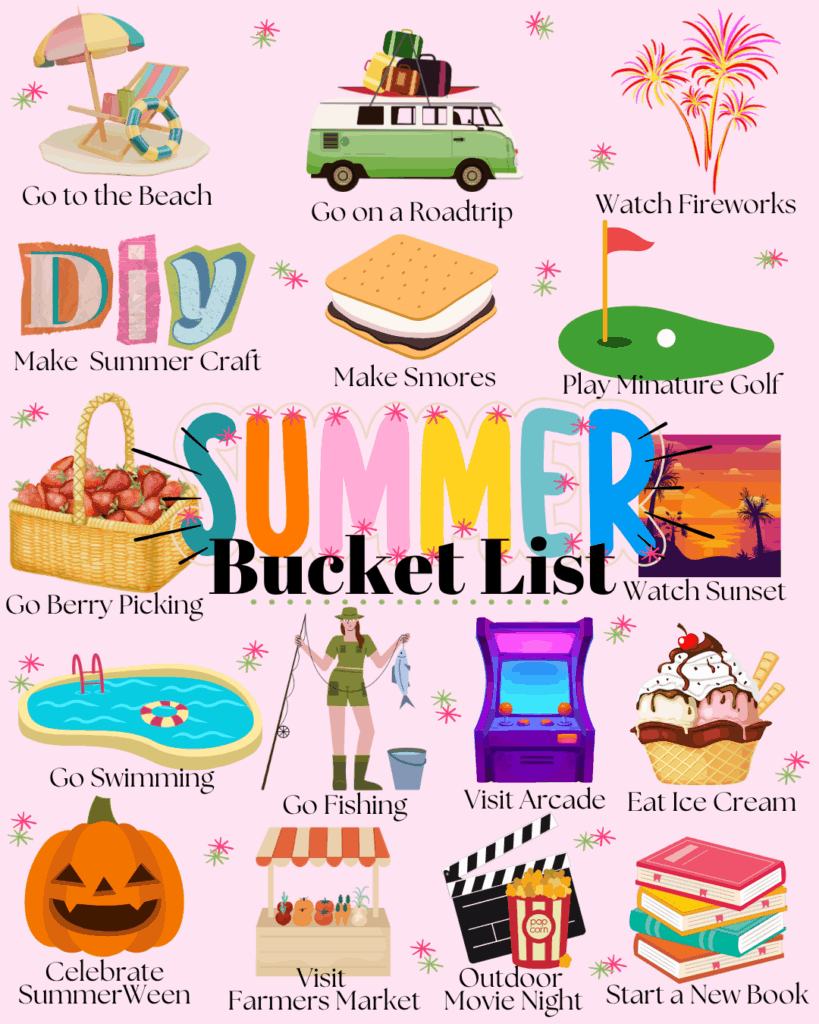
Looking Ahead: The Summer Bucket List
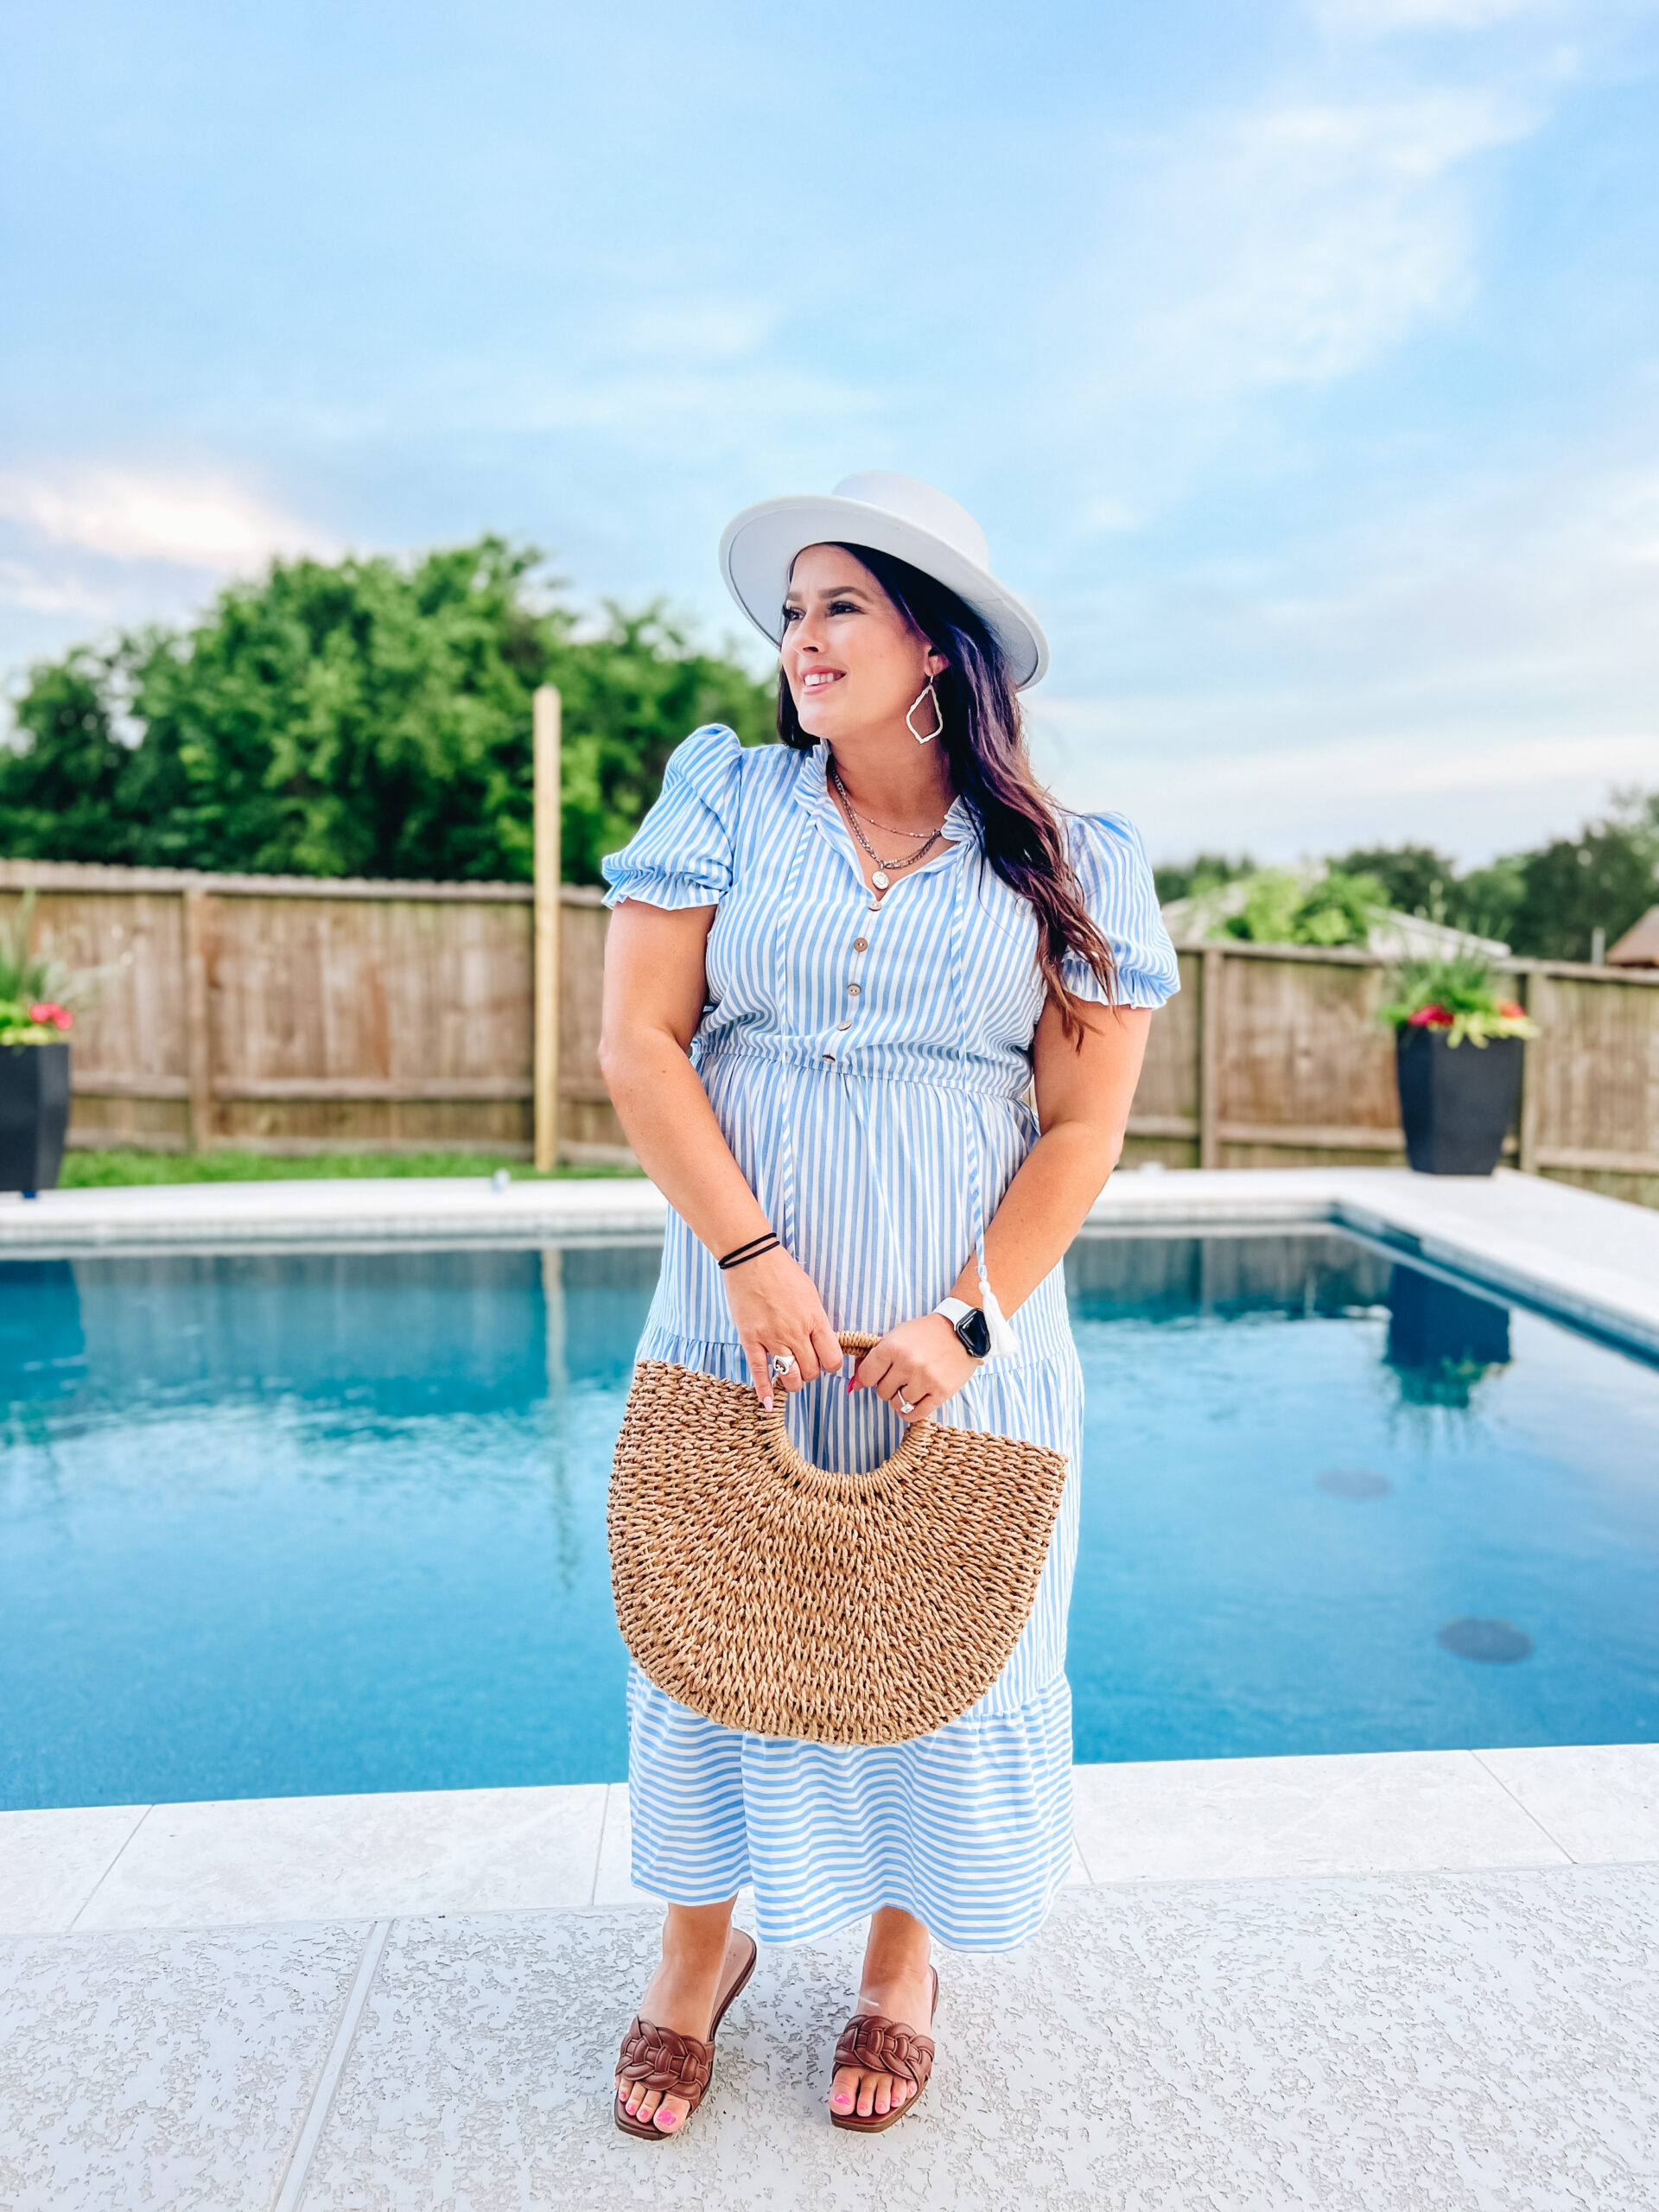
Now that you have your lip gloss charm ready, you’re officially ready for summer. This little accessory is going to look so cute in your poolside selfies! Speaking of summer, I just dropped a post featuring 25 Summer Bucket List Ideas that you absolutely cannot miss. We’re talking local Texas gems, DIY backyard cinemas, and the perfect playlist for a road trip.
Join the Community!
This blog is my favorite place on the internet, but the party continues over on social media. I’m constantly sharing “Sunday Reset” videos, behind-the-scenes look at my writing process (my literary agent is currently pitching my newest manuscript…fingers crossed!), and daily doses of maximalist decor.
I want to see your creations! If you make a lip gloss charm, tag me in your photos. Nothing makes me happier than seeing the “Festive Fun” community grow.
How to stay in the loop:
- Instagram: @AshtonSedita (For daily stories and DIY reels)
- TikTok: @AshtonSedita (For high-energy resets and mascot mom life)
- The Website: Ashtonsedita.com (For the deep dives and long-form guides)
- Pinterest:@Ashtonsedita (For aesthetic mood boards and organized DIY inspiration)
Stay Festive, Y’all!