
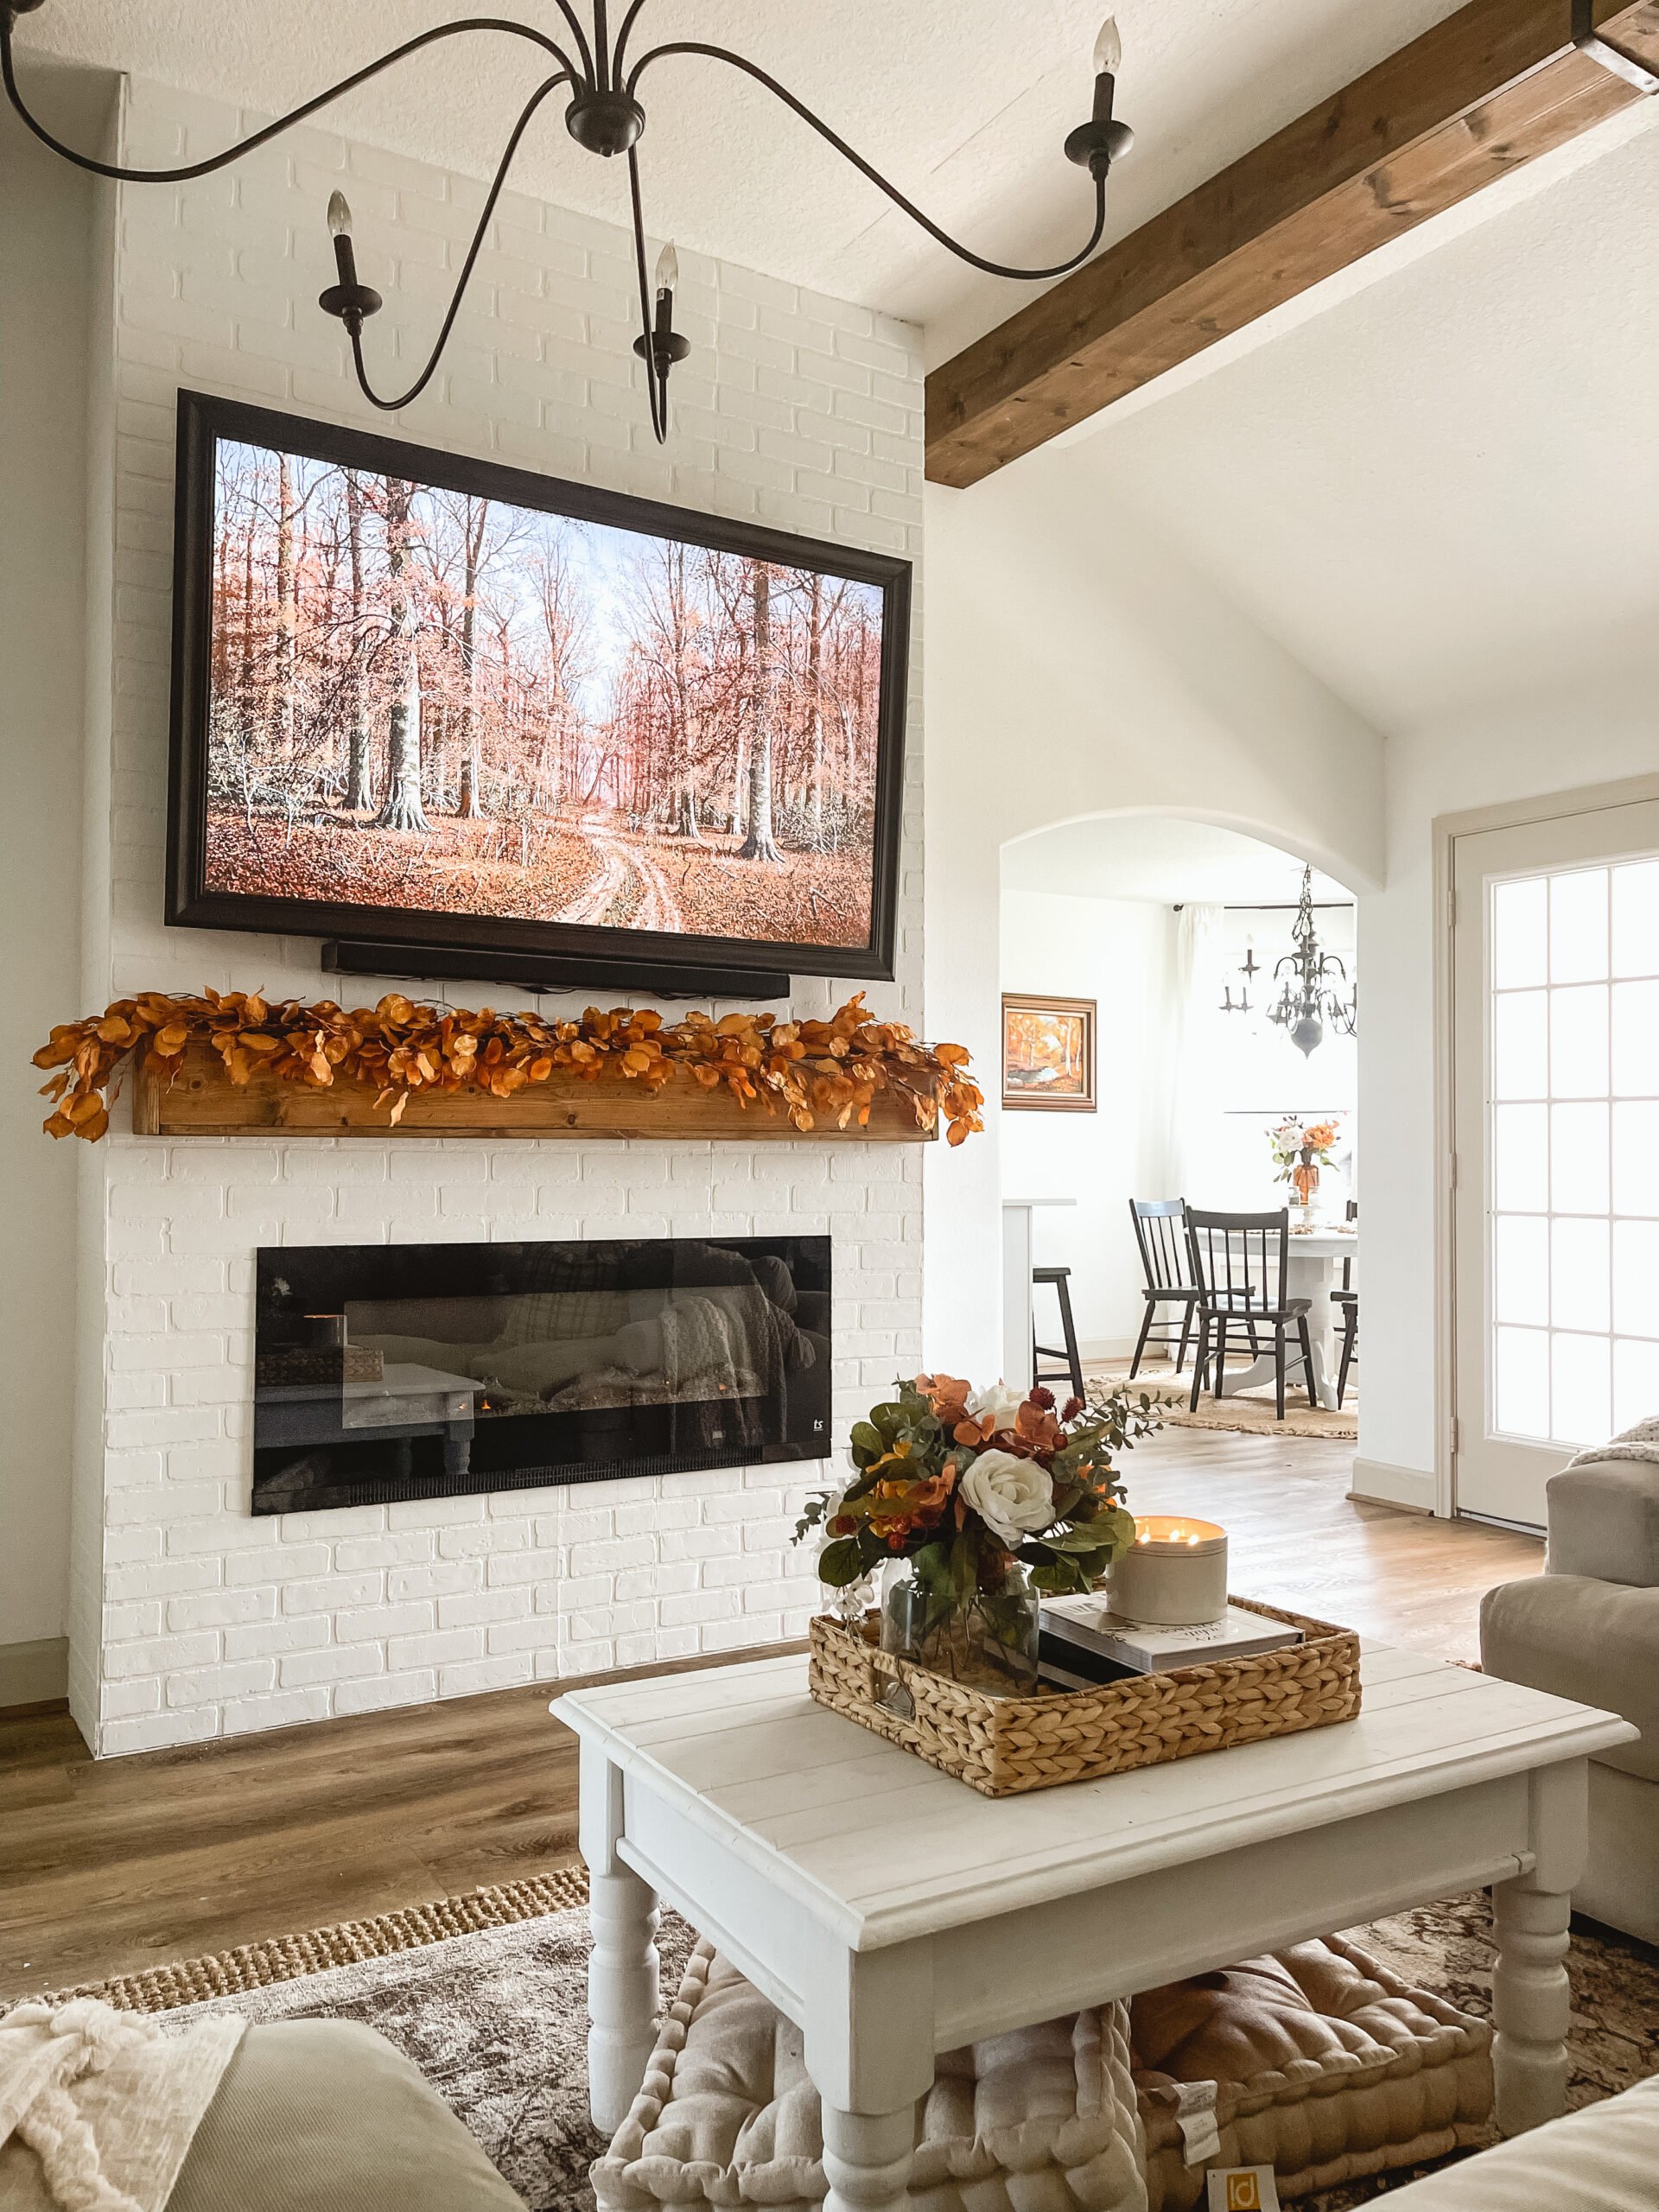
COFFEE TABLE CUT DOWN MAKEOVER
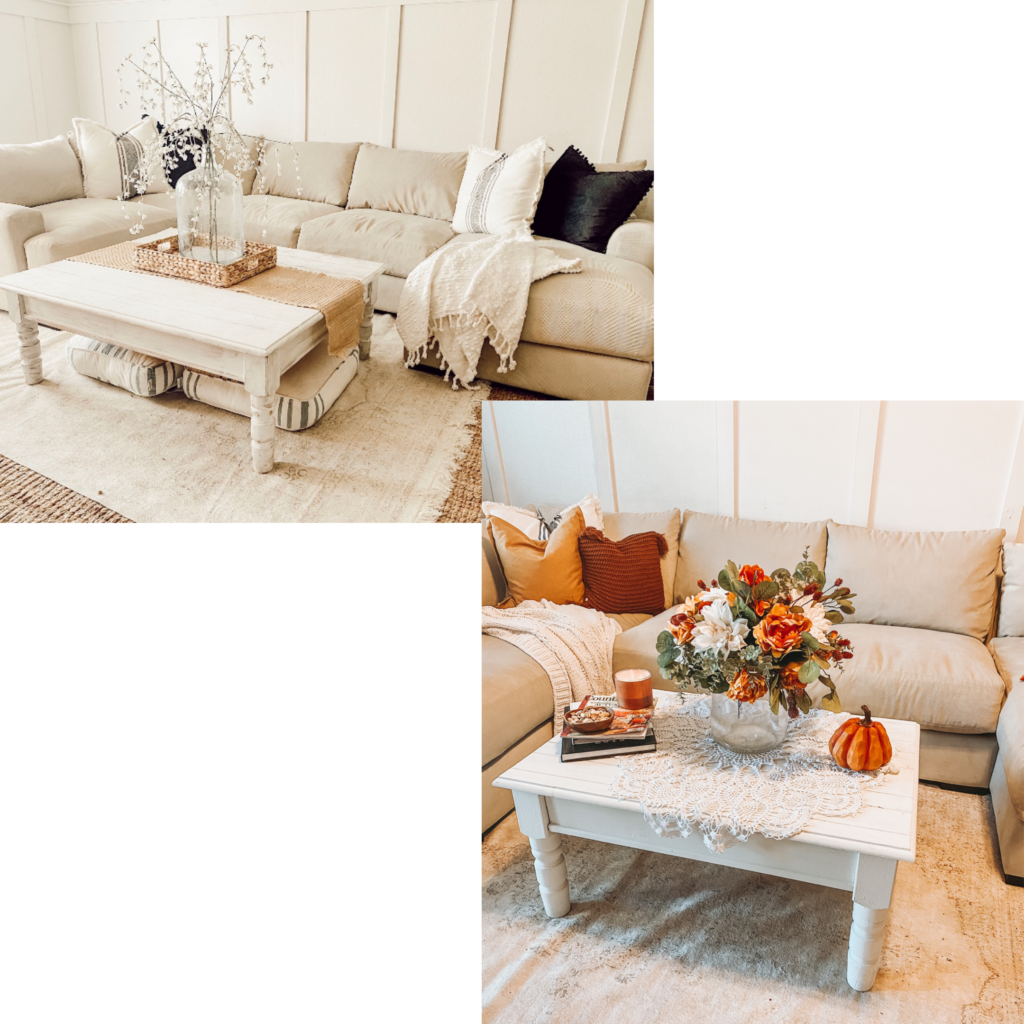
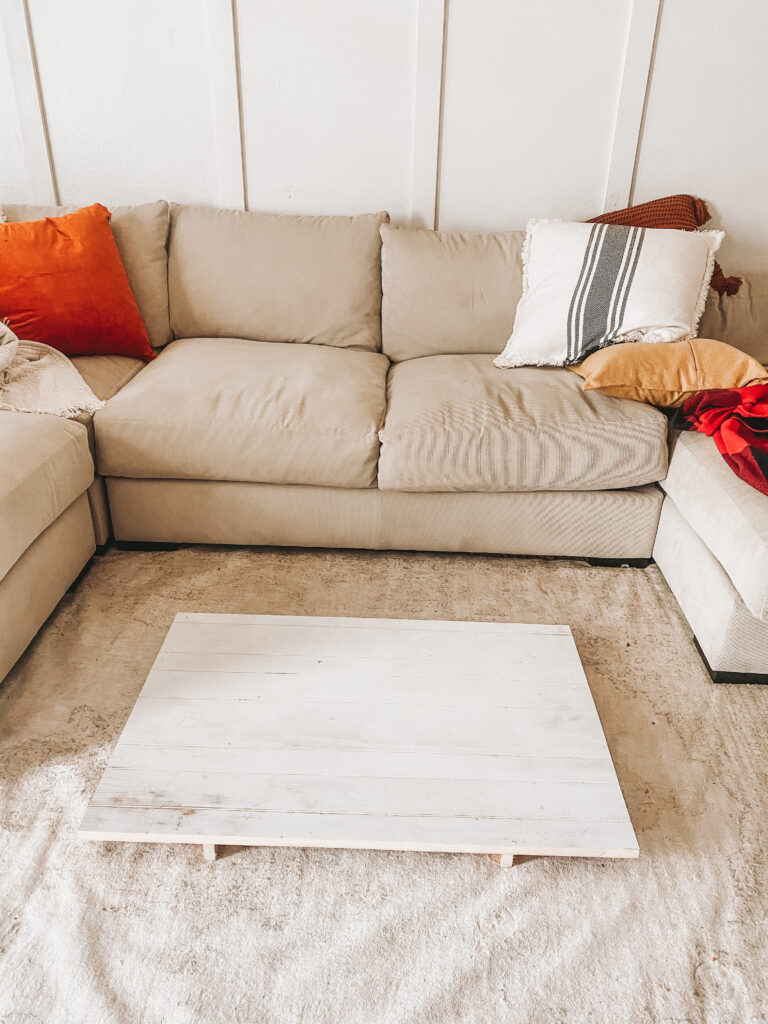
Fun weekend project was a huge success!! So, I found this coffee table about a year and a half ago for ONLY $5 at a garage sale. The chunky legs are what instantly sold me. The minute I brought this beauty home, I gave it a little TLC and a paint makeover. For a year now, we have enjoyed every minute of this large beautiful chunky girl. But, about a month ago we FINALLY bought a new couch from Macy’s and the table just wasn’t proportionately right.
So, being the thrifty person that I am and I never turn down a challenge… I decided to try to just cut it down to the desired size we needed. Honestly, I am obsessed with this table and was determined to make it work. I did call in for back up on this project because last thing I wanted to do was mess up my beauty. So, husband to the rescue!!!
I will walk you step by step on how truly easy this process was!
STEPS FOR CUTTING DOWN COFFEE TABLE:
- Determine the desired size for cut down. PS…..Doesn’t my little handy helper look EXCITED!
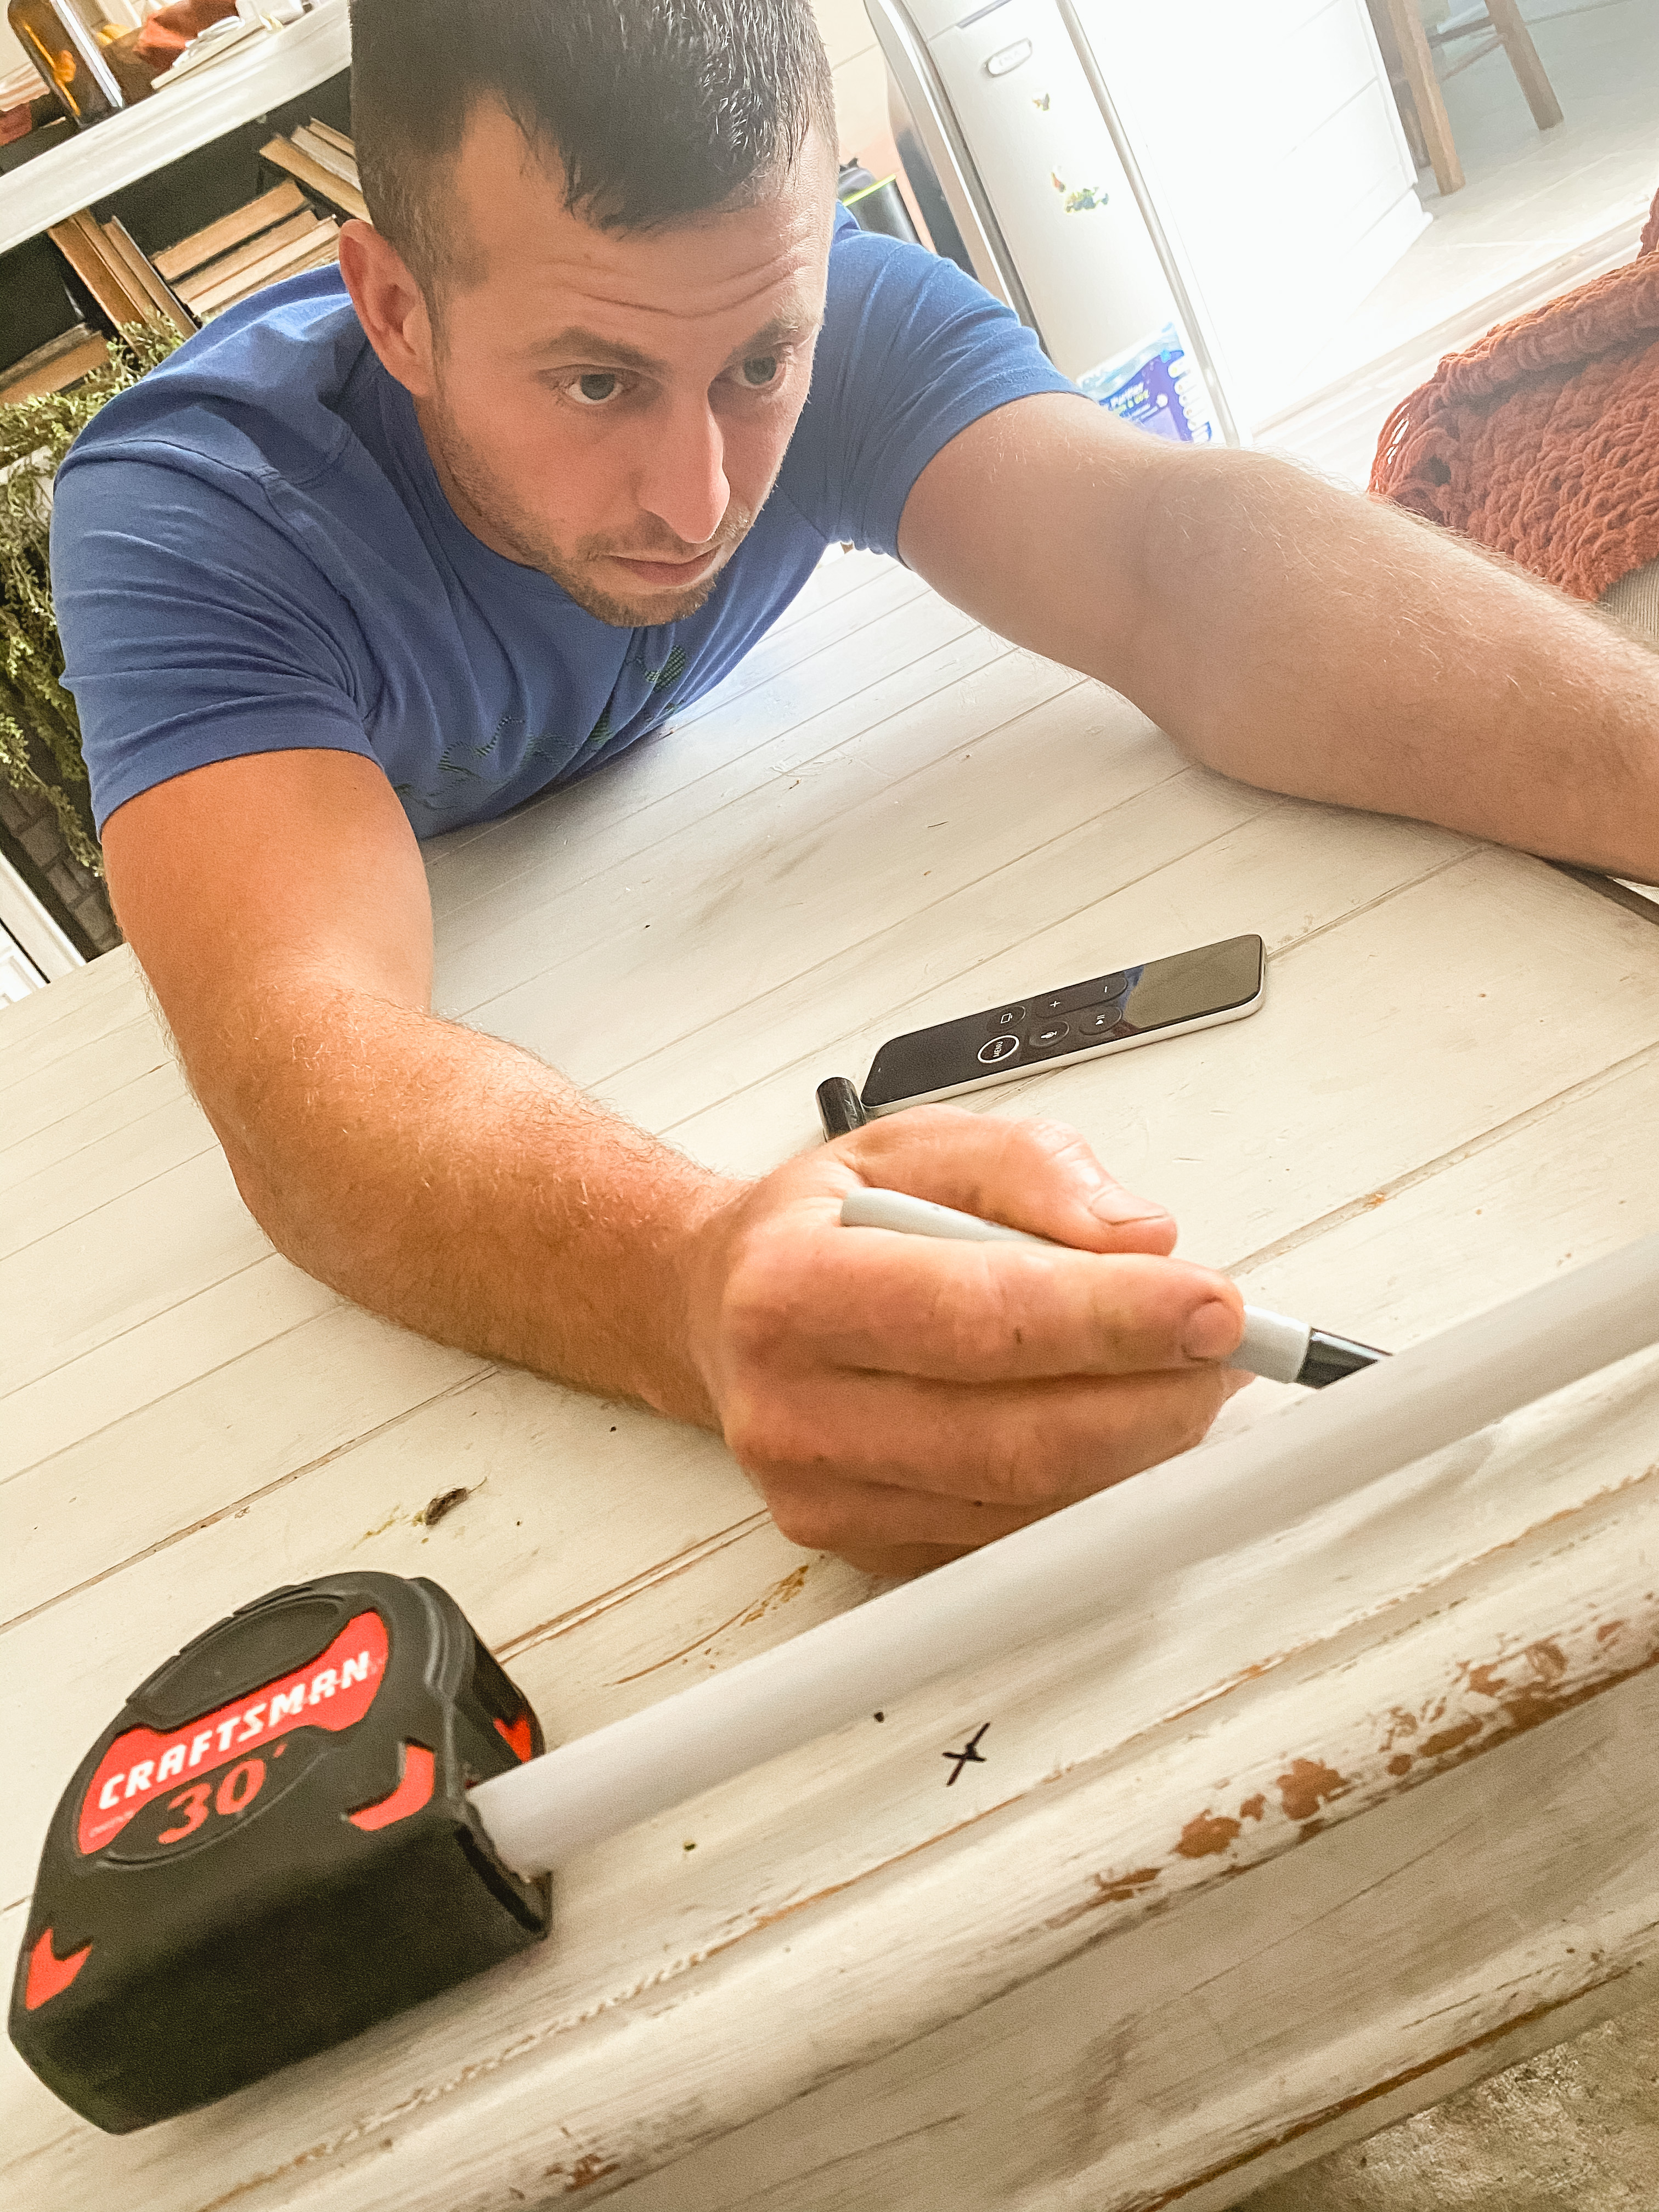
#2. Detach the top from the frame and draw your lines for cutting.
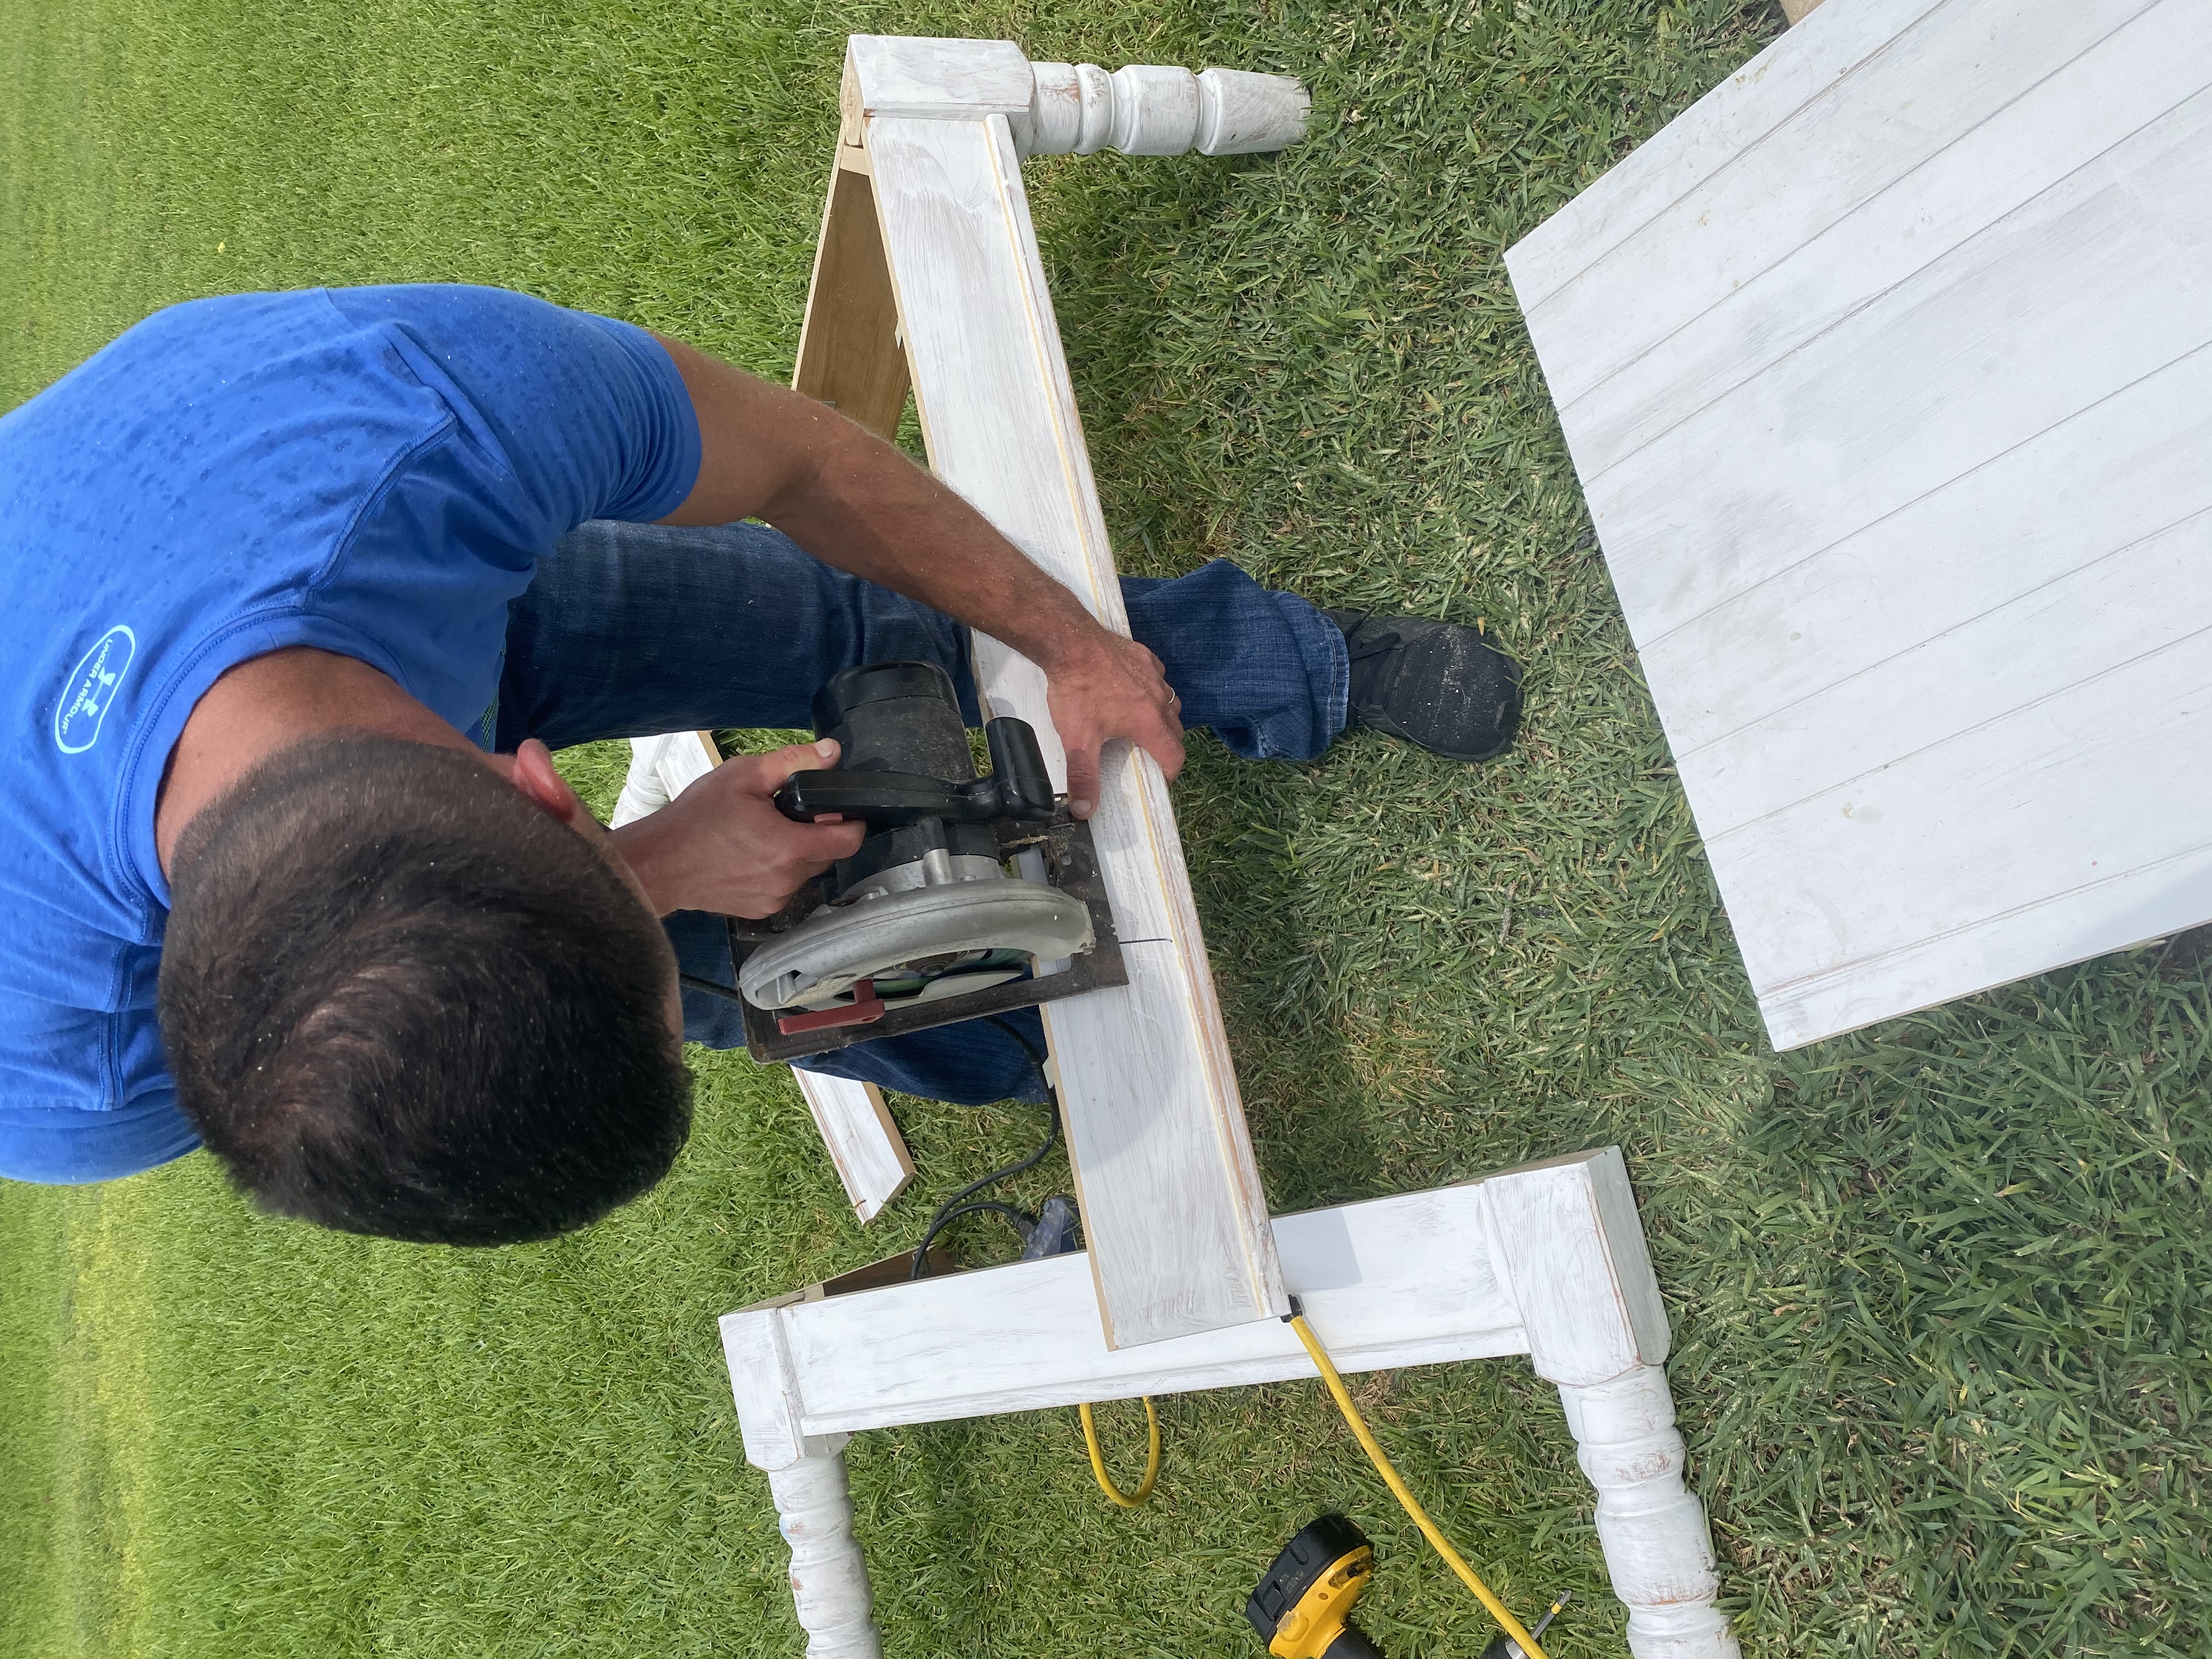
#3. Cut the top. Husband used a skill saw for this, but my favorite saw is the jigsaw(fyi).
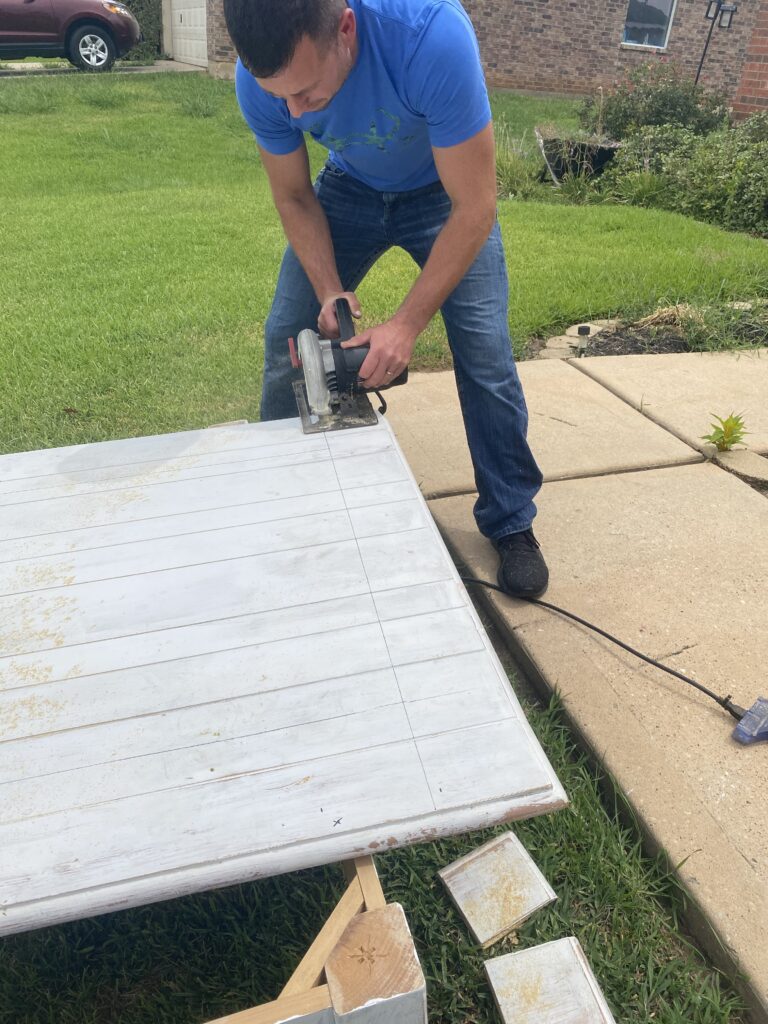
#4. Then, before we moved forward, I wanted to take the top inside to make sure it fit and was cut down enough. I didn’t want him to finish cutting and put it back together, just to bring it in and decide it was still to large. Work smarter not harder.
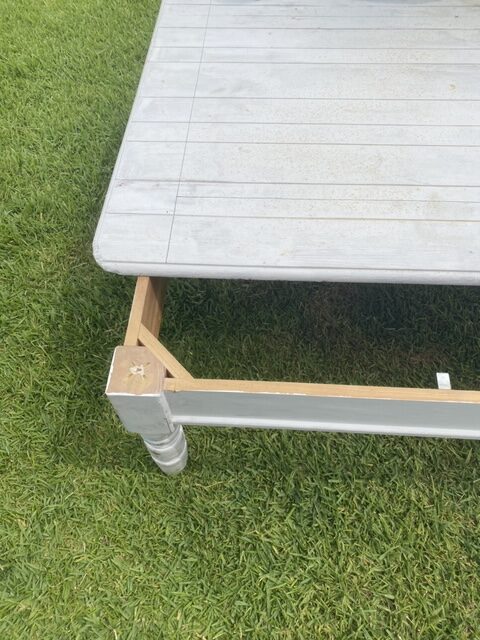
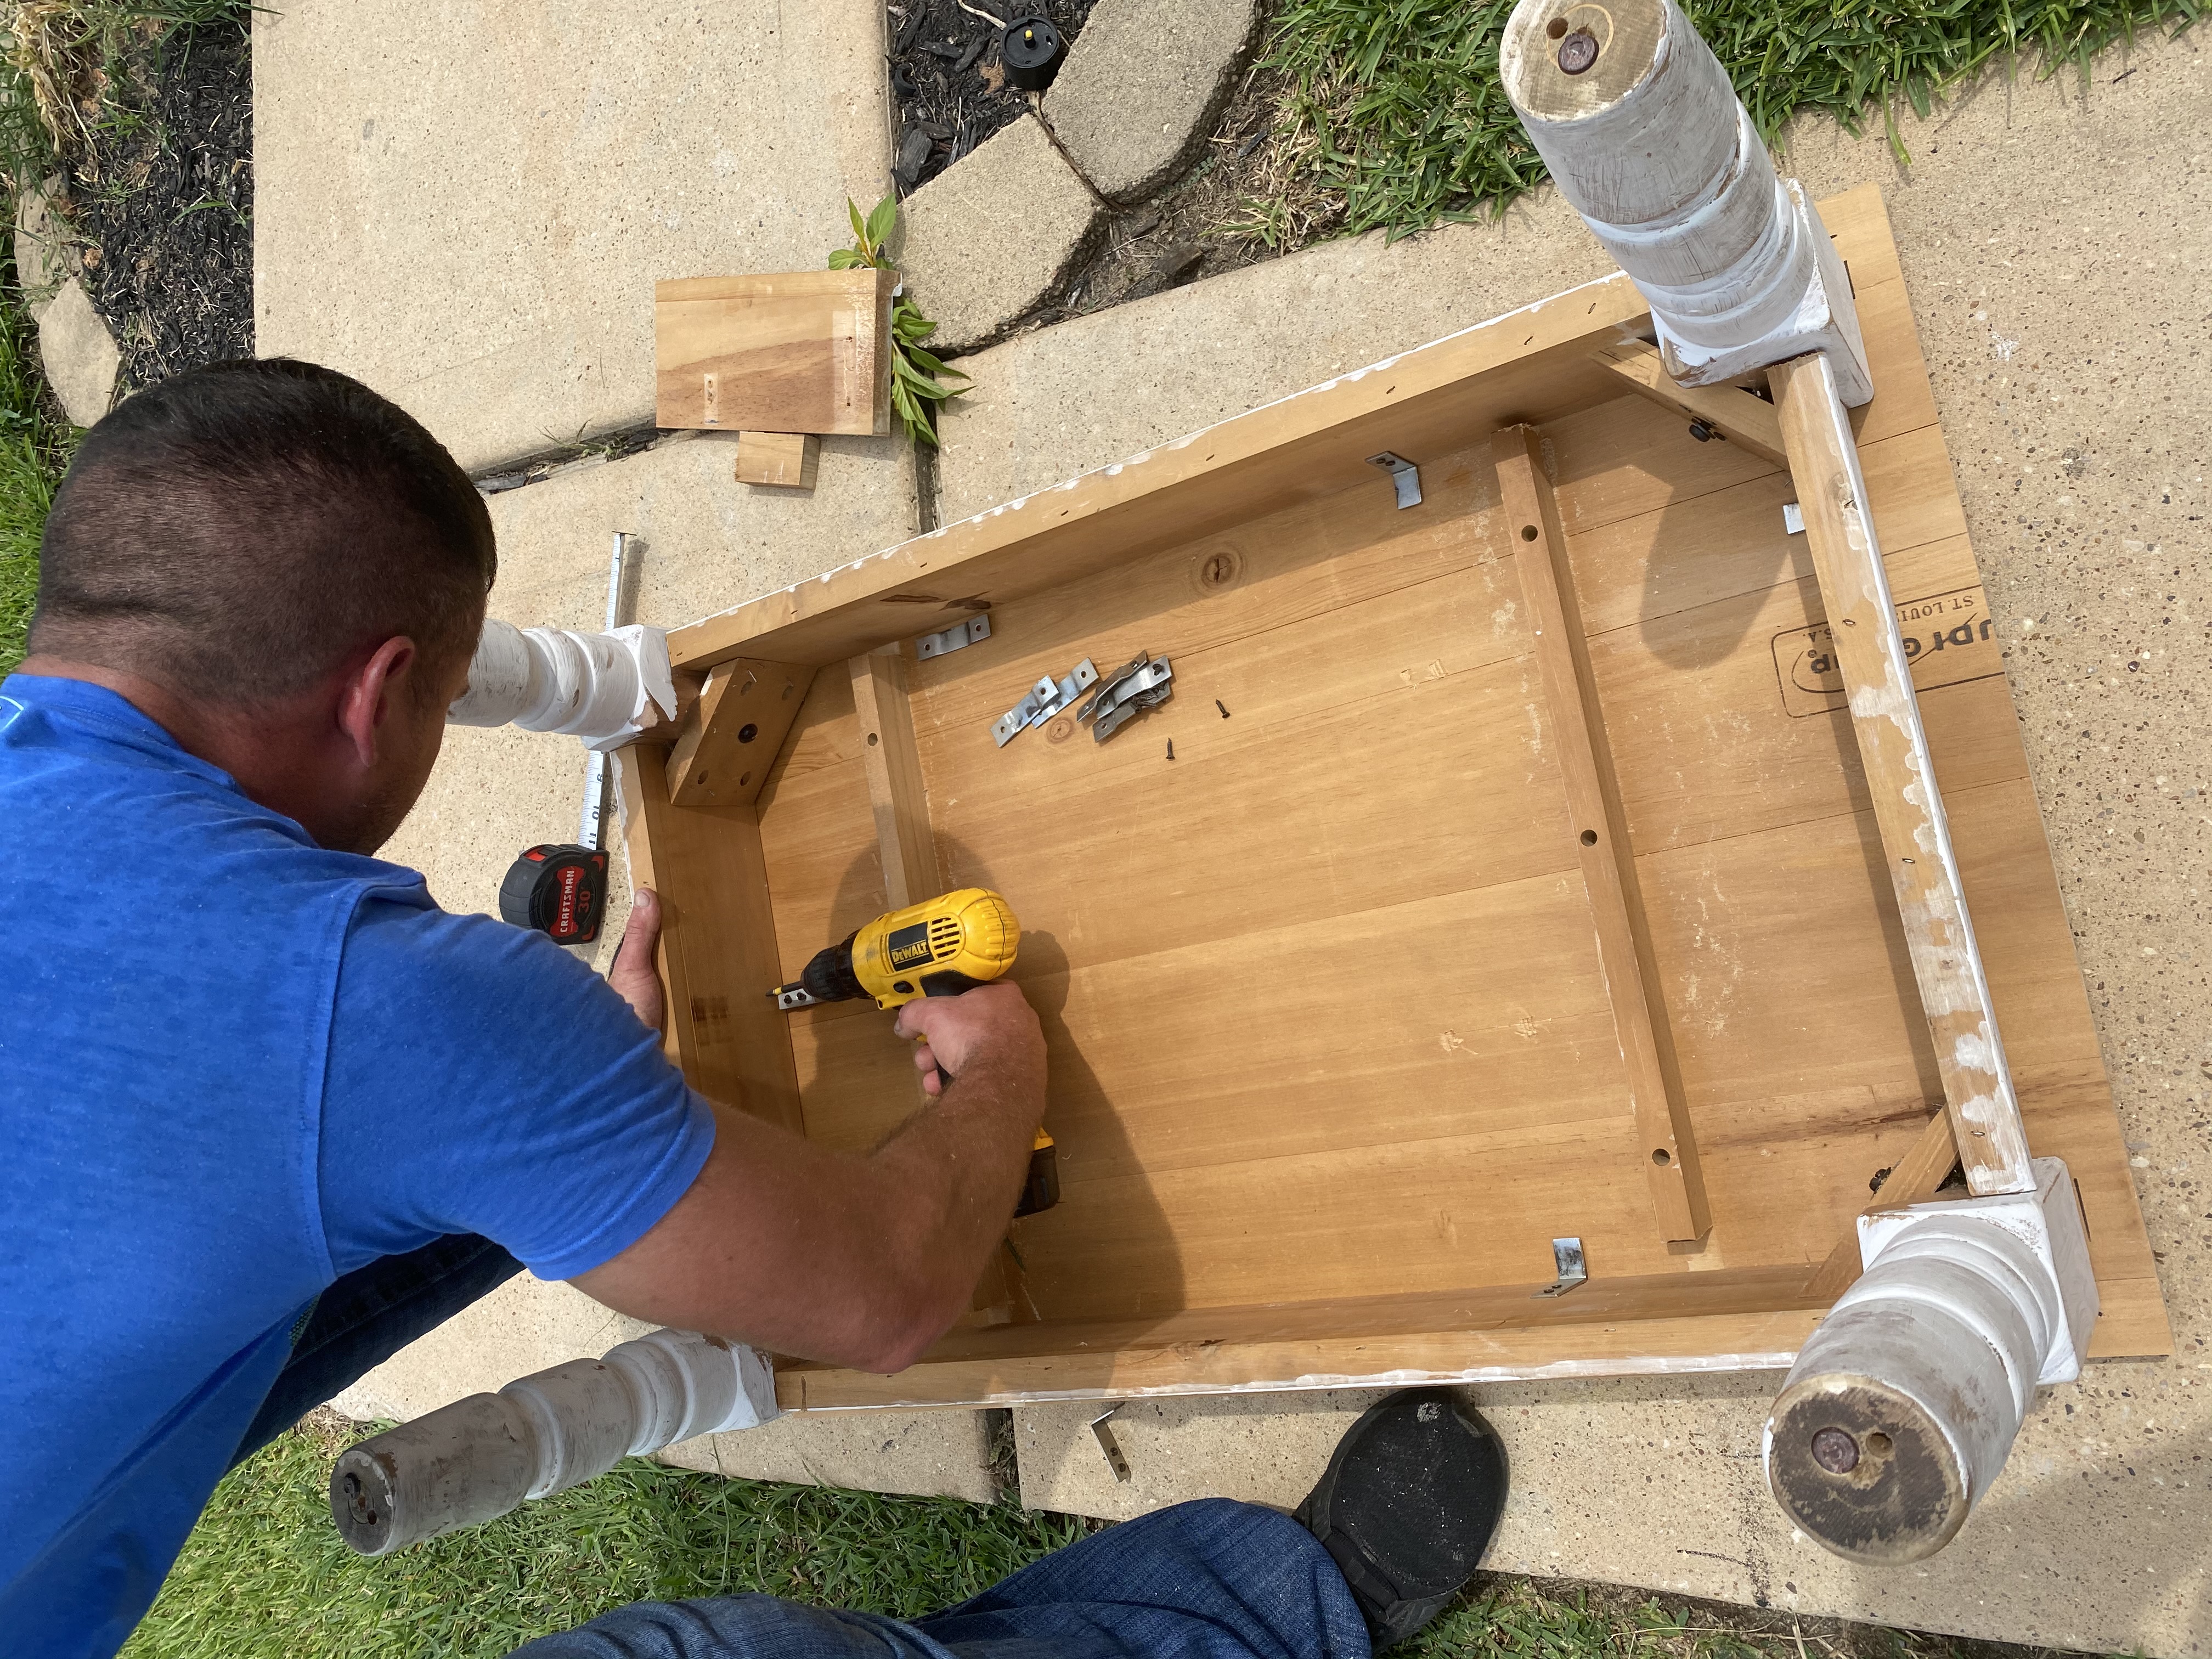
#5. Now, after looking at the size and determining IT IS PERFECT… we continued. Next, we had to cut each of the 4 sides of the frame. PS…like how I said “WE” like I am doing anything. Y’all I was sitting in a lawn chair!
#6. Last puzzle piece, securing everything back together.
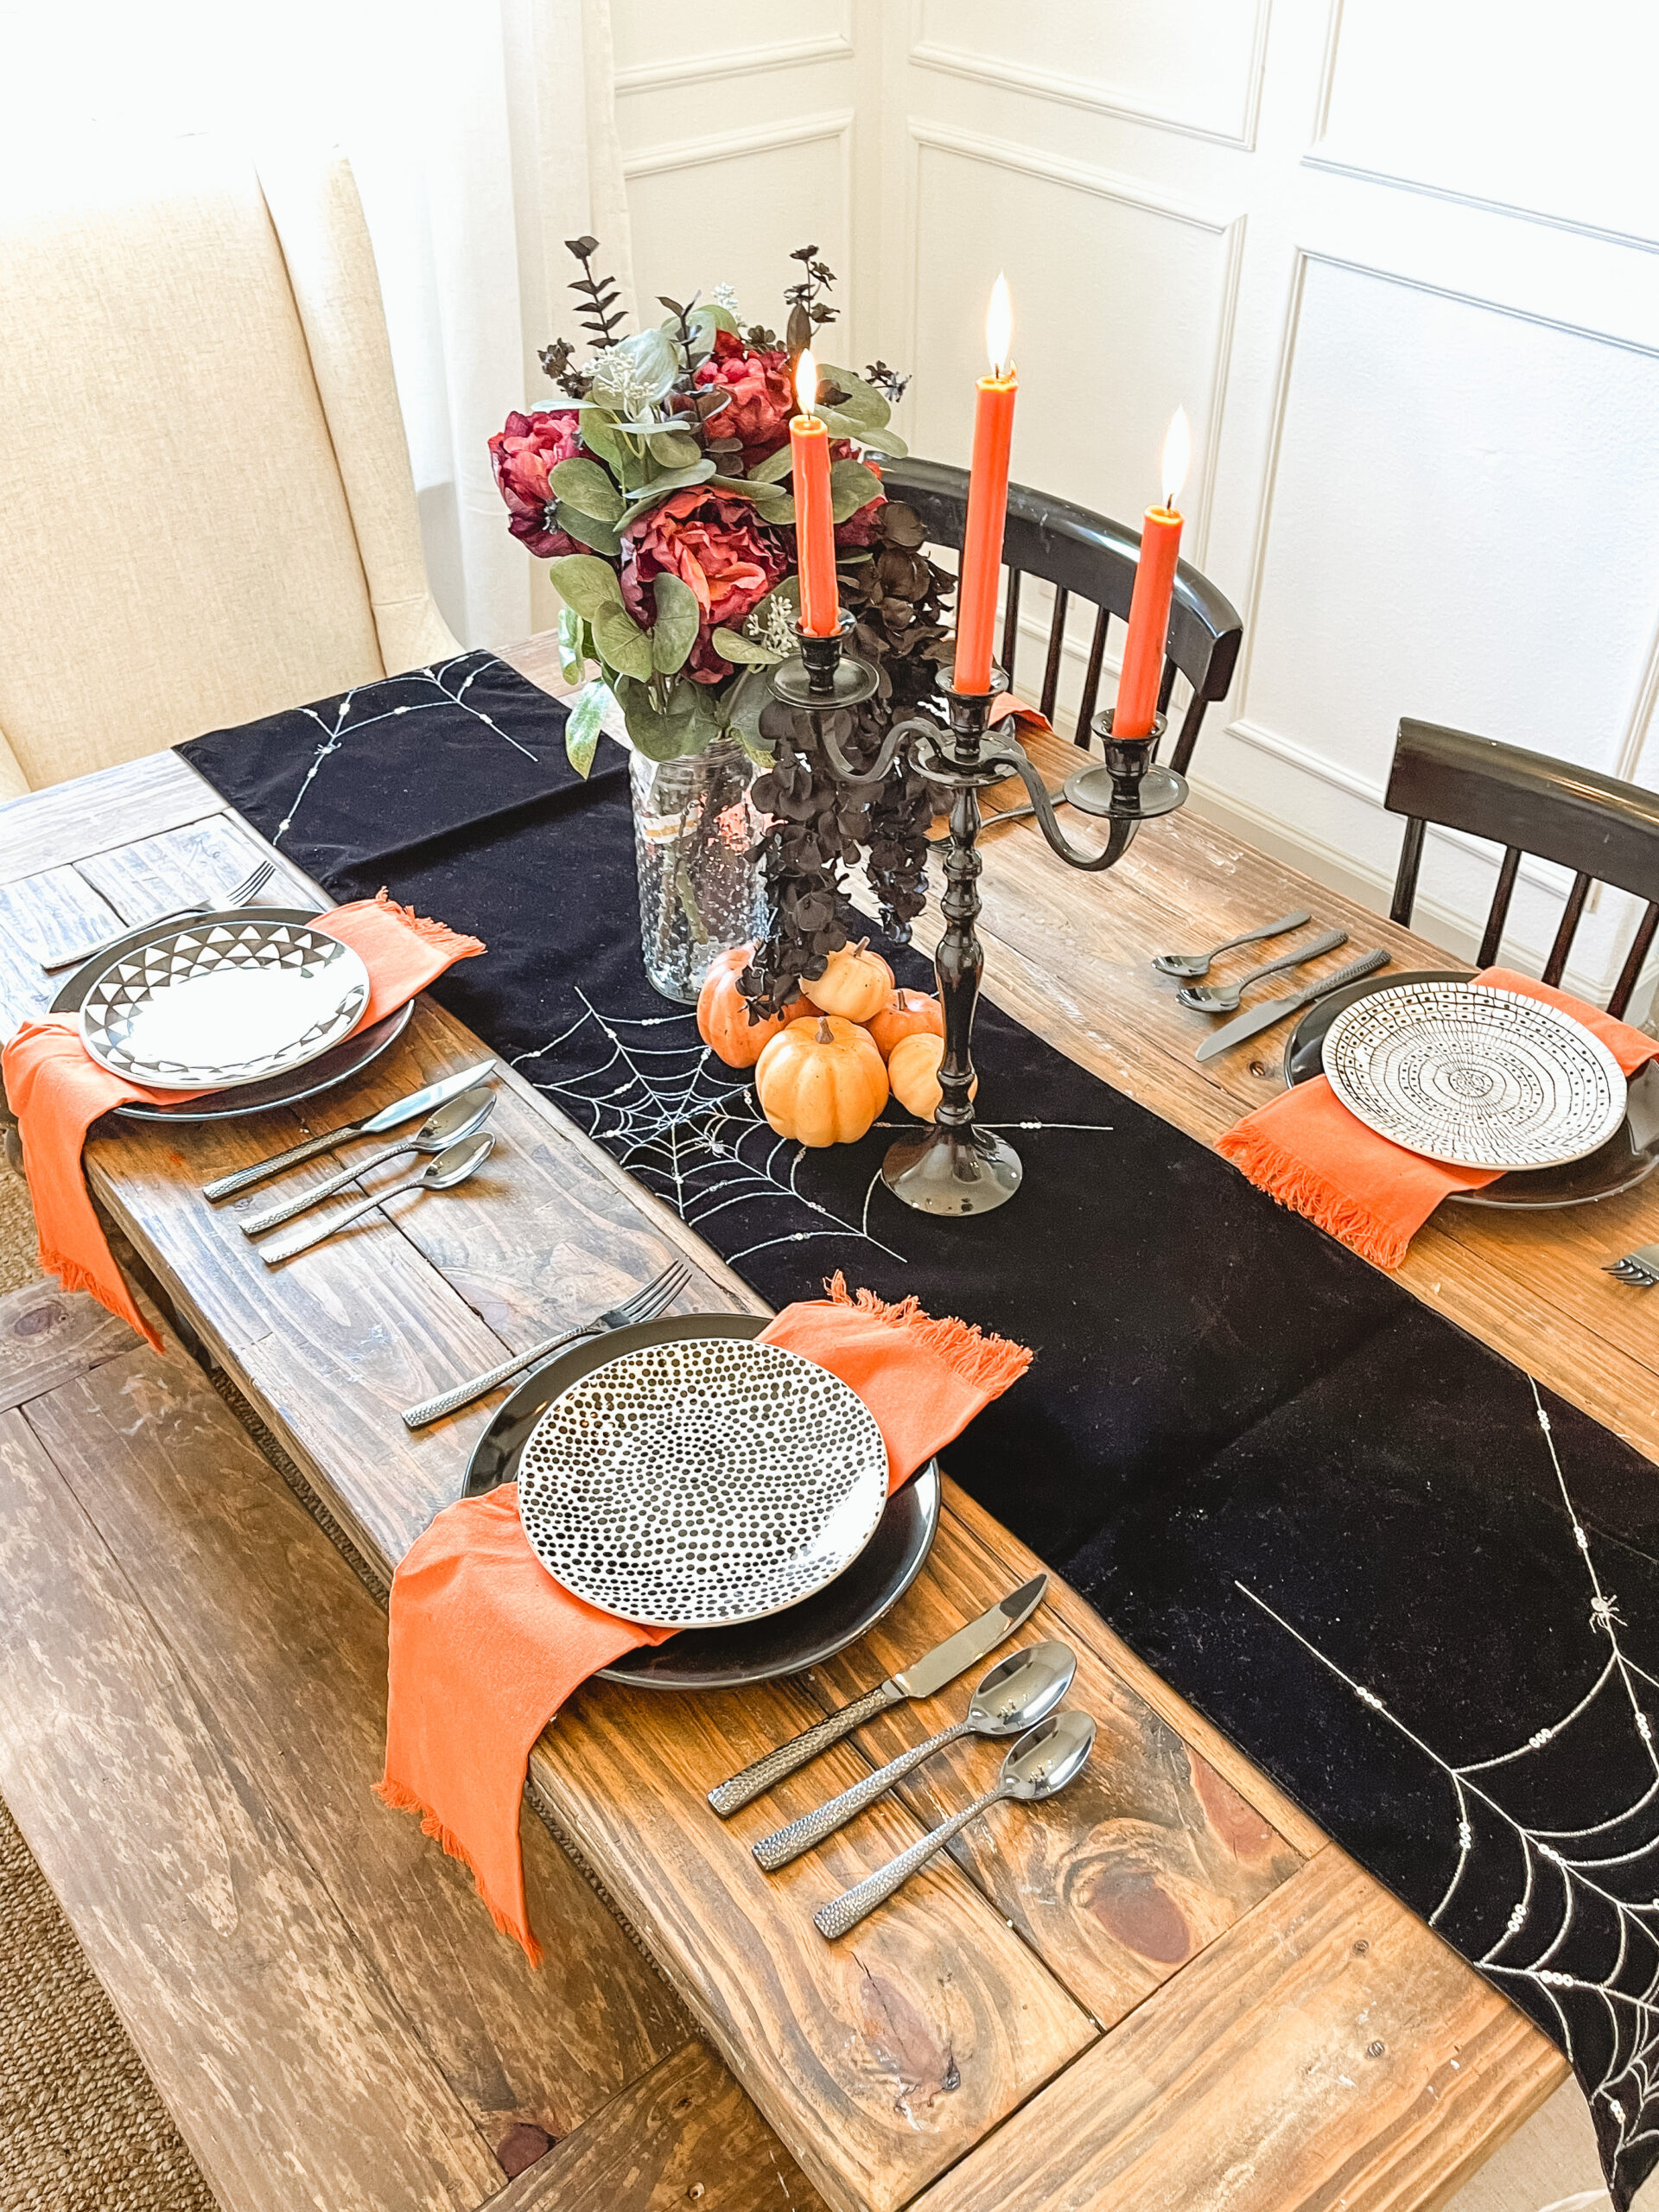
I am a firm believer in working with what you have and exhausting all options before buying something new. I think it helps us get more creative.


Awesome. You guys make it look so easy. Very motivating. Thank you for always sharing your diys 🙂
Okay this is amazing and brilliant. Instead of just buying a new coffee table you take the old one and just make it to the size you want! Blown away!