
How to Paint a Checkered Fence Wall: Step By Step Tutorial
If you’ve ever stood in your backyard staring at a boring, brown fence and thought, “This could use a glow-up,” you’re in the right place. So, today I’m walking you through how I turned my plain wood fence into a bold and beautiful DIY checkered wall that instantly made my outdoor space feel more playful, modern, and personal.
This is part of my “Finish What You Start” series—because if you’re like me, you’ve got a garage full of supplies and a million ideas and million project supplies… but sometimes we forget to actually start. Or finish. Or both.
Let’s fix that.
Why a Checkered Fence?
Checkered patterns are timeless, trendy, and add instant personality. Whether you’re going for retro vibes, bold contrast, or something that just pops in your backyard, a painted checkered wall checks all the boxes.
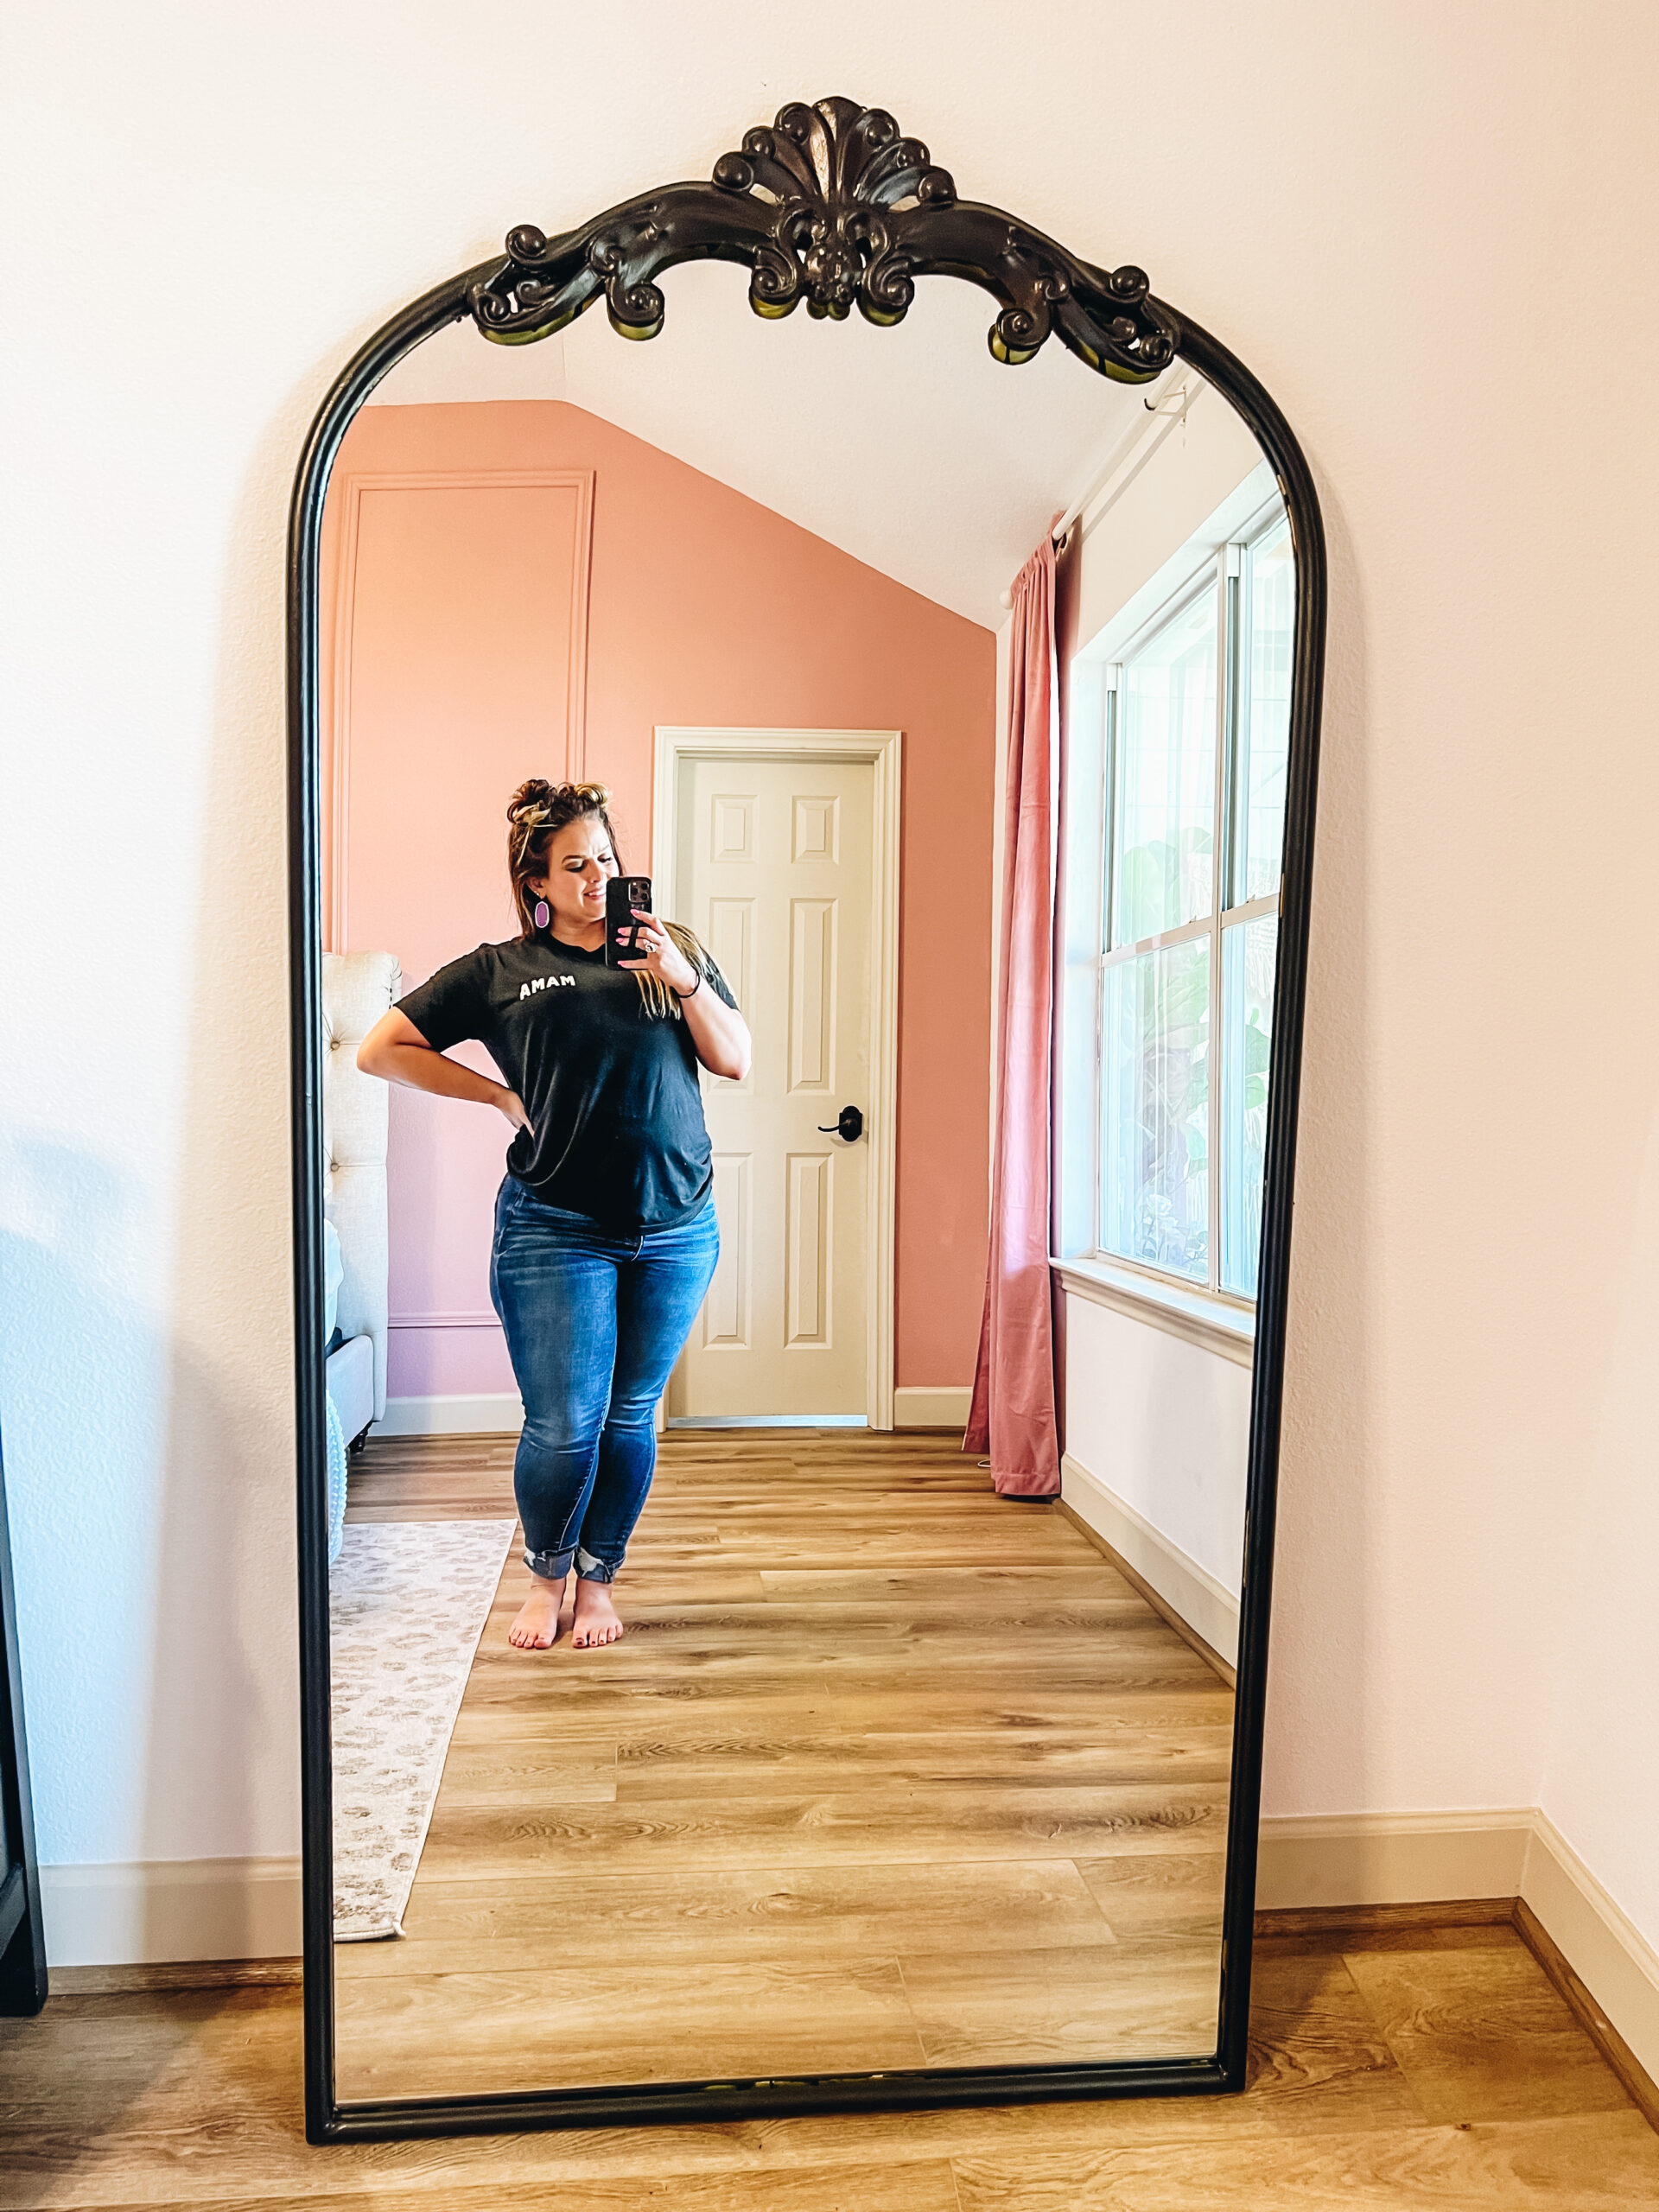
I’ve always loved all things retro—from 70s florals to bold diner checkers—and this wall? She’s serving vintage motel by-the-pool energy. Honestly I’m just obsessed with Checkered everything- LOOK AT MY CURRENT NAILS! 🙂 #SUMMERVIBESRIGHT! 🙂

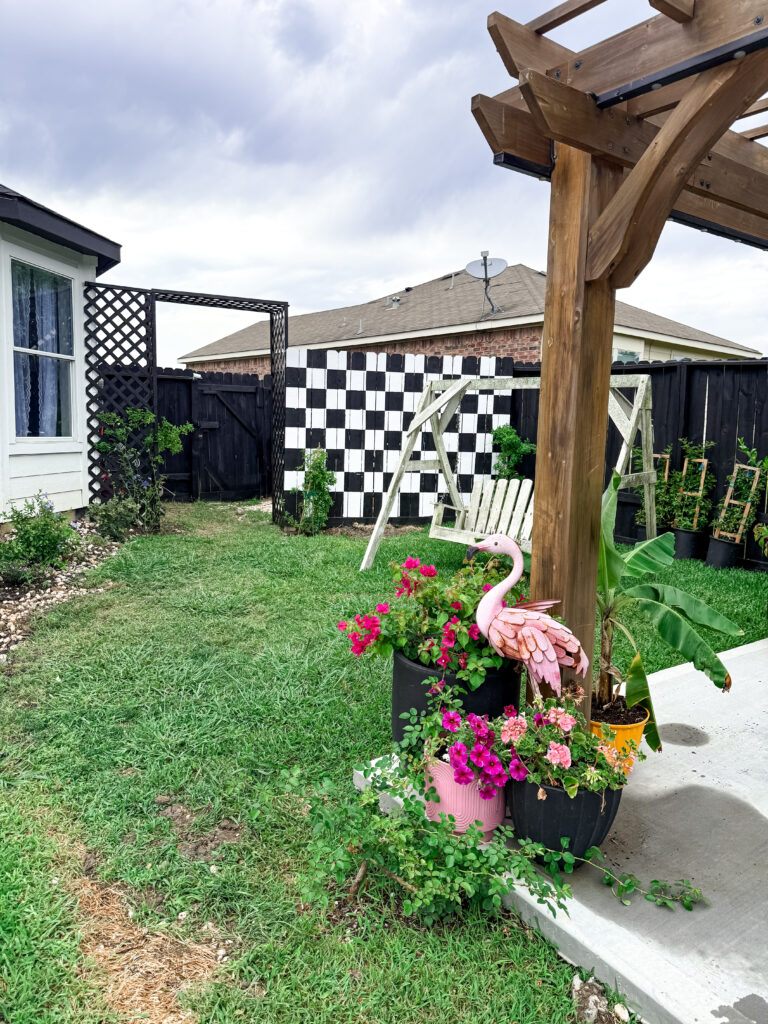
You know those old-school photos of funky motels or vibrant poolside hangouts with checkered tile walls, colorful lounge chairs, and a flamingo or two? That’s the vibe I’m chasing in my backyard. Think: retro oasis meets modern DIY.
This checkered fence gives me exactly that—fun, playful, and a little nostalgic. It instantly reminded me of those roadside signs and bold graphic walls you see on vacation and think, “I wish my house looked like this.” Well… why not?!
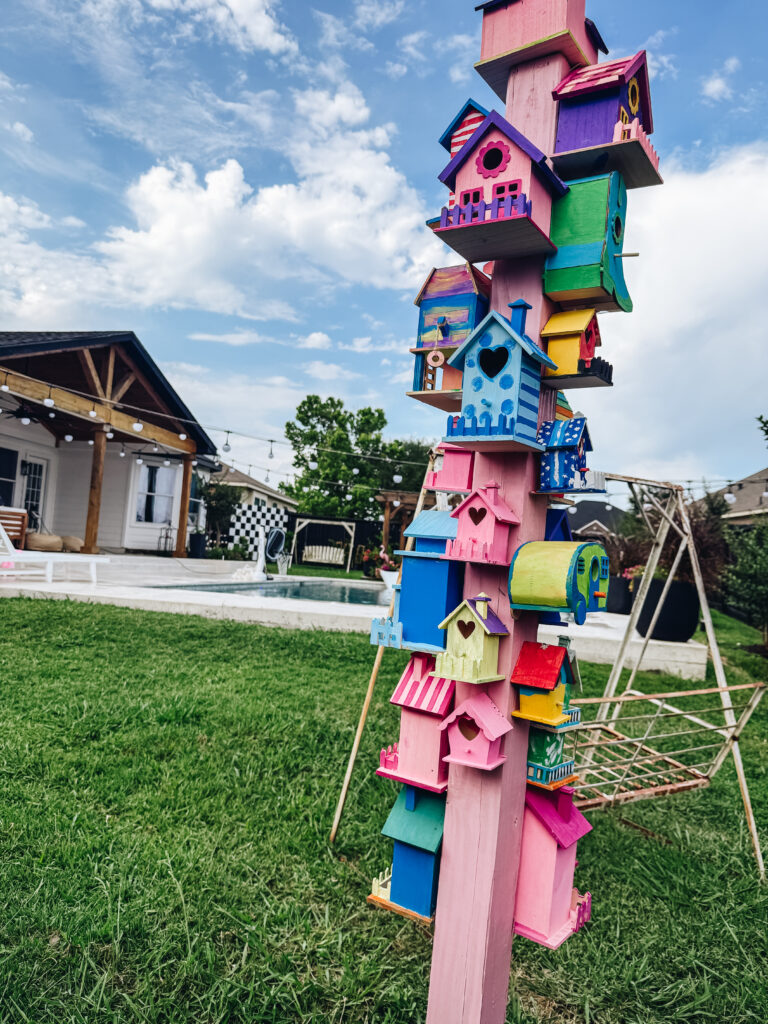
I am also working on making a few DIY retro signs (inspired by those vintage motel and road trip signs) to hang under the porch—so stay tuned for that blog post coming soon. It’s all part of my plan to turn our backyard into a colorful, creative retreat where every corner feels happy.
Because at the end of the day—this is YOUR house. There are no rules.
If it brings you joy, that’s all that matters.
Does your neighbor pay your mortgage?
No ma’am.
So go bold. Go checkered. Go full flamingo if that’s your thing.
This project is perfect if:
• You want a low-cost backyard upgrade
• You already have outdoor paint on hand
• You’re looking to get creative with a small or large space
• You need a content moment for TikTok or Instagram (just saying)
Supplies You’ll Need
Here’s everything I used for this project:
Materials:
• Exterior black paint (I used flat/matte for less glare)- I used SW: Tricorn Black
• Exterior white paint- I used SW: Snowbound
• Painter’s tape (blue tape or FrogTape)
• Drop cloth or old blanket (if you don’t want to make a mess)
• Outdoor-safe primer (optional if your fence is raw wood)
• Chalk line or pencil
• Measuring tape
• Level
• Step stool or ladder
• Small angled paintbrush
• Paint roller
• Paint tray
Optional but helpful:
• Laser level (if you’re a perfectionist)
• String and thumbtacks for guides
• Stencil (if you want uniform diamonds, circles, or accents)
Step-by-Step: How I Painted My DIY Checkered Fence Wall (With No Paint Bleed!)
Let me walk you through exactly how I created this DIY checkered wall in my backyard—with clean lines, no bleed-through, and a bold finish that gives retro motel energy. I’m talking by-the-pool, pink-flamingo, fun-on-purpose vibes.
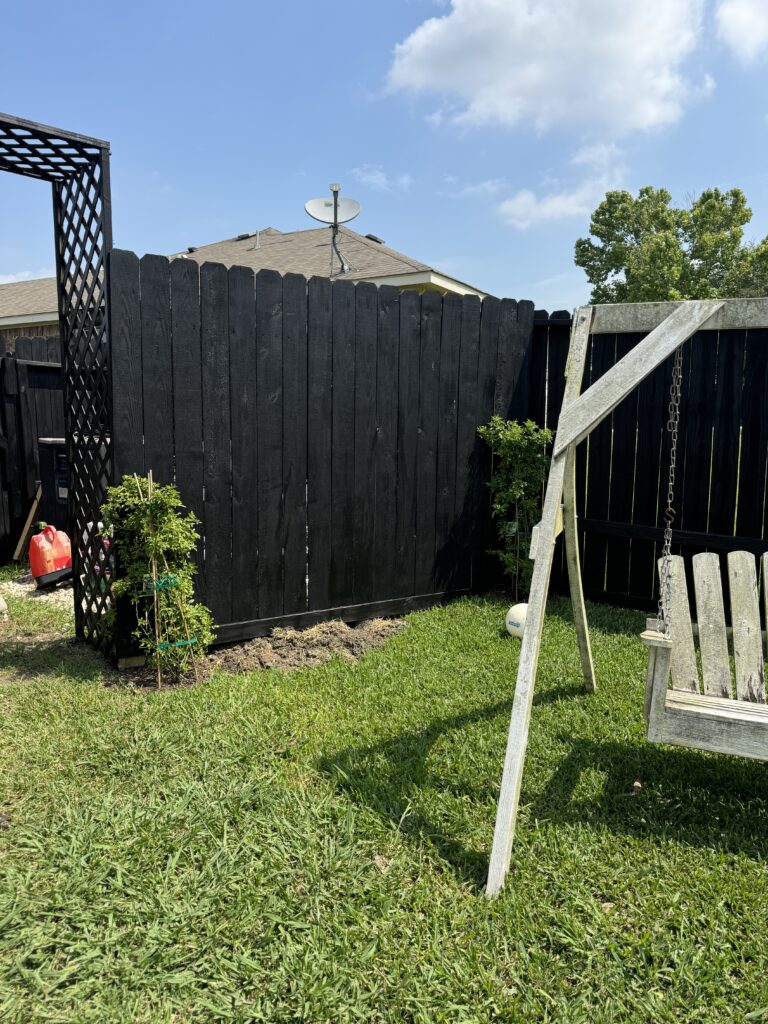
Step 1: Paint the Base
I started by painting the entire fence black. This is my base color and the color for every other square. I used a flat exterior paint to reduce glare and help those white squares pop.
Let it dry completely—don’t rush it!
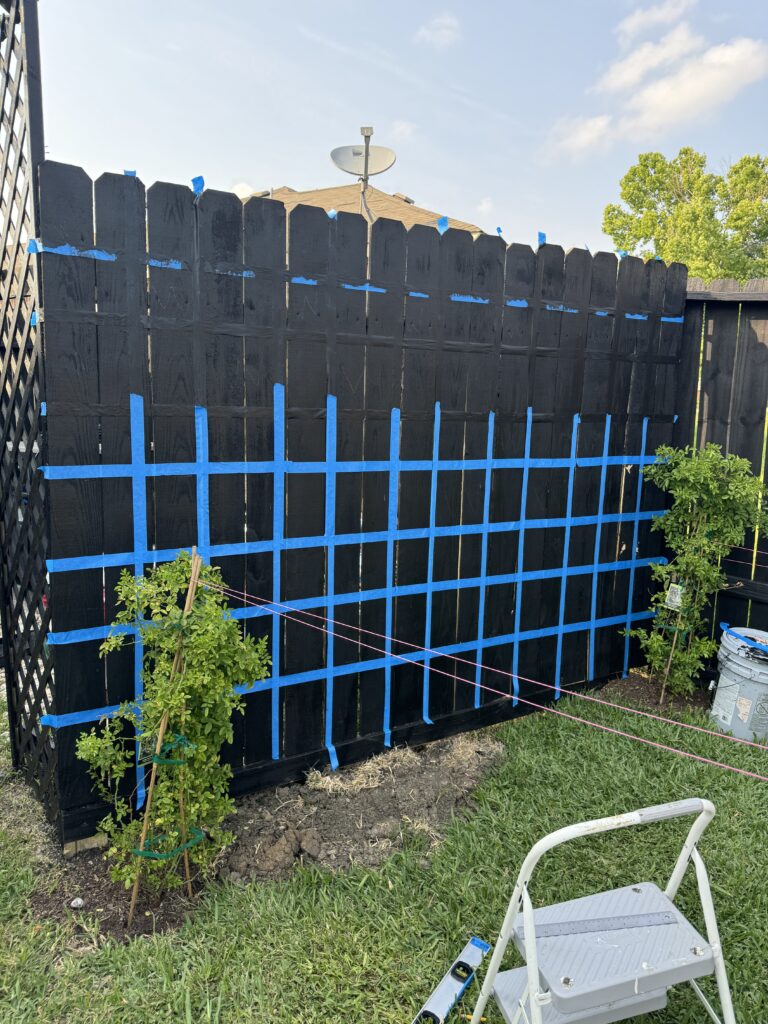
Step 2: Measure Your Grid
Once it was dry, I grabbed a measuring tape and level to mark out a grid for the squares. I used blue painter’s tape to create the checkered lines, but here’s the trick:
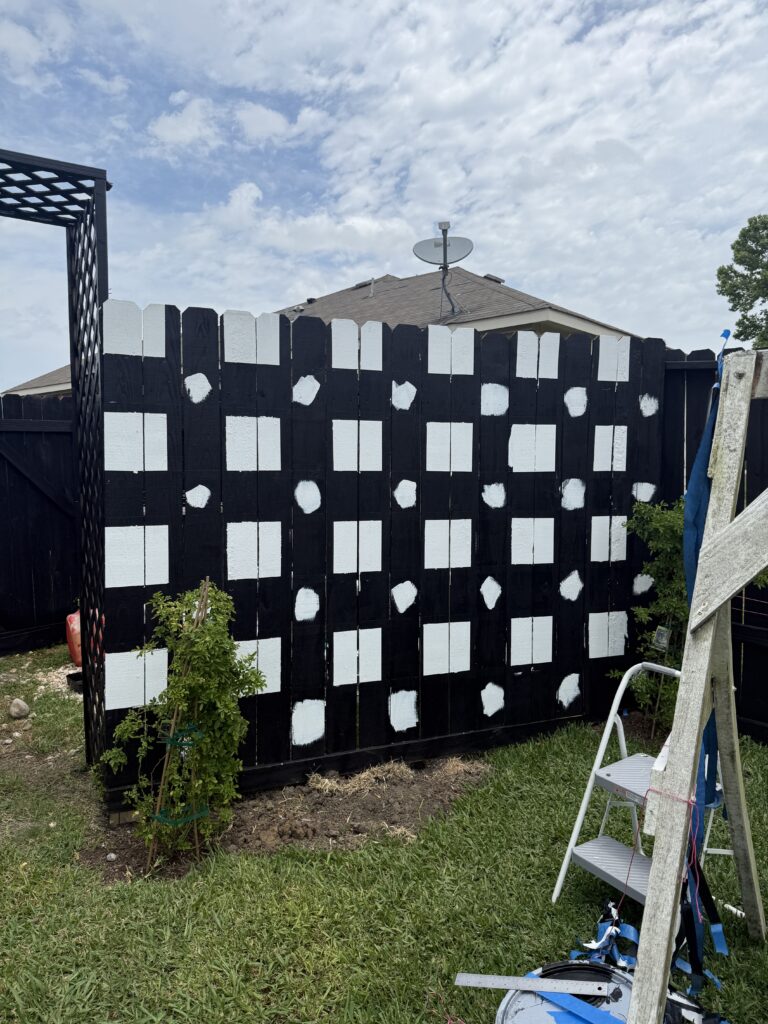
Instead of taping every square at once, I only taped off every other vertical and horizontal section to start. That gave me a perfect “every other” grid pattern to paint my first set of white squares. The in-between boxes were intentionally left blank at this point.
Pro Tip: I used a level to make sure everything stayed even.
Step 3: The Secret to Crisp Lines: Black Paint Over Tape
Before I painted any white, I went over the edges of the tape with a light coat of black paint—the same as my base color. This seals the tape so if there’s any bleeding, it’s just black-on-black and totally invisible.
You can actually see this in one of the photos—it gave me super crisp lines with zero white paint bleed. This one tip changed the game.
Let that black layer dry completely before moving to the next step.
Step 4: Paint the First Set of White Squares
Once the black “sealing” coat was dry, I used a brush to fill in the taped-off squares with white exterior paint. Two coats did the trick, and I let it dry in between.
Step 5: Peel the Tape & Connect the Grid
Once my first set of white squares were dry, I peeled off the tape (the most satisfying part, by the way). Now I had a checkerboard that was almost done—but missing those “in-between” white boxes.
So next, I went back and used the freshly painted white squares as guides to connect and fill in the remaining squares. I didn’t re-grid the whole thing—I simply extended the pattern by using a straight edge to eyeball spacing and keep everything lined up with what was already there.

Step 6: Add Custom Touches (Optional)
I went back with a small angled brush and cleaned up any tiny edges or missed spots. But because of the paint-over-the-tape trick, I barely had to touch up anything.
Now, the wall is done, and my backyard feels like a retro photoshoot backdrop just waiting for a piña colada.
Before and After: The Transformation
I didn’t just transform my fence—I transformed the whole vibe of my backyard. The bold checkered wall became a natural backdrop for my garden, my swing, and even my metal flamingo (who now has a permanent photo-op spot).
The painted wall adds:
• Visual interest
• A photo-worthy space
• A pop of personality that totally reflects my style
Tips for Success
- Don’t rush the drying time.
It’s Texas, so I know we’re tempted to think everything dries in 15 minutes. But take the time to let each layer cure properly for best results. - Use high-quality tape.
Cheap painter’s tape will cost you in touch-ups and headaches. Trust me. - Keep pets away while painting.
My dog definitely thought I was painting a play zone just for him. He was wrong. Still cute though. - Test your colors in daylight.
Black and white may seem simple, but outdoor lighting can make colors look totally different. Hold up a swatch first if you’re unsure.
How Long Did This Take?
Once I finally started (cue nervous laughter), the painting itself took about 2 full afternoons, not counting drying time.
The taping was the most tedious part, but honestly—it was kind of therapeutic. And worth it.
Why This Project Is Perfect for Beginners
Even if you’re new to DIY projects, this one’s super forgiving. The lines don’t have to be perfect-perfect, and any mistakes can be touched up easily.
Plus, it makes a huge impact for a low cost. I used leftover paint from a previous project, so the only thing I had to buy was more tape.
FAQs
Q: What kind of paint did you use?
A: I used exterior flat paint in black and white. Flat/matte finishes help minimize glare and give that bold, modern look.
Q: How do I make sure the squares are even?
A: Measure out one square, then use that as your guide. Mark it across your fence with chalk or pencil. A level or chalk line will help keep things straight.
Q: Can I do this on a wall or garage instead of a fence?
Absolutely! This project works on any flat outdoor surface—just make sure it’s primed and clean.
Final Thoughts: Start the Project, Finish the Wall
If you’ve been staring at a half-finished DIY for months (guilty), this is your sign. Pick up the paintbrush, put on your playlist, and get it done. The satisfaction of finally finishing it—and seeing the transformation—is 100% worth it.
And hey, if you’re like me and have a whole backlog of projects, stick around for more from my “Finish What You Start” series.
Loved this Project? Don’t Forget to:
• Pin this post on Pinterest for later
• Tag me on Instagram @AshtonSedita if you recreate this wall—I want to see your version!
• Subscribe for more DIYs, backyard makeovers, and seasonal projects
XOXO, Ashton


One Comment
Comments are closed.