
Easy DIY Retro Pumpkin Pail Flashlight Lamp
Disclosure: This post may contain affiliate links, meaning I could earn a small commission if you make a purchase through my links at no extra cost to you. This helps me keep the festive DIYs coming—thank you for your support
Halloween is right around the corner, and as many of you know, I’m all about the traditional orange and black vibes this year. There’s something timeless and nostalgic about these classic colors, especially when it comes to decorating. I’ve been getting into the retro side of Halloween with fun and festive projects that capture that vintage charm—think of the Halloween decor we grew up with, just with a modern DIY twist!
This week, I have been busy with all of the RETRO themed DIY. Early this week I did DIY Faux Oil Painting Hack: How To Create Vintage Canvas Art For Your Halloween Gallery Wall and even did FUN DIY Pumpkin Pail Chandelier: A Fun and Festive Halloween Hack! Today, I ventured out for Thrifting Thursday adventure, and let me tell you, I hit the jackpot! At a local thrift store, I came across two slender lamps that instantly inspired a DIY project. With a quick flick of creativity, I envisioned them as retro-inspired handheld flashlights. Yes, you heard that right—flashlights! But not just any flashlights. I wanted them to have that old-school, Halloween aesthetic that we all know and love. Think chunky pumpkin pails sitting atop sleek black bases, glowing eerily like something straight out of a Halloween night in the ’80s. AHHHHH I’m screaming I’m so excited!
In this post, I’ll walk you through how I transformed these thrifted lamps into retro pumpkin pail flashlights. It’s a super fun project that’s not only easy but also budget-friendly! If you love DIY Halloween decor, you’ll definitely want to add this one to your list.

Let’s jump right in!
Materials You’ll Need:
1. Slender lamp – I found mine at a thrift store, but you could use any similar lamps you have on hand. Make sure the lamp base is slender enough for the pumpkin pail to sit on top.
2. Black spray paint – This will be used to give the lamp a sleek, retro look.
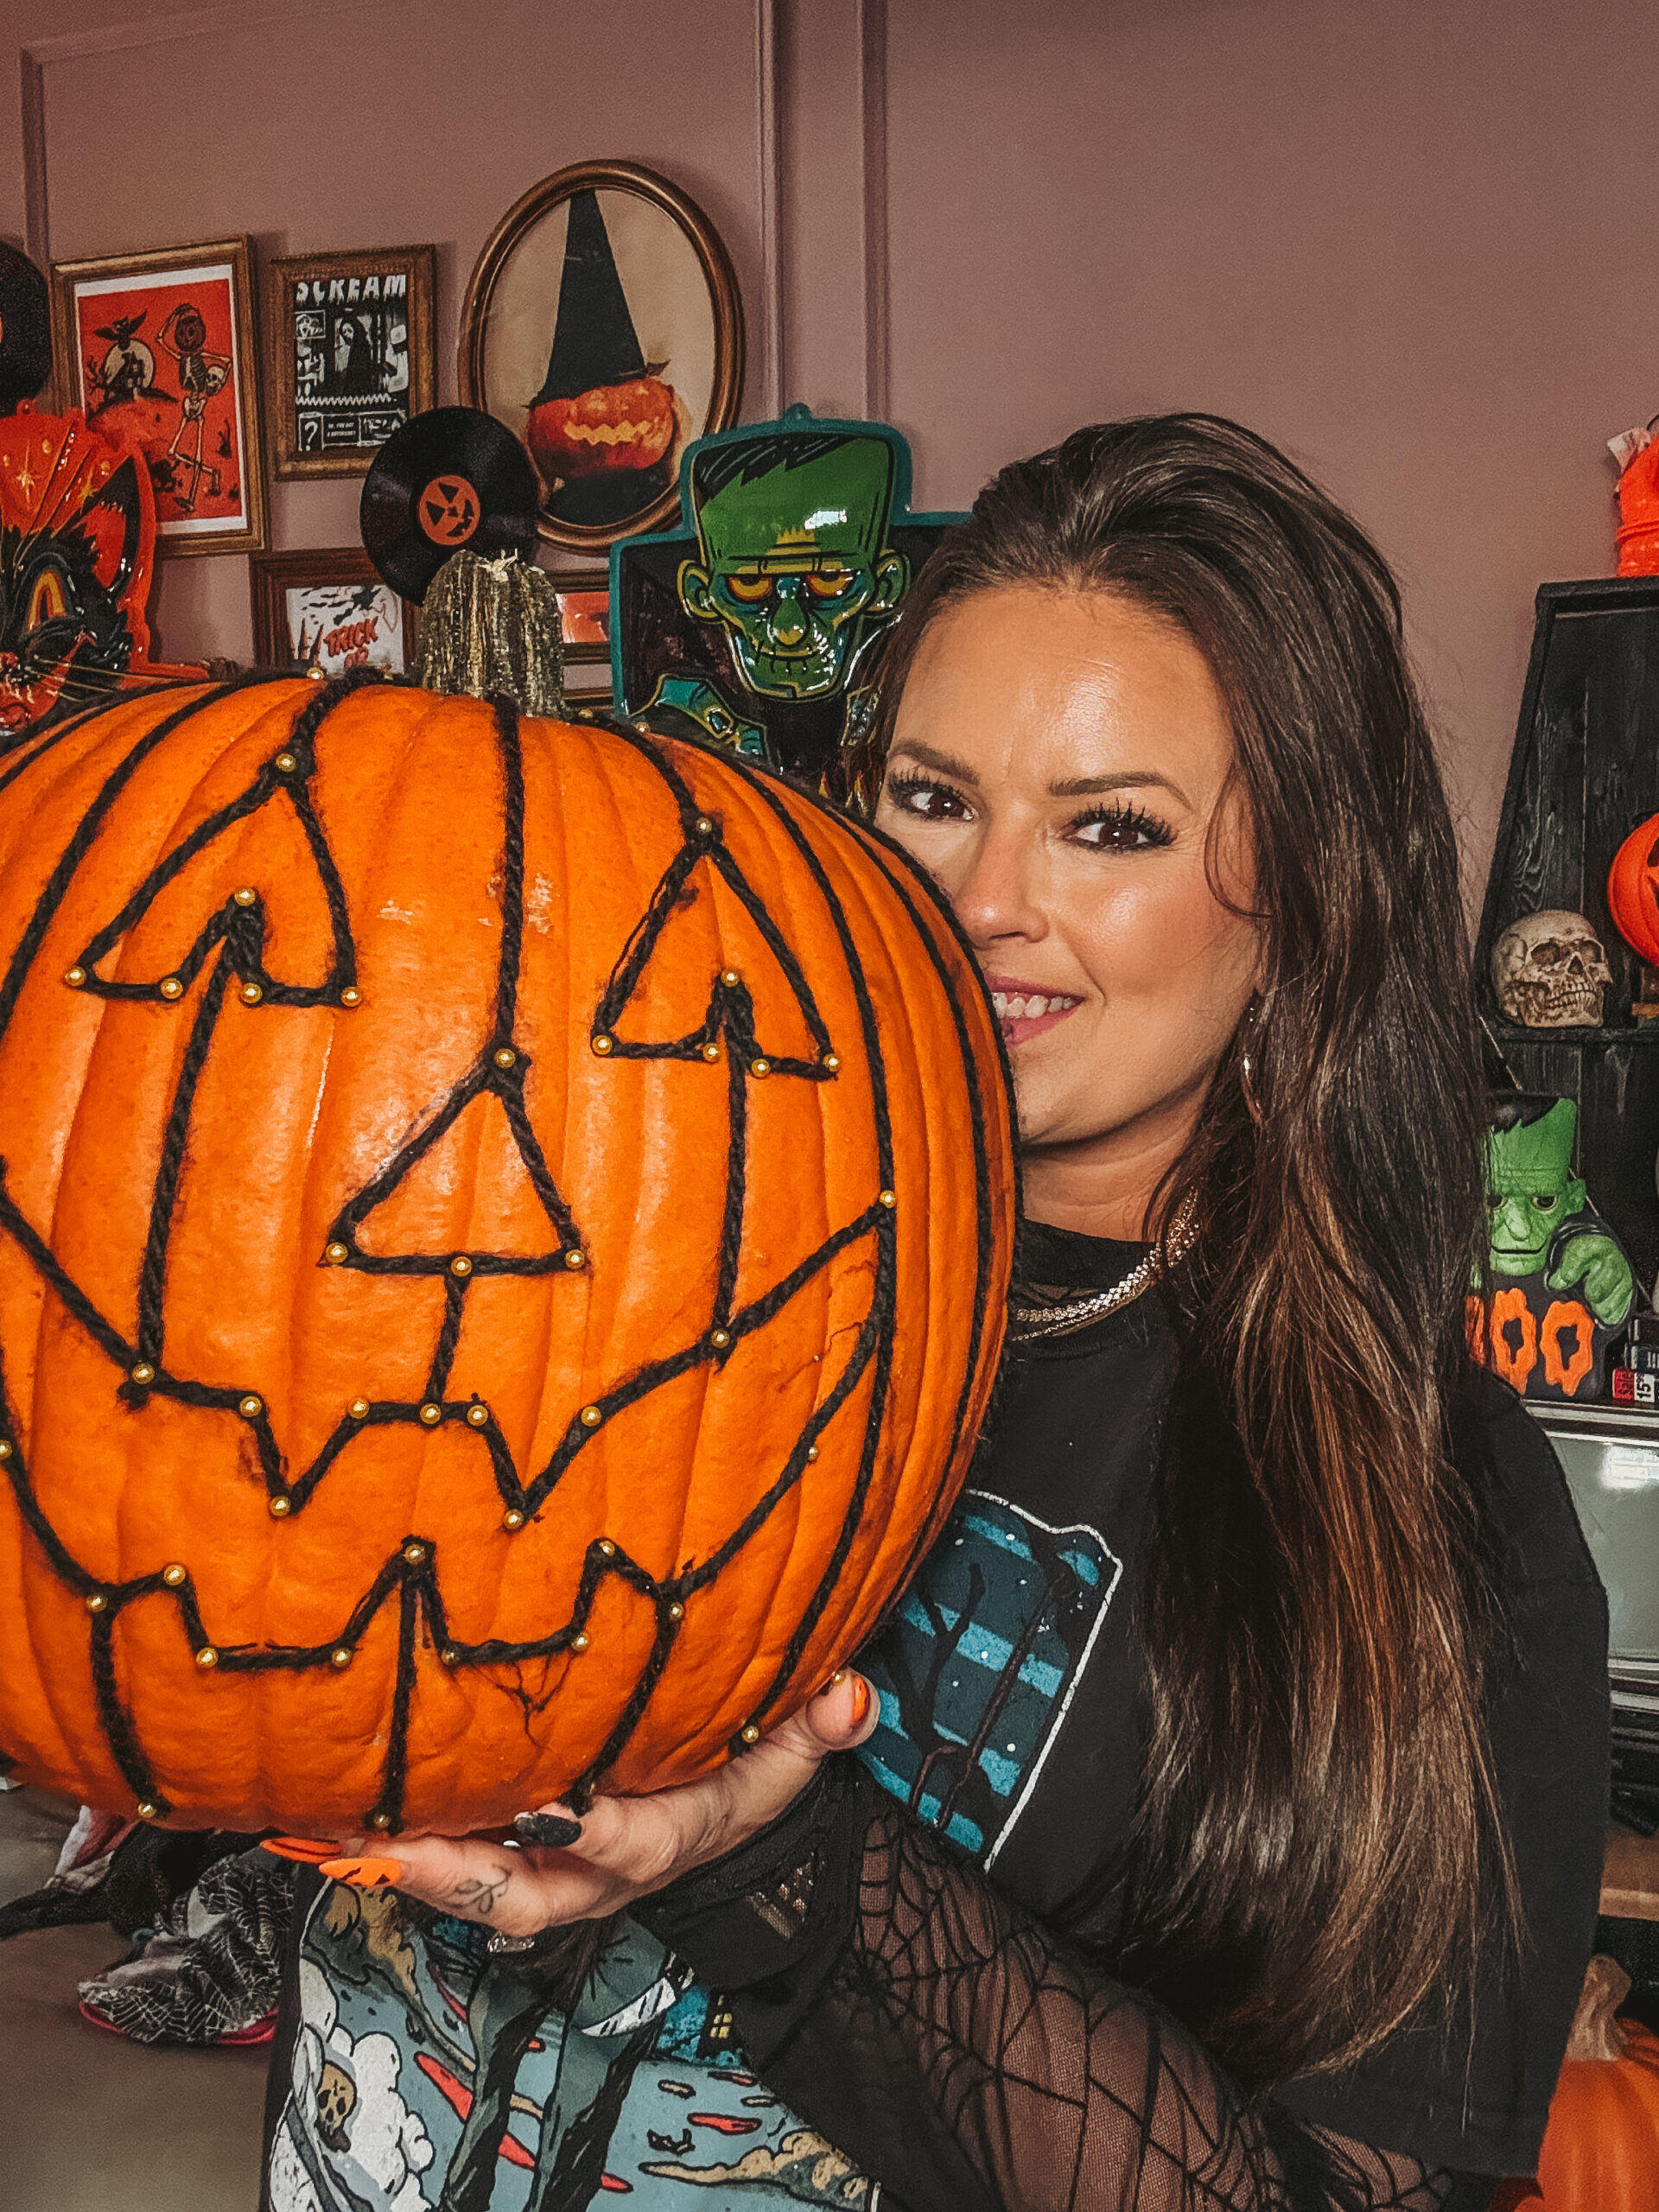
3. Pumpkin pails – I found mine for just $1.98 at Walmart! These are the classic Halloween trick-or-treat pails with the smiling jack-o’-lantern face.
4. Painter’s tape – To cover areas of the lamp you don’t want painted (like the cord or switch).
5. Sandpaper – For lightly sanding the lamps to ensure the paint adheres well.
6. Drill (optional) – I decided to drill a hole in the bottom of the pumpkin pail to allow the light to shine through. It gives the pail a fun, glowing effect, which really makes the lamps pop as Halloween decor.
7. Lightbulbs – Opt for warm yellow or orange bulbs to give the lamps that spooky Halloween glow.
Step 1: Thrifting the Perfect Lamps
The first step in this project is to hit up your local thrift stores for some lamps. Look for lamps with slim bases, as this will work best for fitting the pumpkin pail on top. The ones I found were originally green, but I knew a coat of black spray paint would completely transform them into the retro vibe I was going for. You could also use any lamps you already have at home if they fit the look. As much as I love a thick and chunky lamp- those wound’t fit the VIBE for this DIY.
When choosing a lamp, pay attention to the size of the lampshade holder—this is where you’ll be attaching the pumpkin pail. Make sure it’s sturdy enough to hold the weight of the pail without tipping over.
Step 2: Prepping the Lamps
Once you’ve found your lamps, it’s time to prep them for painting. Start by removing the lampshade. You’ll no longer need the shade since the pumpkin pail will be taking its place!
Next, prep the surface with a good clean. This step is important to ensure that the paint adheres smoothly and doesn’t chip off later. Also, you could give the lamp a light sanding if it needs its. Be sure to wipe down the lamp afterward to remove any dust from sanding.
After sanding, use painter’s tape to cover any areas of the lamp that you don’t want painted—such as the cord or lightbulb socket. This will give your final product a cleaner, more professional look.
Step 3: Painting the Lamps
Now for the fun part—painting! I chose a matte black spray paint for this project because I wanted the lamps to have a sleek, vintage look. Black really allows the bright orange pumpkin pail to stand out and gives the whole piece that retro Halloween vibe.
When spray painting, always work in a well-ventilated area or outside. Apply the paint in thin, even coats, allowing each layer to dry completely before applying the next. My best tip for avoiding streaks with spray paint is always use light coats- never spray heavy. REMEMBER- LESS IS. MORE! You’ll likely need 2–3 coats to achieve full coverage.
Once the lamps are fully painted and dried, they’re ready for the next step!
Step 4: Prepping the Pumpkin Pail
While your lamps are drying, grab your pumpkin pails and prepare them for their new job as lampshades.
Using a drill and a spade drill bit, carefully make a hole in the center of the pumpkin pail. You want the hole to be large enough for the lightbulb to fit through but small enough to keep the pumpkin securely in place. We drilled a 1″ hole and then used a knife to expand that hole slit that allows the lamp’s light bulb socket. We did remove the twisty thing that turns the lamp off and on & put it back on once the pumpkin pale was on the lamp.
Step 5: Assembling the Lamp
Now that your lamps are painted and your pumpkin pails are prepped, it’s time to bring it all together! Take the lightbulb and insert it into the lamp socket.
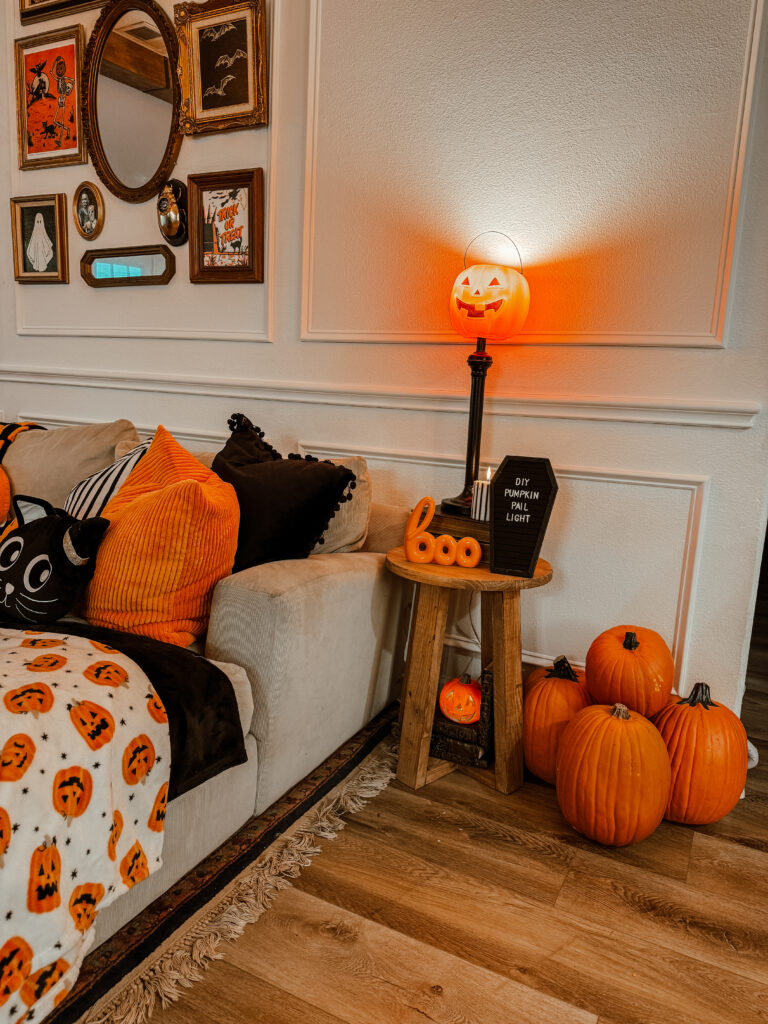
That’s it! Your retro pumpkin pail flashlight lamps are ready to shine. Turn on the lamp, and watch as the warm glow from the lightbulb illuminates the pumpkin, casting an eerie but festive light in your space.
Step 6: Styling Your New Lamps
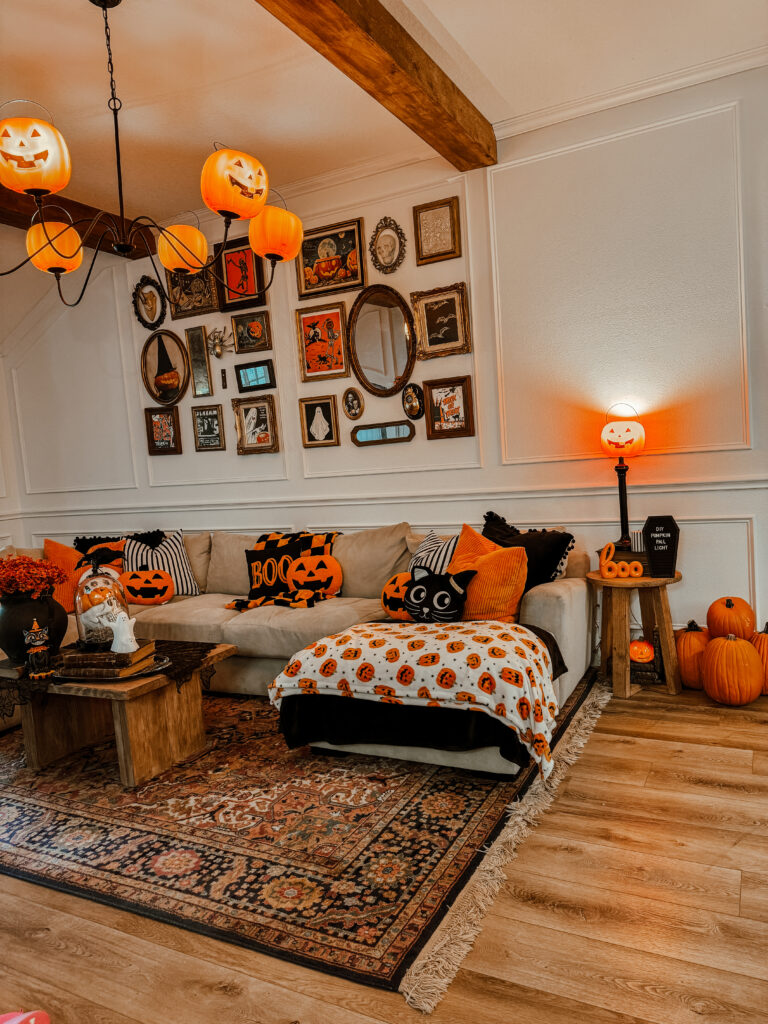
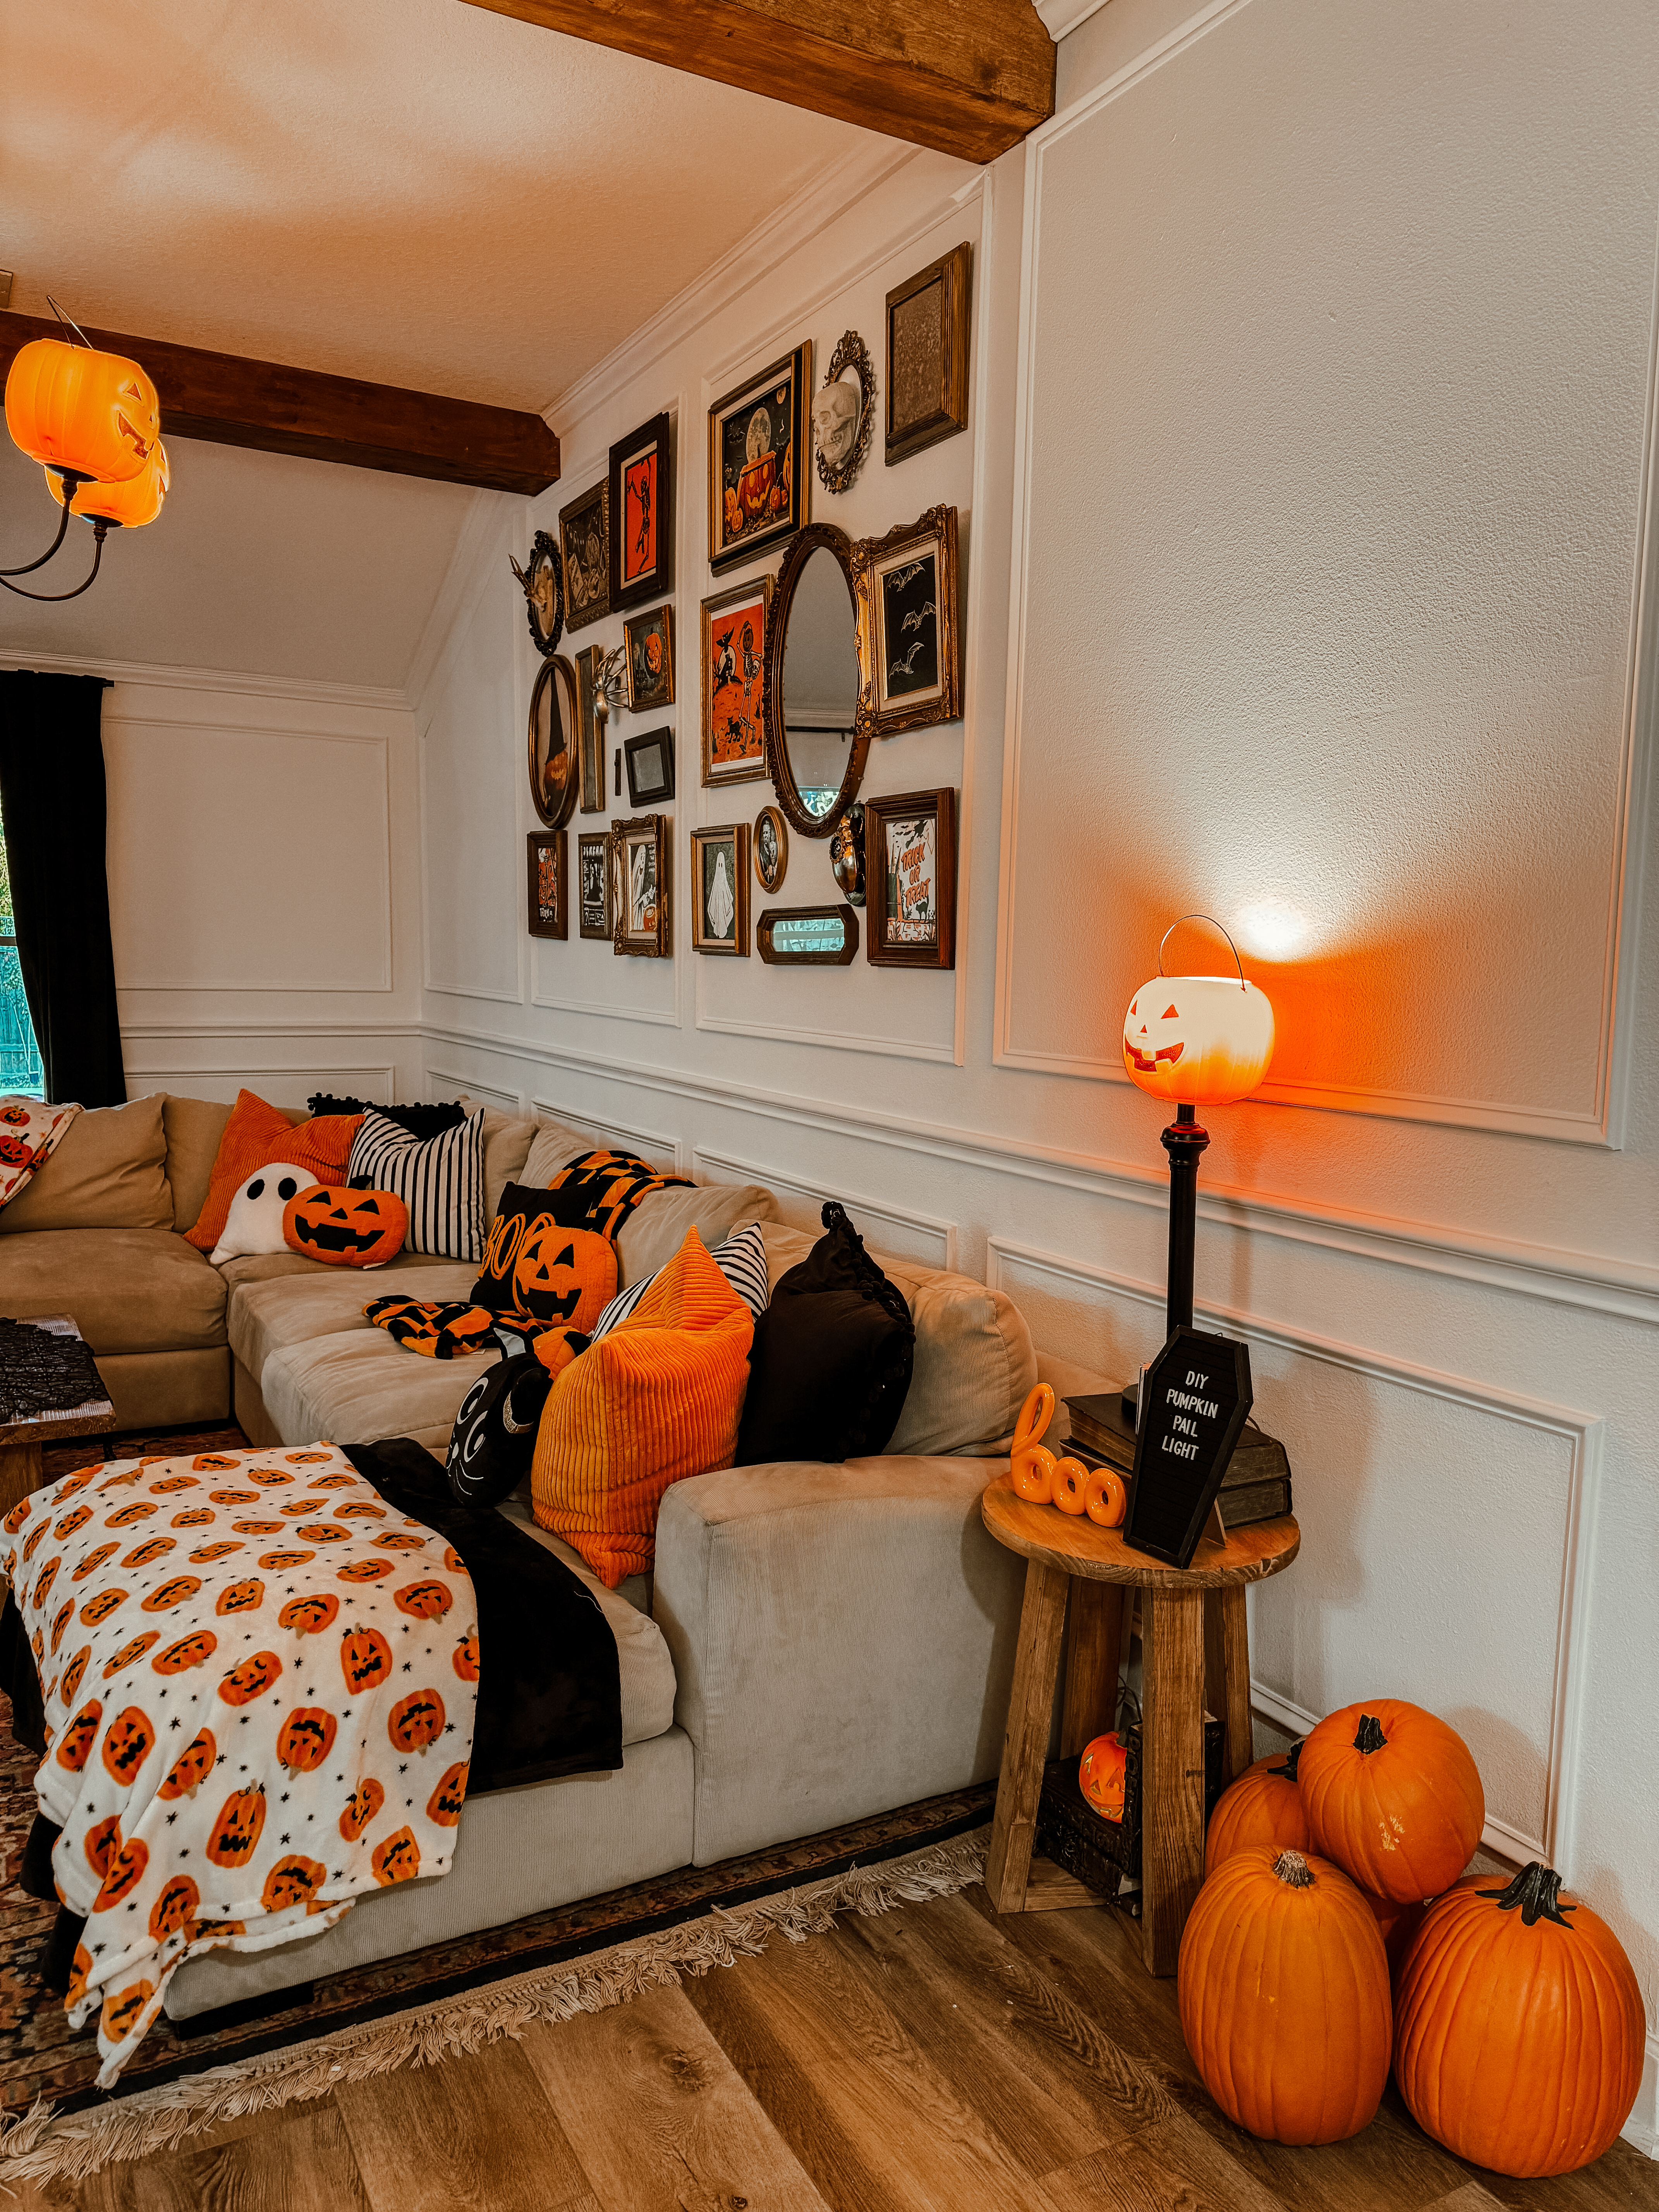
These retro pumpkin pail lamps make the perfect addition to any Halloween-themed room. I placed mine on the side of my couch for a spooky look. The warm light from the pumpkins adds a cozy glow to the room, perfect for Halloween movie nights or just enjoying the festive season.
You can also style them on a side table, in the entryway, or anywhere you want to add a touch of retro Halloween charm. The best part about these lamps is that they’re so versatile. You can switch up the pails, using different colors or designs, or even swap them out for other themed containers throughout the year.
Tips and Tricks for Your DIY
– **Customize the pails**: Don’t feel limited to using orange pumpkin pails! Try different colors or even spray-paint the pails to match your decor. You could also use glow-in-the-dark paint for an extra spooky effect.
– **Experiment with lightbulbs**: While I used warm yellow bulbs for a traditional Halloween feel, you could also try colored bulbs (like green or purple) to switch up the look.
– **Go big!**: If you can find larger lamps and bigger pails, you can create oversized versions of this project for a more dramatic effect.
– **Add accessories**: Feel free to embellish the lamps further by adding ribbon, glitter, or other Halloween-themed decorations.
This DIY project is not only fun and easy, but it’s also a great way to repurpose thrifted items and create something truly unique for your Halloween decor. I love how these retro pumpkin pail flashlight lamps turned out—they add such a nostalgic vibe to my space, and they’re the perfect blend of spooky and playful.
If you decide to give this project a try, I’d love to see your creations! Tag me on social media at @AshtonSedita so I can see how you styled your lamps and your own take on this fun DIY. I’m always so inspired by the creativity of my community, and I can’t wait to see what you come up with! See y’all next week for another fun #ThriftingThursday Flip.
XOXO,
Ashton


One Comment
Comments are closed.