Gaming Themed Bedroom
Christian’s room was extremely damaged from the flood and if you remember I had just finished a room makeover on his room right before the flood…that was upsetting. So it was important for me to make sure we made his room even more special than it was before. This Gaming themed room is now one of my favorite projects! It’s amazing what a little love to a space can do!!! With the right tools it makes projects like this so much easier!! This room was #sponsored by Hart Tools. So let me share all the fun things we did.
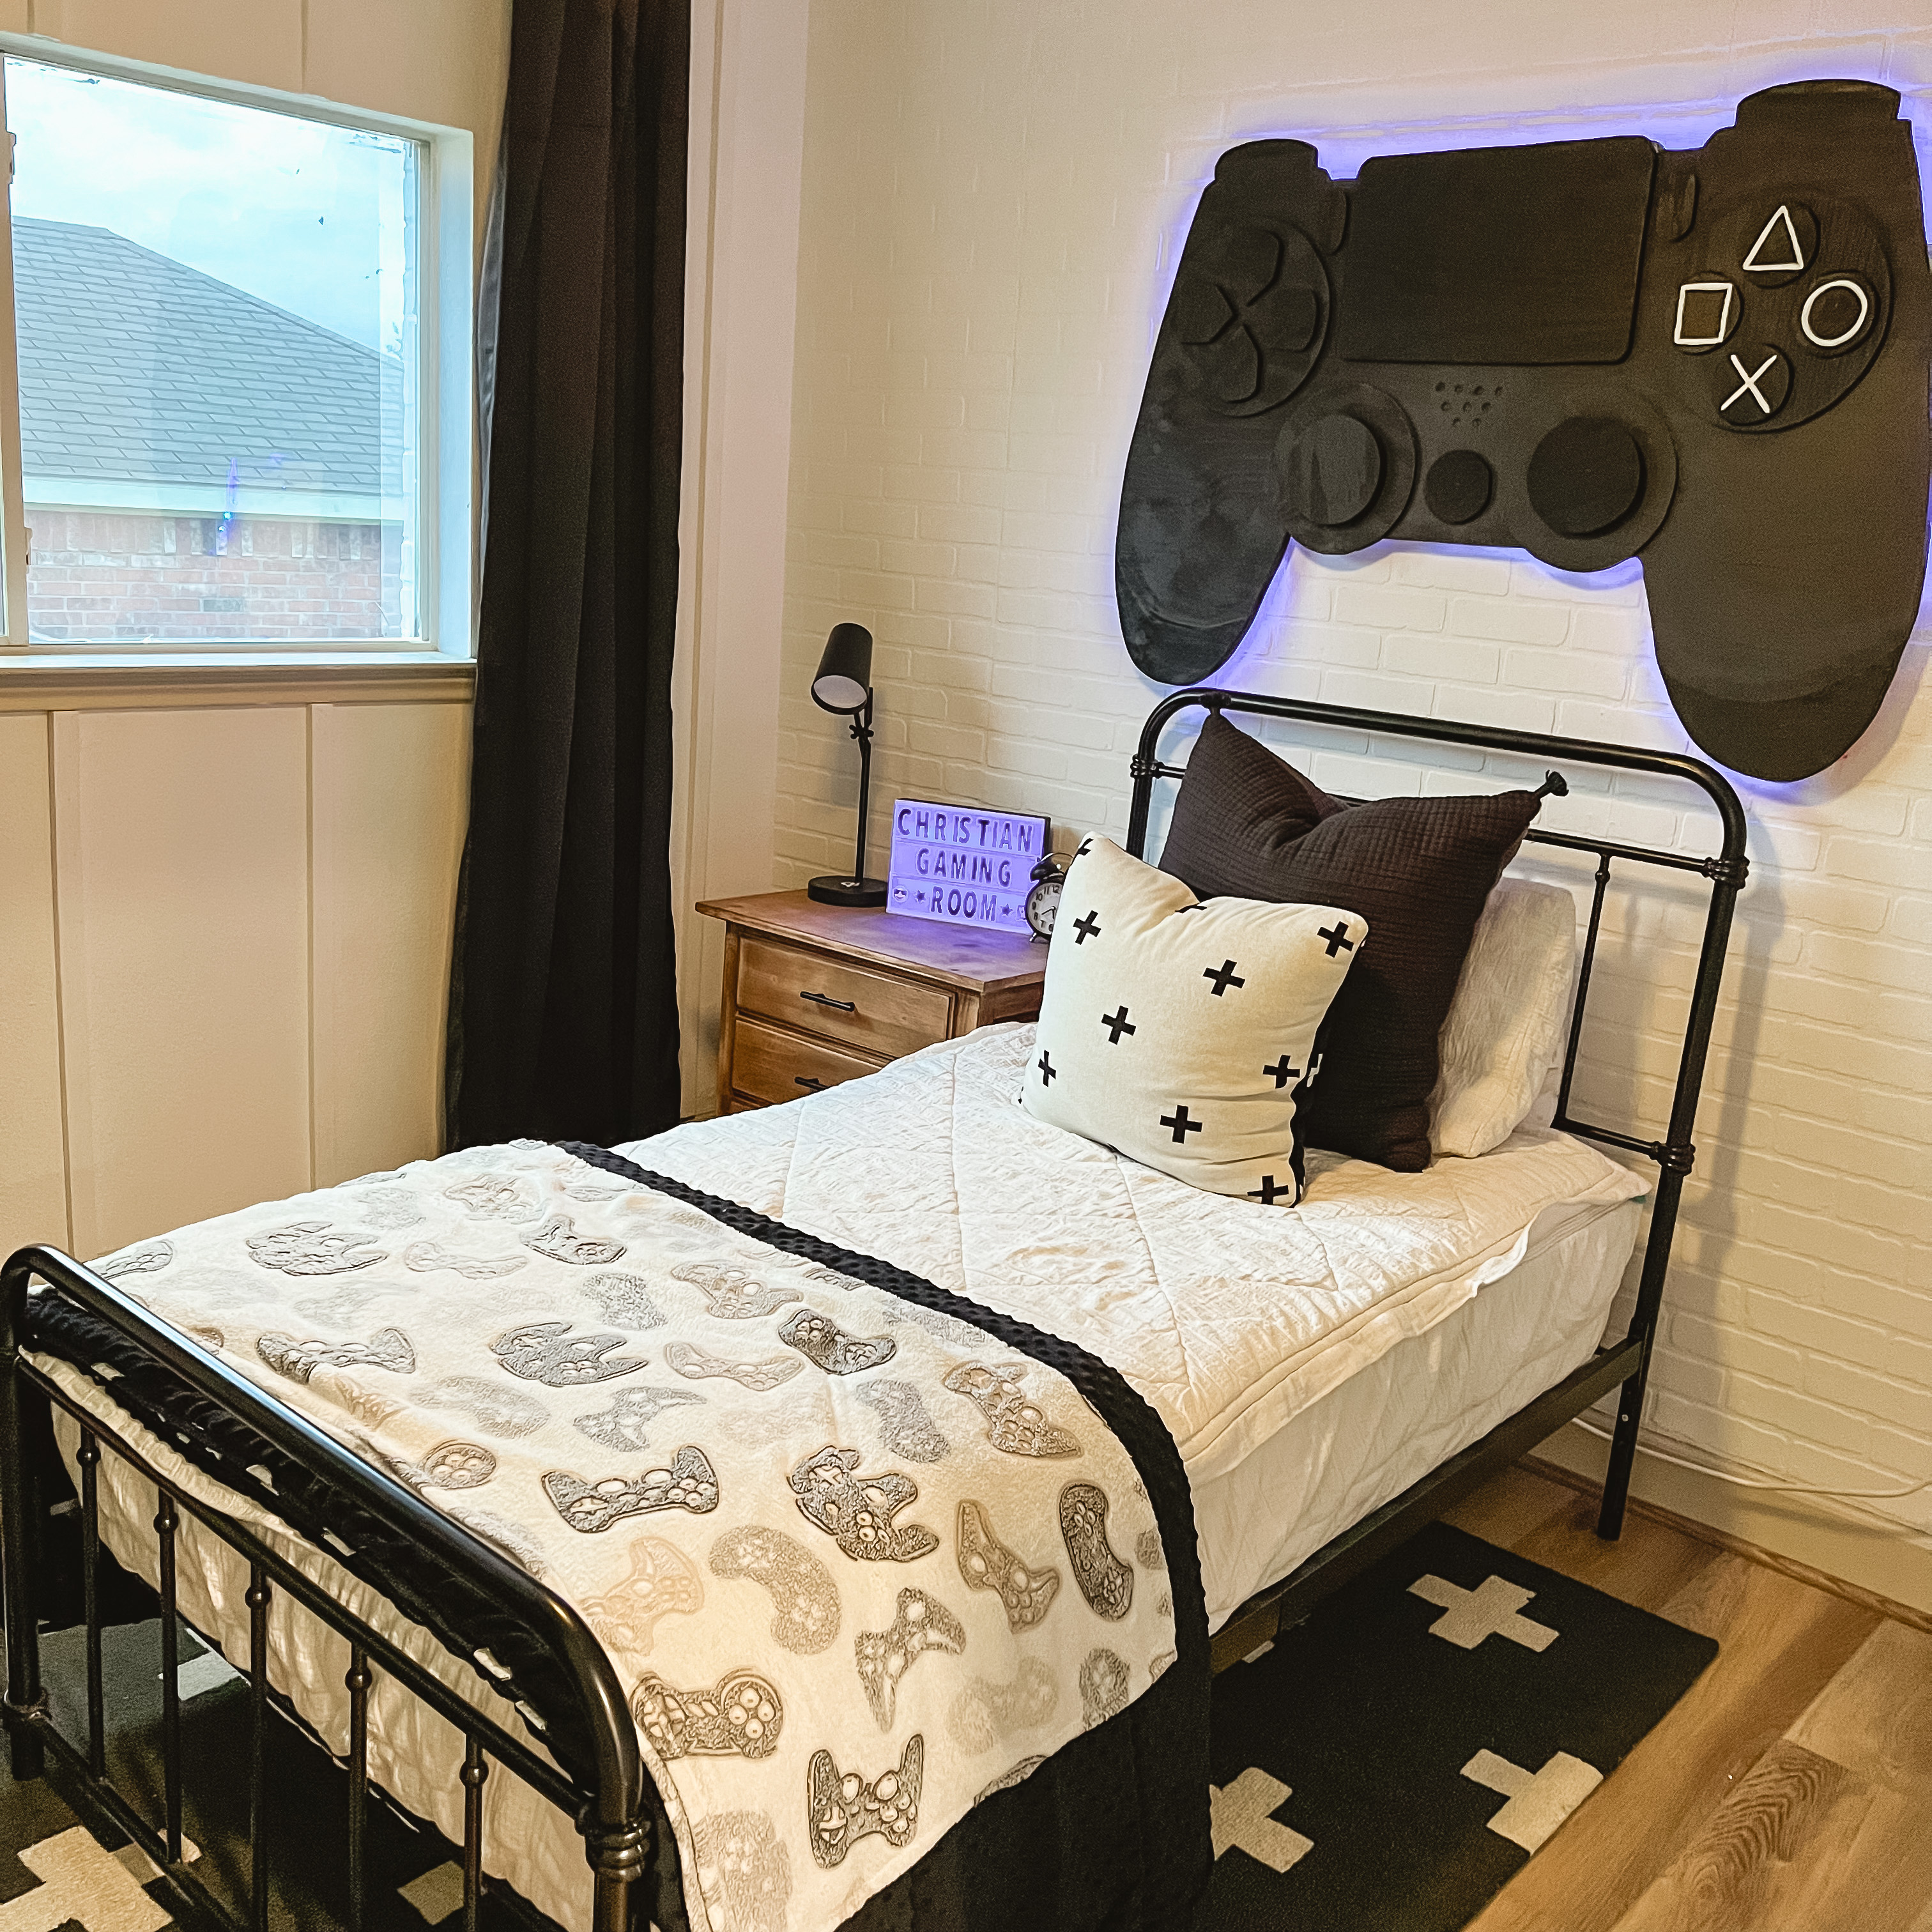
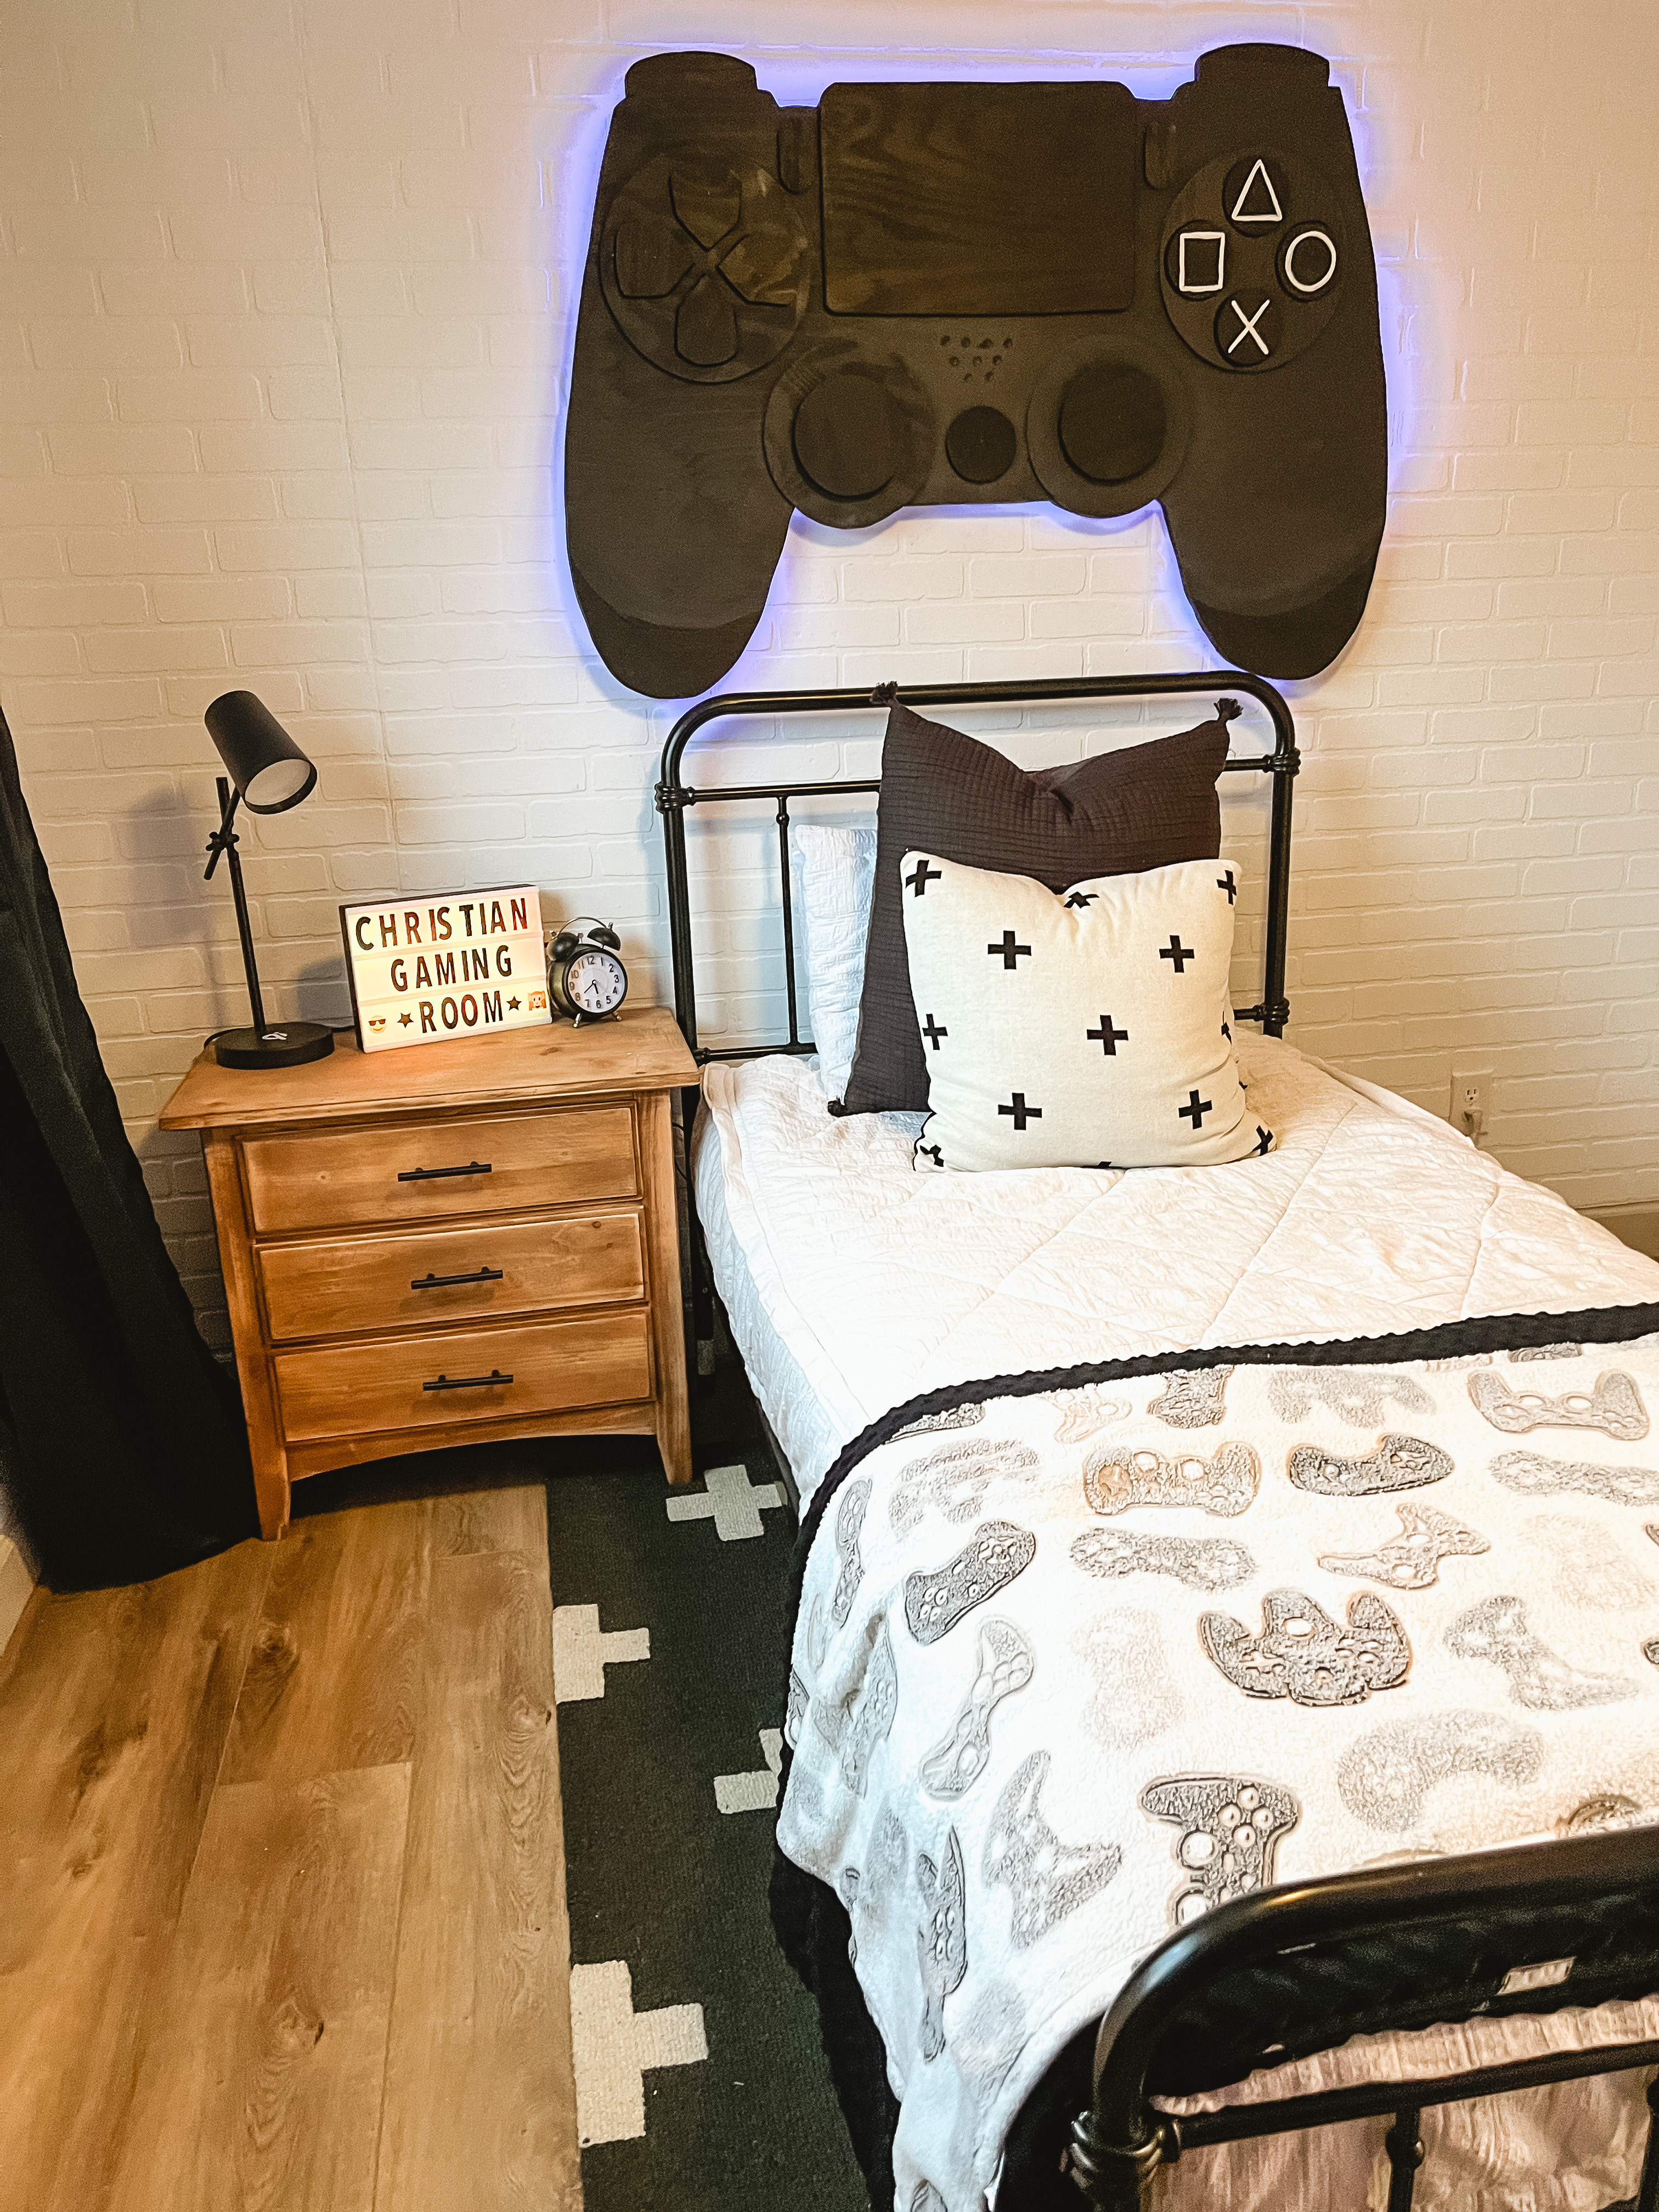
FULL ACCENT WALL. I wanted an accent wall on the side the bed was going on and with the theme I was going for… I felt like the brick paneling would be the perfect addition. We purchased brick panel sheets at our local hardware store and secured them on the wall with Hart’s 20v cordless drill [LINKED HERE]. Once all the panels were up… we filled all the seams and gaps with caulk. You want the brick panel to look natural as if it was literally the wall itself. Next… PAINT! I really wanted a black brick wall but with the room being so small, I knew it would swallow the room… so I went with the same wall color we have throughout the entire house- Sherwin Williams- white. Don’t worry.. I add black in there.. just wait- KEEP SCROLLING!
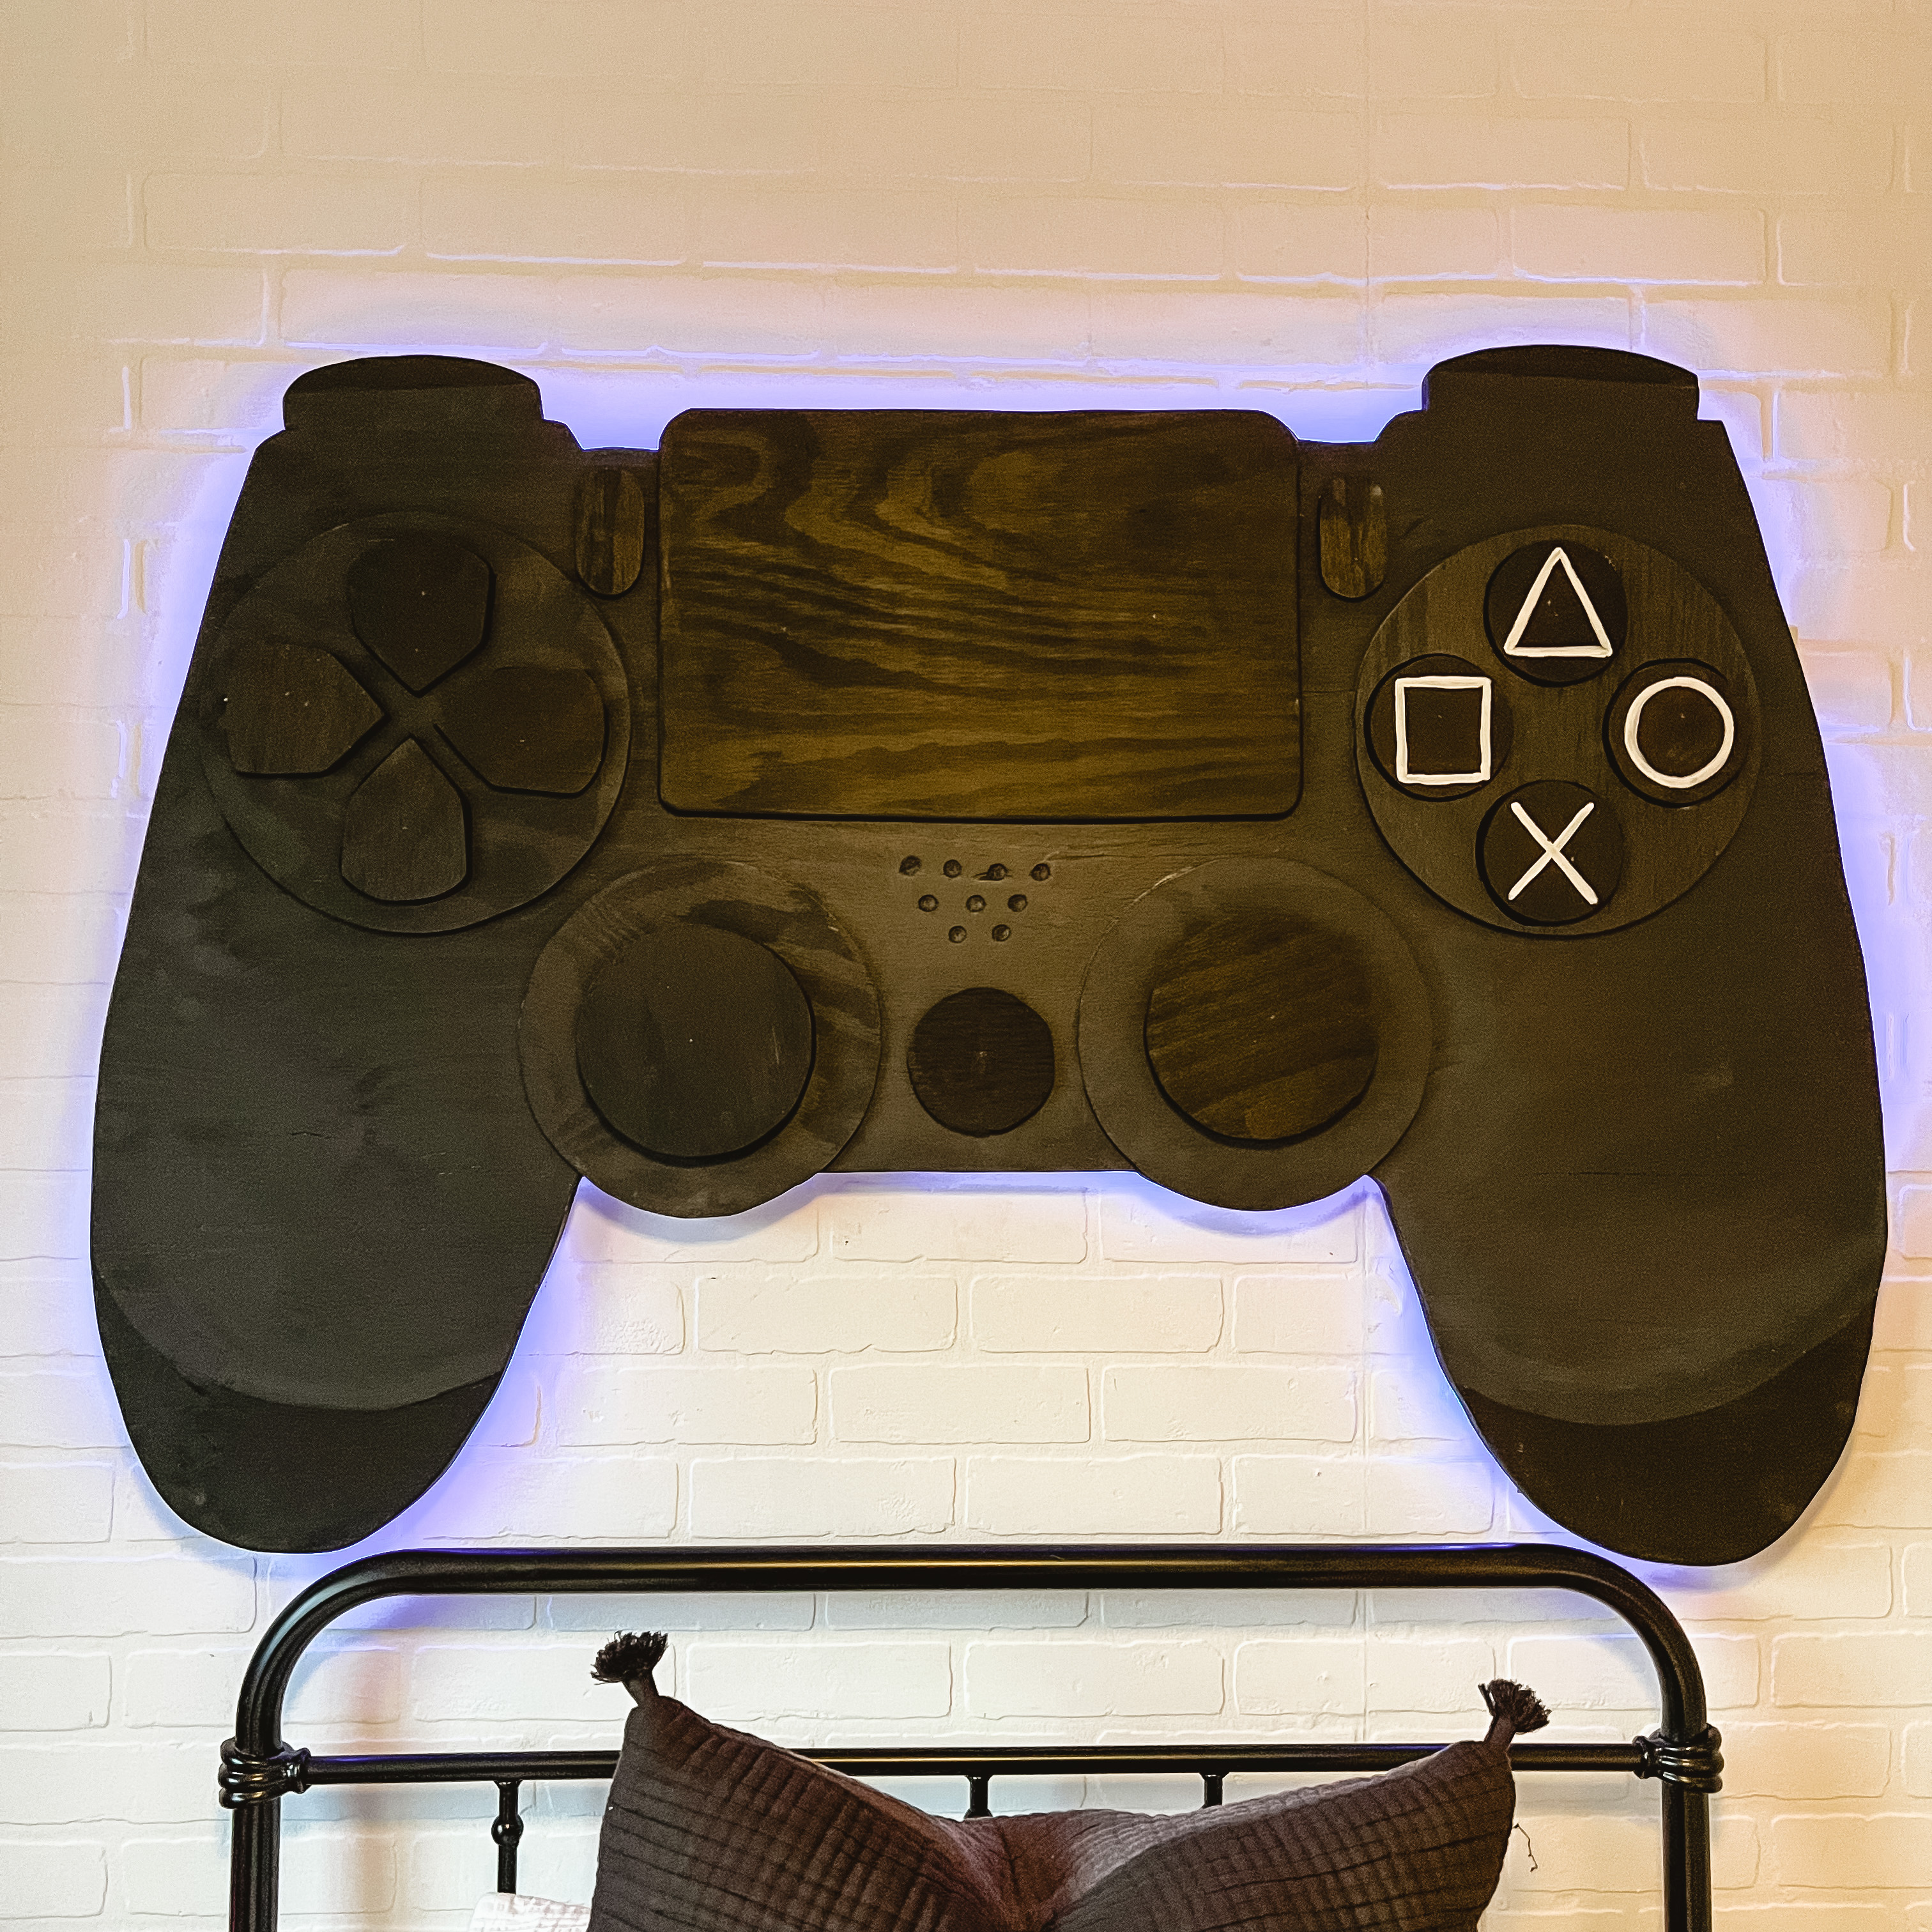
GAME CONTROLLER TUTORIAL. With how much Christian is obsessed with gaming.. I knew we had to create a real looking game controller on the wall. So hubby and I did our best to create my vision and I will say I feel like it turned even better than I even imaged. I found an image of a game controller I liked online and used my projector [linked down below] to project the image on the board and traced it on a piece of 1/2″ thick plywood. Once the controller is traced on the the board, along with all of the game controller buttons.. I used Hart’s 20v cordless orbital Jigsaw [LINKED HERE]. This saw is one of my favorites because of its versatility and so easy to use. It allows you to make the perfect curves and angles with your cuts. Now that the controller and pieces are cut… you need to paint and fasten the buttons on to the controller. I added battery powered motion activated LED lights [LINKED BELOW] to the back of the controller for a fun touch. We found a piece of scrap wood in the garage, cut it in two and fastened it to the studs on the wall. Then with Hart’s 20v cordless drill we fastened the controller to these pieces to allow it to sit off the wall slightly.
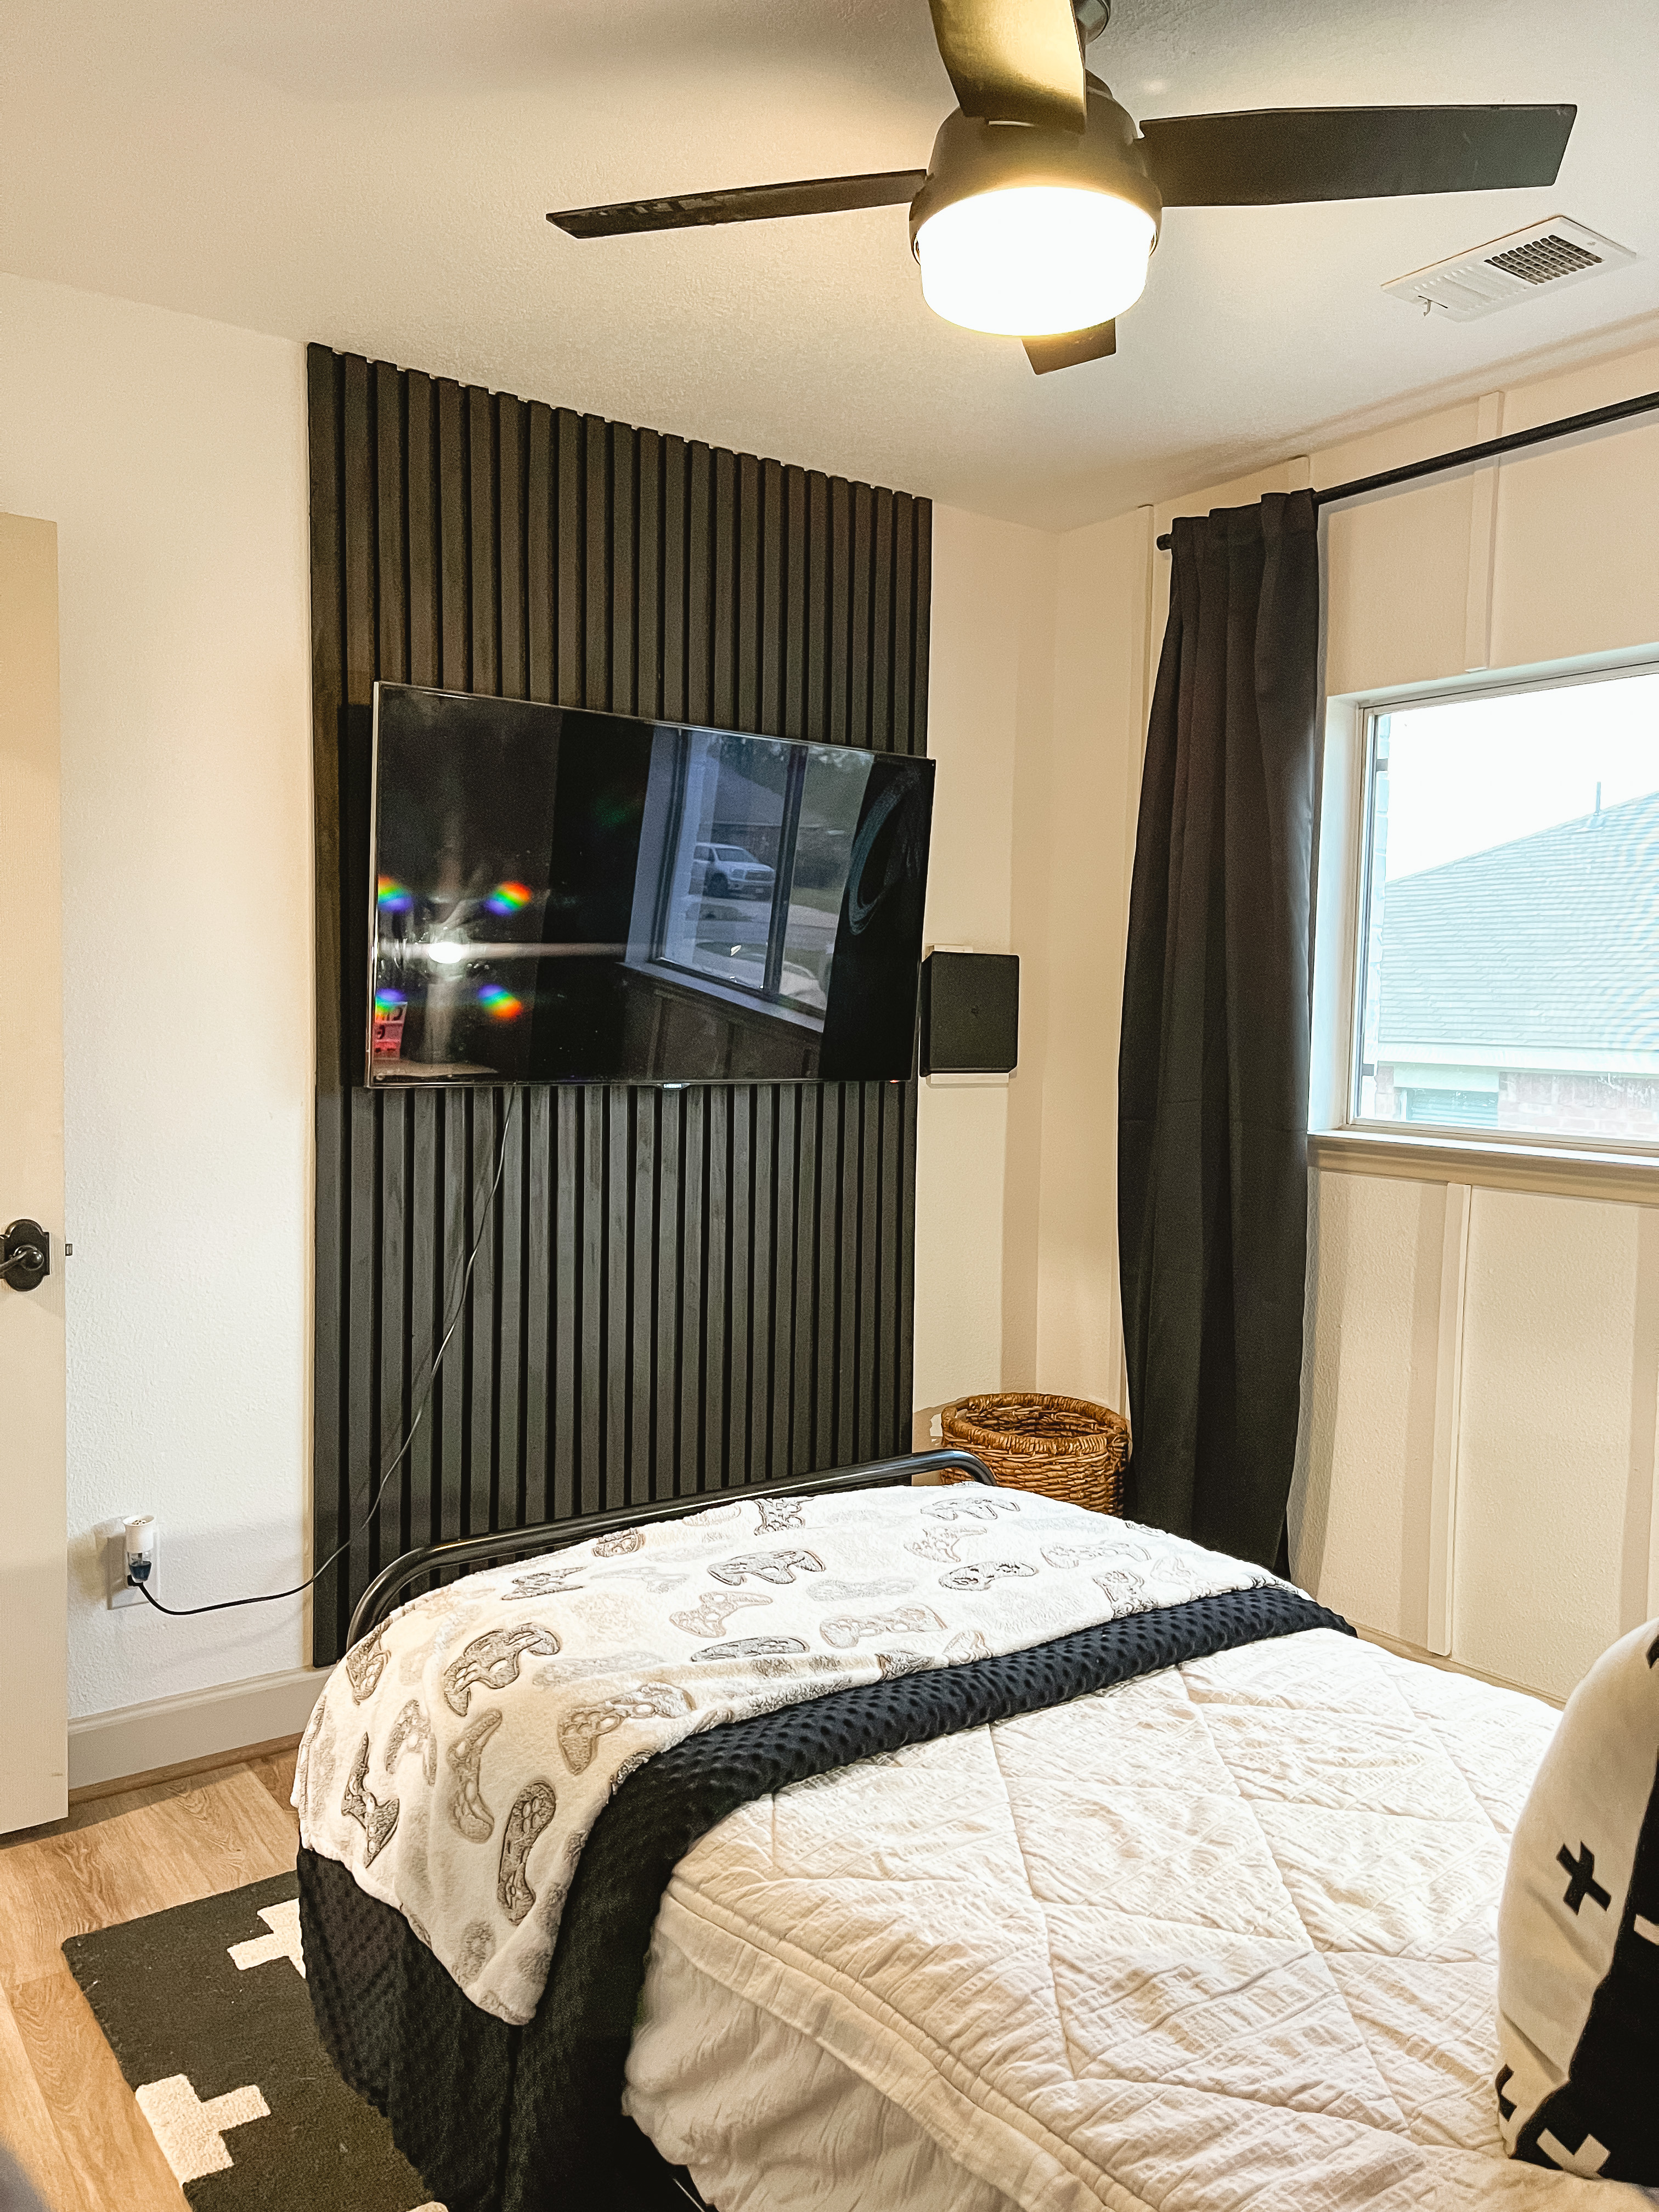
TV WALL. Now this is where all the fun gaming will happen …so I knew we had to add a fun touch. I decided to incorporate the black on this wall since it would be a minimal amount. I did a slat wall like this in our garage gym and I LOVE IT!!! We used 1×2 for this wall. II started by finding the center of the wall and fastened a board to the wall. From there I worked by way out on each side of the center board. The spacing between each board is just the same size board. Now… the HERO for this project is the Hart 48″ level [LINKED HERE]. When fastening each of the boards to the wall I start at the top and work my way down. As I move down I just move the Hart level down the board to ensure my board is straight. Cheap boards typically are not straight so thankfully the Hart level helped me figure out which way I needed to bend the board to make it straight. So basically the Hart level helps you create the perfect straight lines on the slat wall. The spacing between each board is just another board. Once the wall was complete you fill the fastened holes and paint your desired color.. stain would also look awesome. With the led lights behind the TV it makes this wall POP against the black! I used Sherwin Williams- black.
I had a few boards left over from the slat wall.. so instead of letting them go to waste… I decided to be resourceful and use them for the remaining two walls. It was the same concept as the slat wall… except using 24″ spacing. I felt like it just made the 2 other walls cohesive. Then I went in with caulk to create a seamless line between the slats and wall. Fill the fastener holes. Then paint your desired color. Again I went with the same wall color we have throughout the rest of the house.
Christian absolutely loves how the room turned out and we are so Christian absolutely loves how the room turned out and we are so happy. It’s simple and has a fun theme that he LOVES. I had a blast designing this space and I’m thankful for Hart Tools to help make this project possible!! Please let me know if you have any questions! Here are some pictures of different views of the room and also below I link the items I could from his room.
PROJECT LINKS:
DECOR LINKS
- BED FRAME [LINK]
- THROW PILLOW [LINK]
- RUG [LINK] – code: Ashton – for additional savings
- BLACK OUT CURTAINS [LINK]
- TV LED LIGHTS [LINK]
- MOTION ACTIVATED LED LIGHTS (GAME CONTROLLER LIGHTS) [LINK]
- THROW BLANKET [LED]
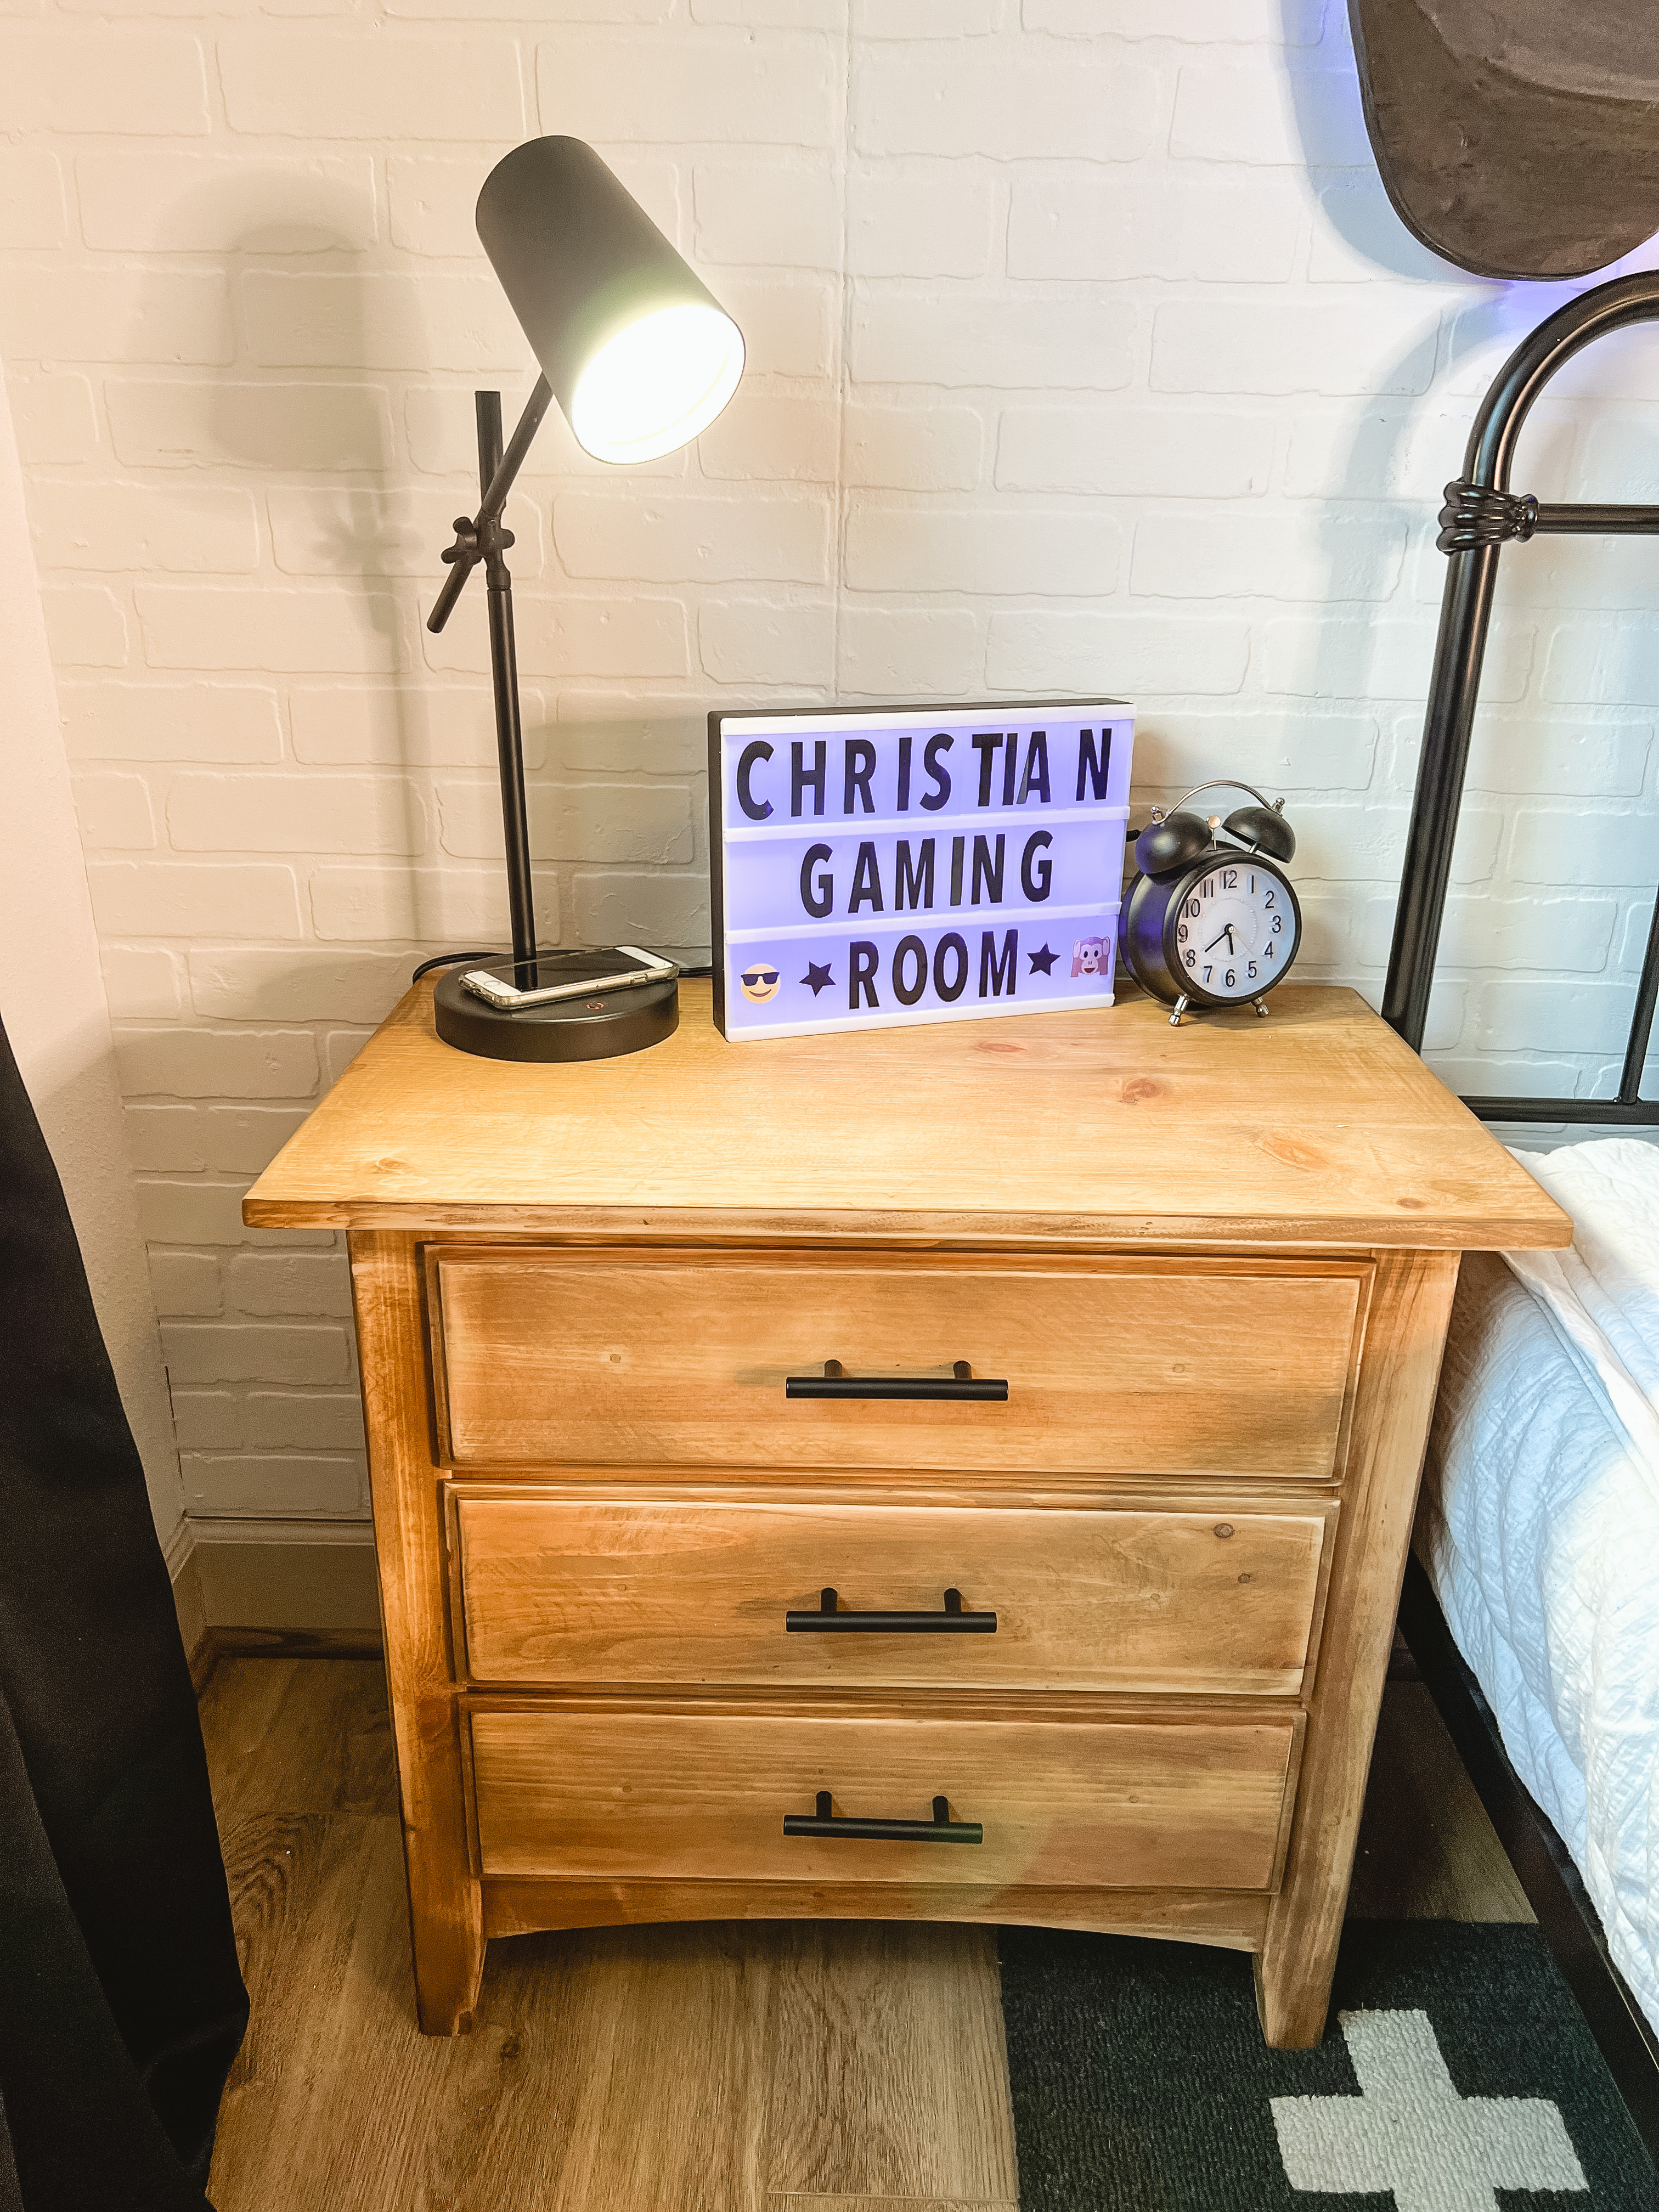
- LAMP [LINK]
- MARQUEE SIGN [LINK]
- ALARM CLOCK [LINK]
- STORAGE BASKET [LINK]
