DIY Thrifted Christmas Frames – Easy Cozy Holiday Decor Idea
If you’ve been here for more than two minutes, you know I love a good thrift flip…especially one that lets me repurpose something I already own to create cozy, nostalgic Christmas decor on a budget. This year, I’ve been on a tartan kick (a new obsession…shocking, I know), and today’s project DIY thrifted Christmas frames may be one of my favorites yet. I feel like I say that about all my projects.
In this tutorial, I’m sharing how to turn old thrifted picture frames into stunning Christmas wall art using tartan fabric, downloadable winter prints from Etsy, hot glue, and a little creativity and bonus… If you really want them to look old- My favorite technique is the Faux Oil Vintage Painting Hack. This project is affordable, beginner-friendly, and the perfect way to “shop your home” instead of buying all new holiday decor.
We’ll also talk about how these frames tie into my DIY Tartan Thrifted Lampshade Flip and my $20 Thrifted Cabinet Makeover, which both live together in the most magical little Christmas corner of my home. Those blog posts will be linked throughout so you can recreate the full look.
Whether you decorate with nostalgic Christmas prints, classic Santa artwork, or winter village scenes, this DIY will help you create designer-looking holiday art without the designer price tag.
Let’s get festive. 🎄✨
🎁 Why DIY Tartan Christmas Frames Are Perfect for Holiday Decorating
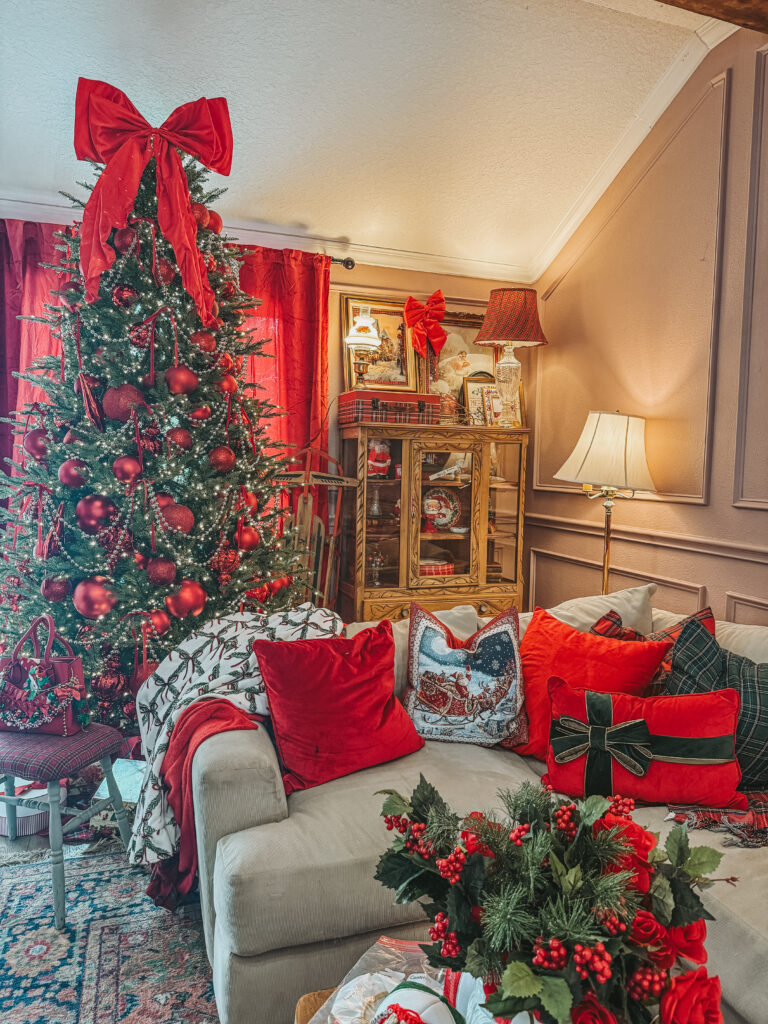
When a new holiday season rolls around, I like to transform every corner of my home into a cozy, nostalgic space that feels like you stepped right into a Christmas movie. But decorating for every season doesn’t have to mean buying all new pieces every single year.
Instead, I believe in:
• Repurposing what you already own
• Shopping your home first
• Using thrifted pieces as a base
• Choosing projects that add big impact for little money
• Getting creative with fabric and inexpensive prints
That’s exactly what this project does.
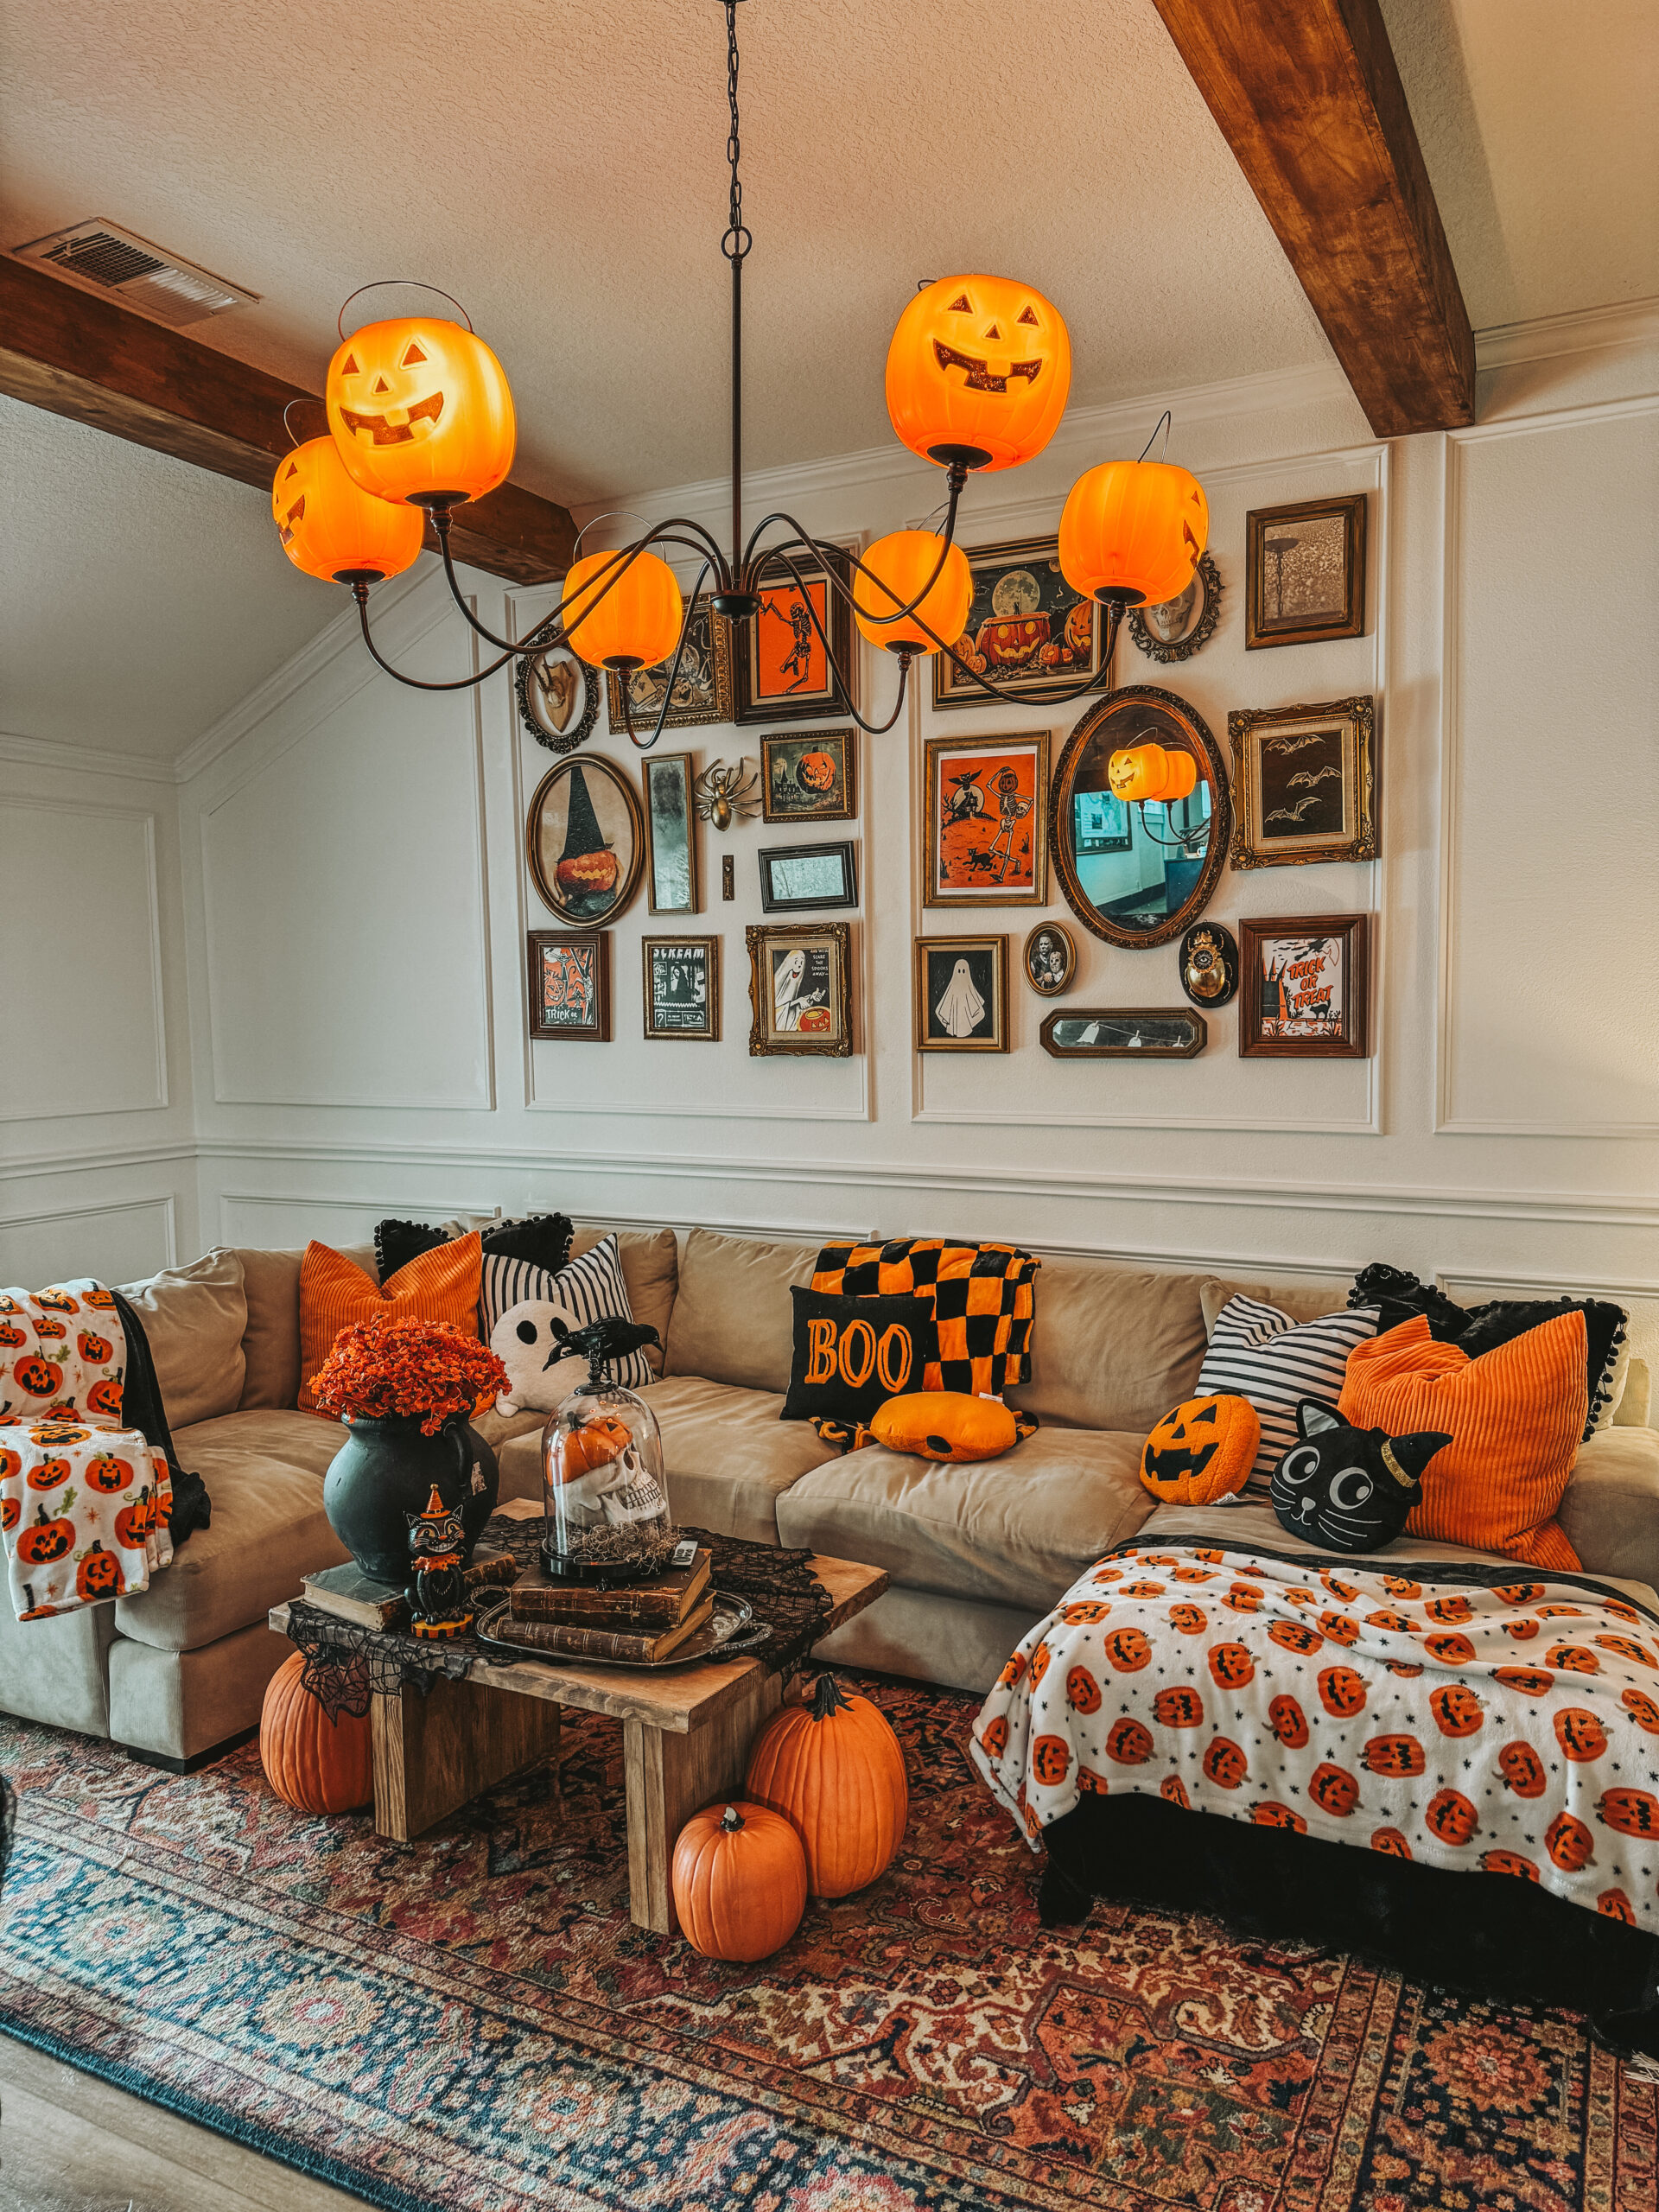
I started with picture frames that I originally thrifted months ago. They were cute as Halloween decor…moody, vintage-looking, and full of character…but once Christmas arrived, it was time to flip them into something festive.
This DIY uses:
• Tartan fabric (leftover from my DIY lampshade project!)
• Inexpensive downloadable prints from Etsy
• A hot glue gun
• Thrifted frames that needed a new life
The result? A pair of cozy, cohesive Christmas art pieces that match the rest of my decor and look like something you’d find in a boutique holiday shop.
Let’s break down exactly how I made them.
🎄 What You’ll Need for Your DIY Thrifted Christmas Frames
Here’s your full supply list (I’ll link everything I can!):
✔ Tartan print fabric– I used the same red tartan fabric from Hobby Lobby that I used for my DIY Tartan Lampshade Flip. You can absolutely use leftover scraps.
✔ Christmas or winter print downloads (Etsy)- These are instant downloads—super affordable and you can print them in any size. I used:
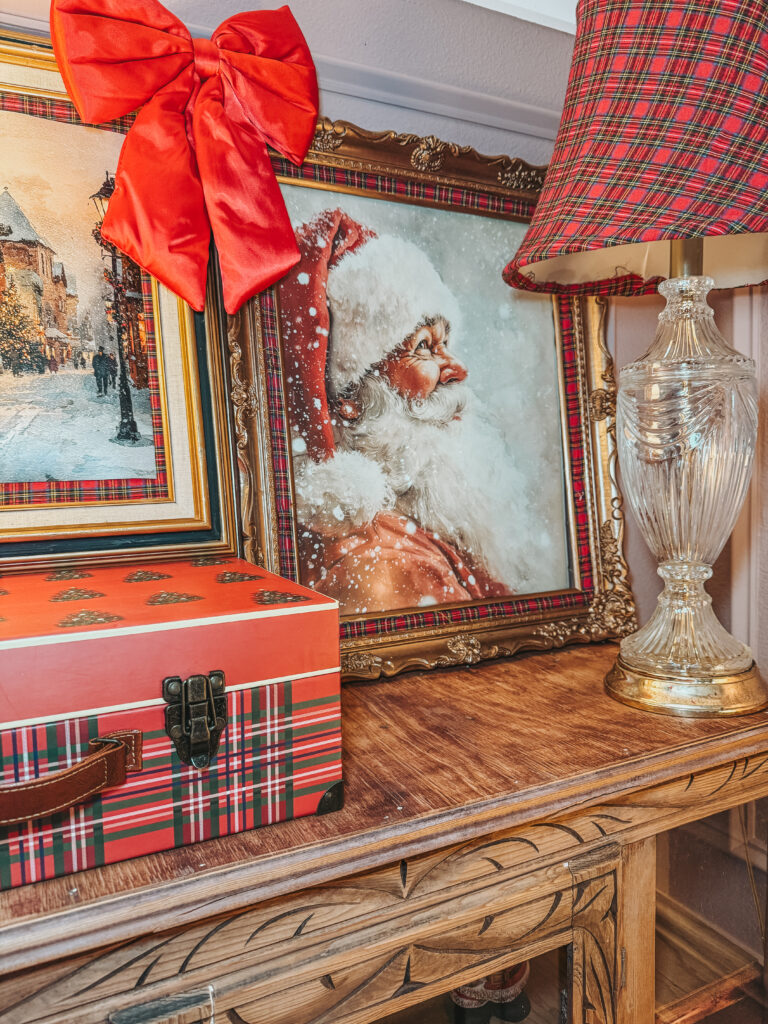
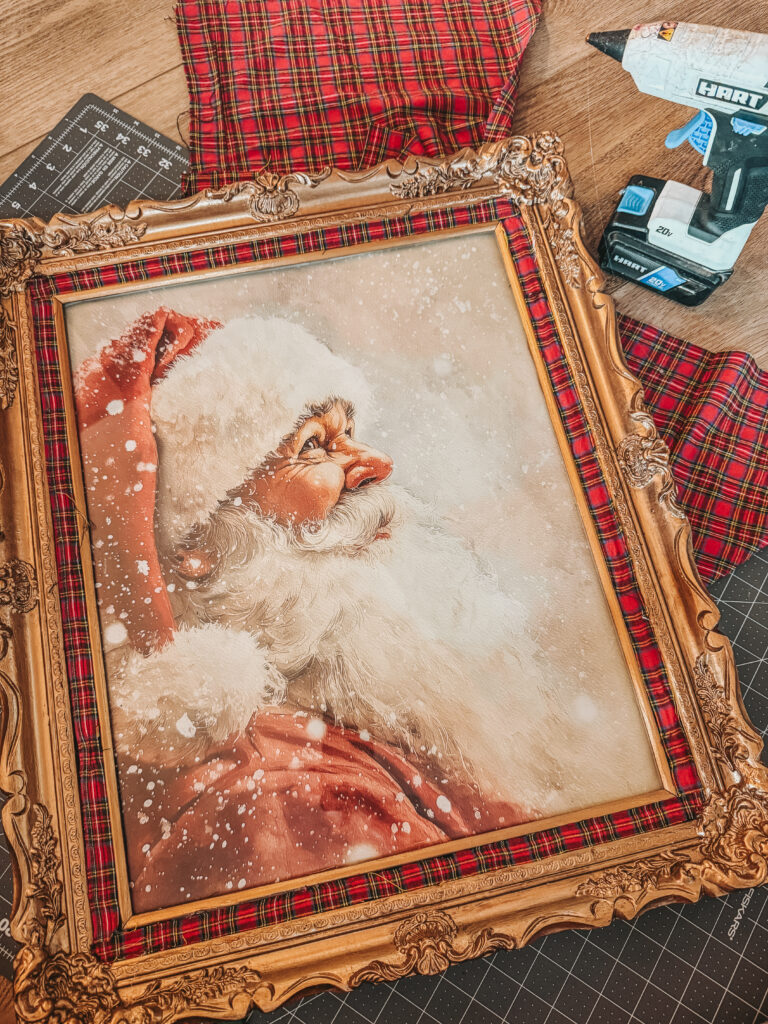
• A classic Santa portrait
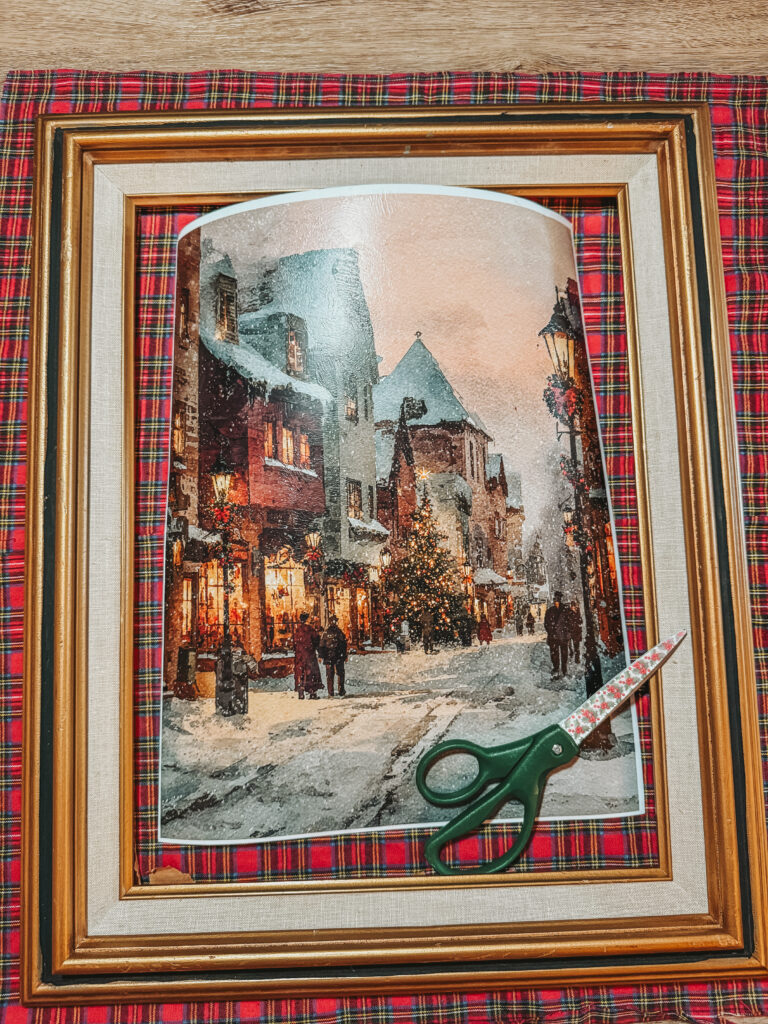
• A nostalgic winter village scene
If you don’t like those- just get on Etsy and search “downloadable Christmas print”… there are thousands of options!
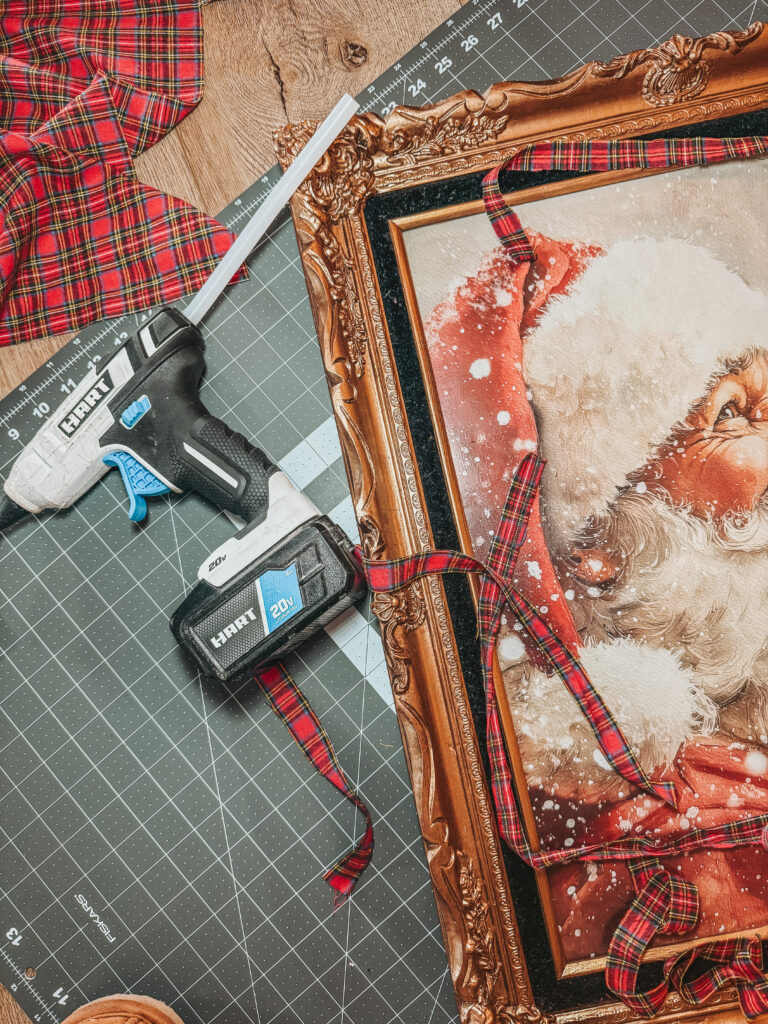
✔ Hot glue gun + glue sticks– I’ll link my Walmart hot glue gun that I use for nearly every DIY.
✔ Fabric scissors- Sharp scissors matter when cutting fabric
✔ Thrifted picture frames (Etsy has some great ornate frame options too
The more ornate the better!
One of mine had a black velvet mat, which I covered with tartan.
The other had a linen-style mat that I replaced entirely with tartan fabric.
Optional but helpful:
• Rotary cutter + mat
• Clips or clothespins to hold fabric while gluing
• Cardboard or backing board if your original frame didn’t have one
Before & After: Transforming Thrifted Frames for Christmas
These frames started out completely different:
Frame 1: The Ornate Gold Frame
• Originally thrifted for Halloween decor
• Had a black velvet inner border
• Perfectly beautiful but not Christmas-themed
• I just glued a thin tartan fabric over the black velvet to match my tartan lampshade
Frame 2: The Wood-Trimmed Frame
• The mat was plain, neutral, and not festive
• I used tartan fabric as a full replacement mat, creating a Christmas-inspired backdrop for my winter village print
• This one especially ties the whole vignette together when styled with the cabinet, lamp, and tartan boxes
Both frames were inexpensive and already sitting in my house. Repurposing them instead of buying new Christmas wall art saved money AND made everything feel more cohesive.
Step-by-Step: How to Make DIY Tartan Christmas Frames
Step 1: Choose & Prep Your Thrifted Frames
Grab any frame you want to use—ornate, simple, wood, gold, doesn’t matter. Thrift stores always have dozens.
Next….
1. Remove the back of the frame
2. Take out any old art, paper, or outdated prints
3. Save the cardboard backing—you’ll need it
4. Wipe the frame clean, especially if it’s dusty from storage
Step 2: Cut Your Tartan Fabric
Lay your frame face down on the tartan fabric to measure how much you’ll need.
If you’re using the fabric for a full mat:
Cut a piece that’s at least 2–3 inches larger on all sides so you can wrap it around your backing board.
If you’re creating a thin tartan border (like on the Santa frame):
Cut long strips of tartan fabric about ½–1 inch wide.
You can trim them later for a cleaner look.
Pro tip:
Plaid lines show EVERYTHING. Try to cut with the lines so your fabric looks neat and intentional.
Step 3: Attach Fabric Using Hot Glue
This is the easiest part, and honestly the most satisfying.
For the full fabric mat (winter village print):
1. Lay your tartan fabric face down.
2. Put the backing board in the center.
3. Fold the fabric tightly over the edges.
4. Apply hot glue to the back and press the fabric down.
Make sure the front stays smooth—keep adjusting as you glue.
When you flip it over, you’ll have a beautiful tartan background ready for your print.
For the tartan border trim (Santa print frame):
1. Take your thin fabric strips
2. Add a tiny bead of hot glue along the inside lip of the frame
3. Press your tartan strip into the glue and hold for a second
4. Work your way around the frame, pulling the fabric taut
5. Trim any excess fabric once it’s fully glued down
This simple detail adds SO much charm and ties in perfectly with tartan lampshades, tartan gift boxes, or tartan ribbon you might already be using in your holiday decor.
Step 4: Add Your Christmas Print
Once the tartan fabric is glued and secure, center your Etsy print inside the frame.
You can glue it directly to the backing board or tape it lightly if you want to reuse the frame for future holidays.
Then reassemble:
• Print →
• Backing board →
• Frame clips →
• Frame back on →
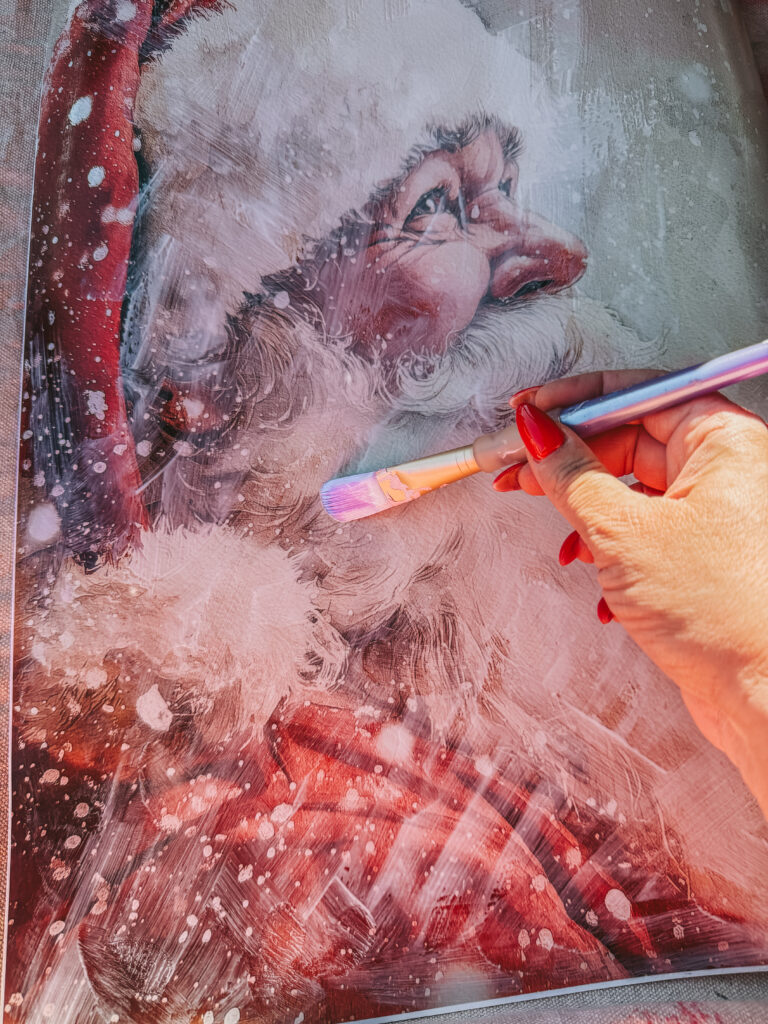
✨ Optional Step: Add a Vintage Oil-Painting Texture
If you want your Christmas prints to look extra vintage and high-end, you can use my easy DIY oil-canvas texture hack. I originally did this on a bunch of my Halloween prints, and it instantly made them look like real canvas paintings. It works beautifully on Christmas art too—especially Santa portraits and winter village scenes.
All you do is:
1. Brush Mod Podge (matte or gloss) over your print – matte is my favorite
2. Use thick, loose brushstrokes in different directions
3. Let it dry
The Mod Podge dries with raised texture, giving your print a hand-painted, antique-canvas look that feels so nostalgic and cozy. It adds depth, shine, and that old-world charm that looks amazing inside a tartan-trimmed frame.
If you want the full tutorial with the brushes I used and step-by-step photos, you can read that post here:
👉(Faux Oil Painting Hack)
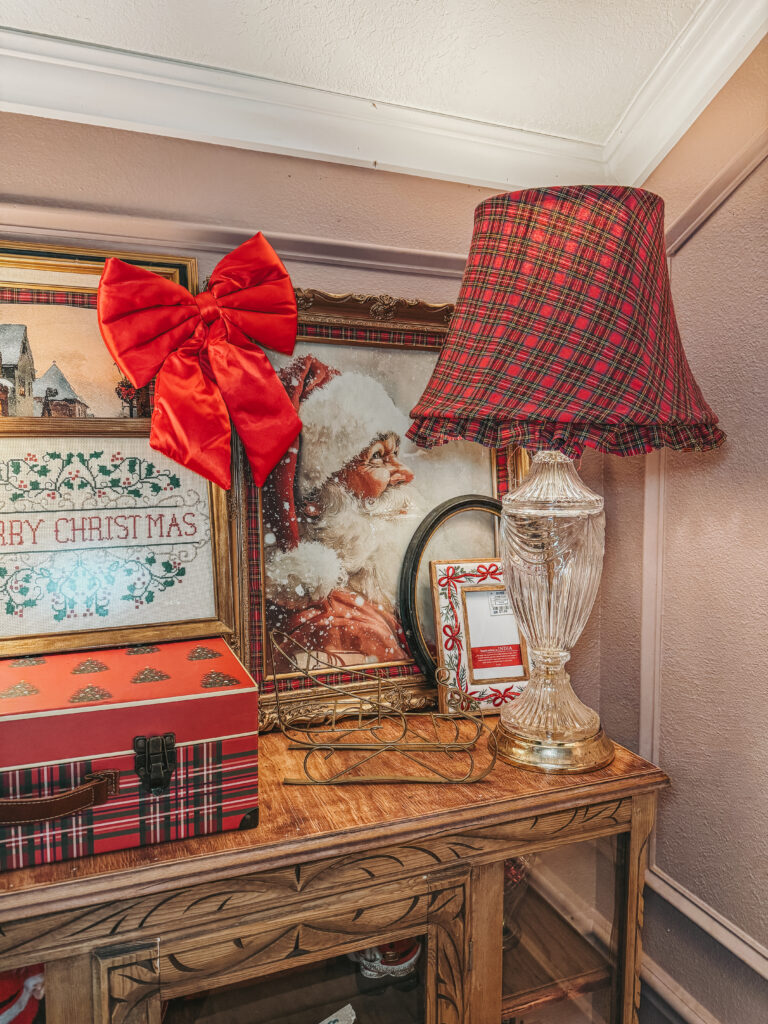
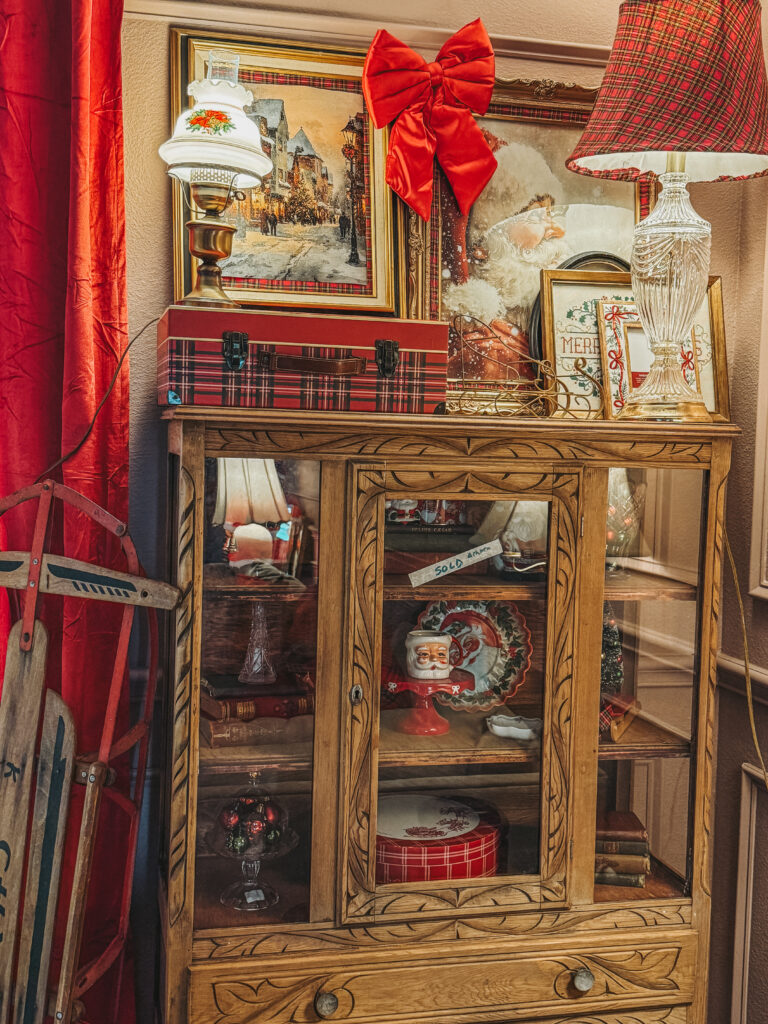
🎅 How I Styled My DIY Tartan Christmas Frames
These frames live on top of my $20 thrifted cabinet, styled with:
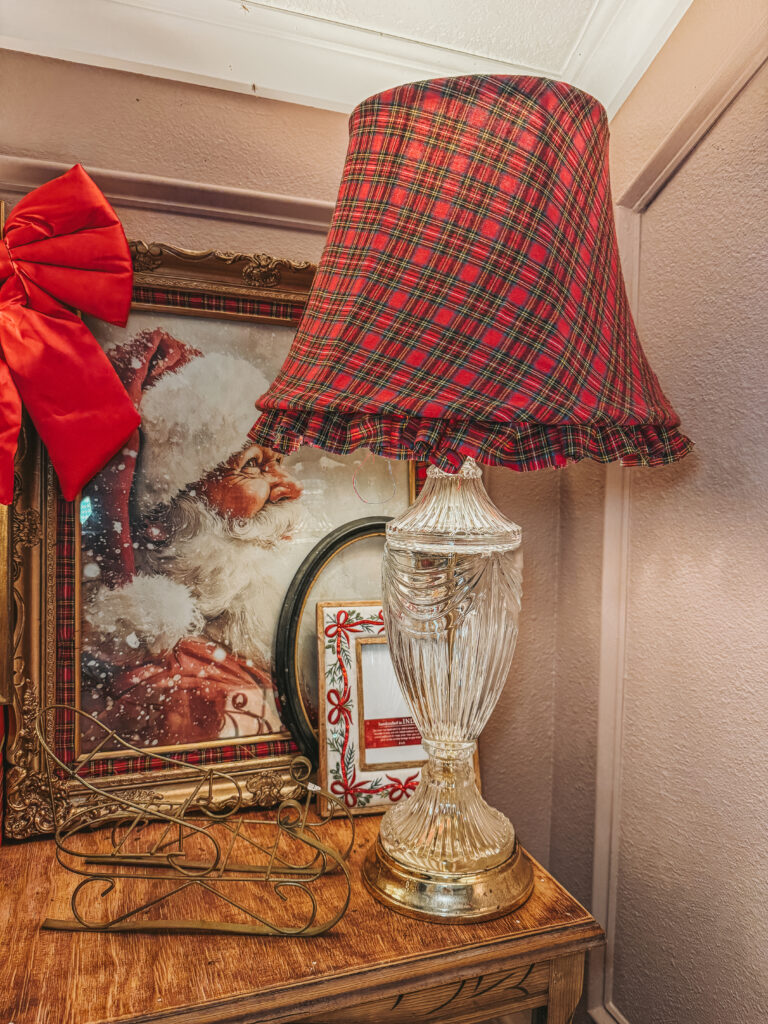
• My DIY tartan lampshade- BLOG POST TUTORIAL
• Vintage Santa mug- I LOVEEE to collect these- it’s getting harder and harder to find them!
• Tartan storage boxes- found at home goods
• A red satin bow
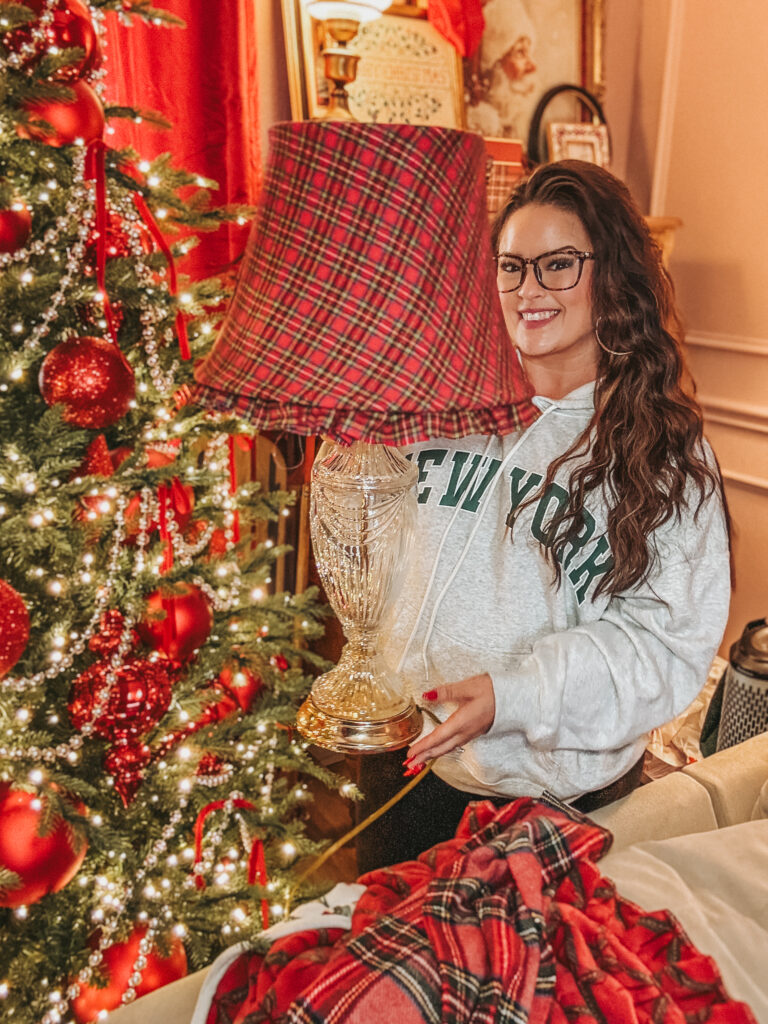
• A gorgeous thrifted crystal lamp
• Christmas books, plates, and thrifted treasures
The whole vignette looks like it came right out of a nostalgic Christmas storybook. And what I love most: the tartan theme runs through the lamp, frames, boxes, ribbon, and accents.
It looks curated and expensive… but everything is either:
• Thrifted
• Printed from Etsy
• Reused from other seasons
• Or made with inexpensive fabric
That’s my kind of decorating.
🔗 Related Projects You’ll Love
✨ DIY Tartan Lampshade Makeover
This lamp sits right next to the frames and uses the EXACT same tartan fabric.
I share how I covered a thrifted lampshade using adhesive spray and added a no-sew ruffle for that classic Christmas charm.
I’ll link that full tutorial HERE!
✨ $20 Thrifted Cabinet Transformation Using Oven Cleaner
The frames and lamp sit on top of my $20 cabinet—one of my favorite thrift flips ever.
In that tutorial I share how I:
• Stripped the dark cherry finish
• Brought back the raw wood
• Shaped this beautiful vintage piece into the perfect display cabinet
I’ll link that full cabinet flip HERE too.
⭐ Tips for Repurposing Frames for Different Holidays
I’m a huge believer in decorating without constantly buying new decor. Here are some ideas if you want to swap out your seasonal artwork:
• Use the same frame year-round and just switch the prints
• Add ribbon, fabric, or trim that matches the season
• Save the original cardboard backing and rotate holiday prints
• Use thrifted frames to create a collection of seasonal wall art
• Keep a folder of digital prints on your computer for easy switching
This makes decorating affordable AND fun…and it’s so easy to make each season feel fresh without starting from scratch.
💡 Ways to Use Your New DIY Christmas Frames
Here are some ways to style your new tartan Christmas frames:
✔ On top of a cabinet or hutch
Perfect for layering behind lamps, vases, or Christmas village pieces.
✔ As part of a Christmas mantel display
Mix with garland, stockings, and candles.
✔ Hung on the wall as a festive gallery
Mix different sizes, ribbon textures, and winter print styles.
✔ Propped on floating shelves
Add small bottle-brush trees and vintage Santa pieces for a cozy look.
✔ In an entryway
Makes your home feel instantly festive when guests walk in.
The best part?
You can save the tartan frames and reuse them every Christmas. Or swap out the tartan for other seasonal fabrics next year—floral for spring, toile for summer, or warm flannel for fall.
🧵 Troubleshooting & Common Questions
Here are a few questions I get asked most often when I share my frame flips.
“Does the fabric need to be sewn?”
Nope! Everything is attached with hot glue. This is completely no-sew.
“What type of fabric works best?”
• Velvet
• Flannel
• Gingham
• Linen
• Faux fur trim
• Ribbon
“What if my frame doesn’t have a mat?”
Just glue the fabric directly to the backing and treat it like a full new mat.
“What size prints work best?”
Whatever size fits your frame! Just be sure to choose high-resolution prints from Etsy so they don’t lose quality when printed.
“Does the fabric add bulk?”
A little, but it’s minimal. As long as you wrap it tightly, the frame back should still fit.
⚠️ FTC + Affiliate Disclosure
Some of the links included in this post may be affiliate links. This means I may earn a small commission…at absolutely no extra cost to you…if you choose to purchase through them.
These little commissions help me buy more thrifted treasures, fabric, glue sticks, and all the festive supplies I use to keep creating free DIYs for y’all all year long.
Thank you so much for supporting my blog and my creativity. It truly means everything to me.
🎄 Final Thoughts: Cozy Christmas Decor Doesn’t Have to Be Expensive
These DIY Christmas frames cost me almost nothing to make because:
• The frames were thrifted
• I reused existing fabric
• The prints were inexpensive downloads
• And everything was made with supplies I already had
But the finished look?
Absolutely magical and totally custom to my home.
If you’re looking for budget-friendly Christmas projects that give BIG seasonal impact, this is one you’ll want to try. It’s easy, fun, and the perfect afternoon craft while watching a Christmas movie and sipping something cozy.
🌟 Share Your Creations With Me!
If you make your own tartan Christmas frames…or any thrifted holiday flip inspired by this tutorial….please tag me on social media so I can see!
I LOVE seeing your festive creations and how you style them in your homes.
Make sure you’re:
• Following me on all socials (IG, TikTok, Facebook)
• Subscribed to my blog so you never miss a new DIY, recipe, thrift flip, or festive project
• Checking out the other tutorials linked in this post
• Watching the video at the end of this blog post for the full visual walkthrough
Can’t wait to see what you make next.
XOXO,
Ashton Sedita