DIY Pleated Lampshade Video Tutorial- $1 Thrift Flip
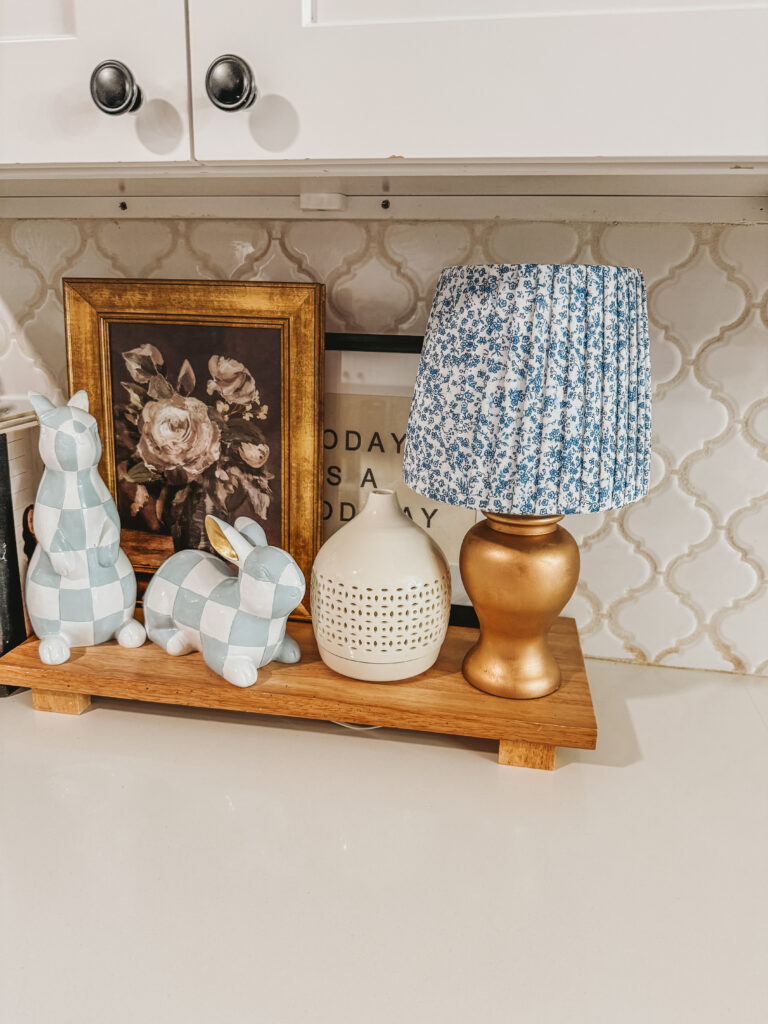
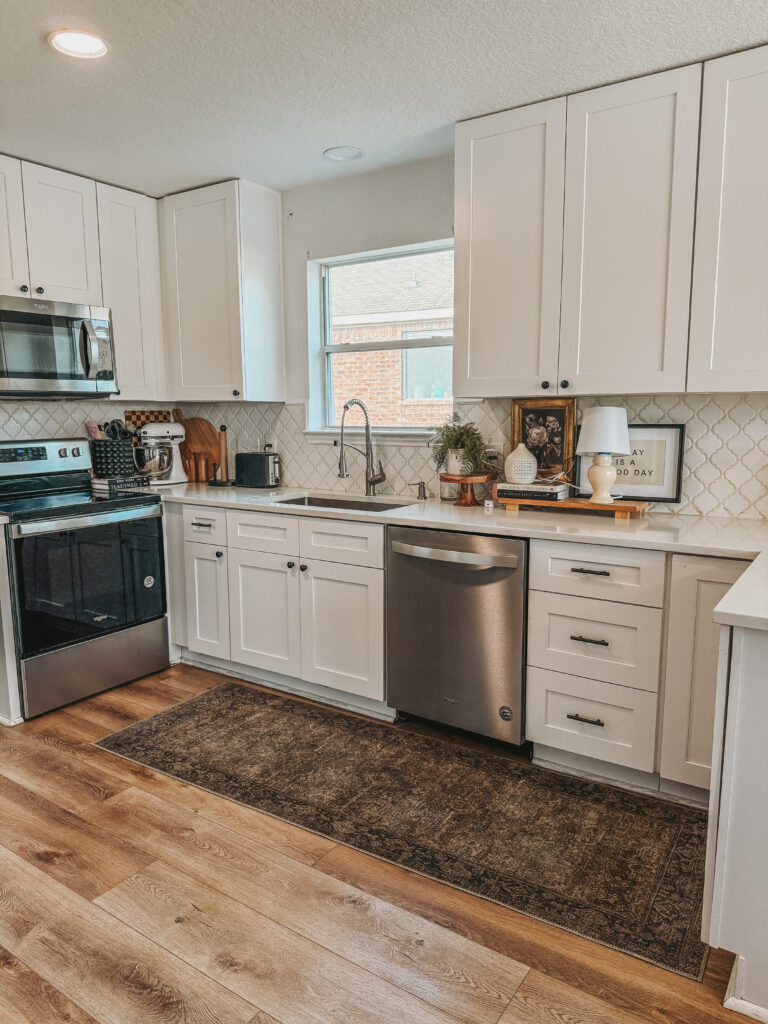
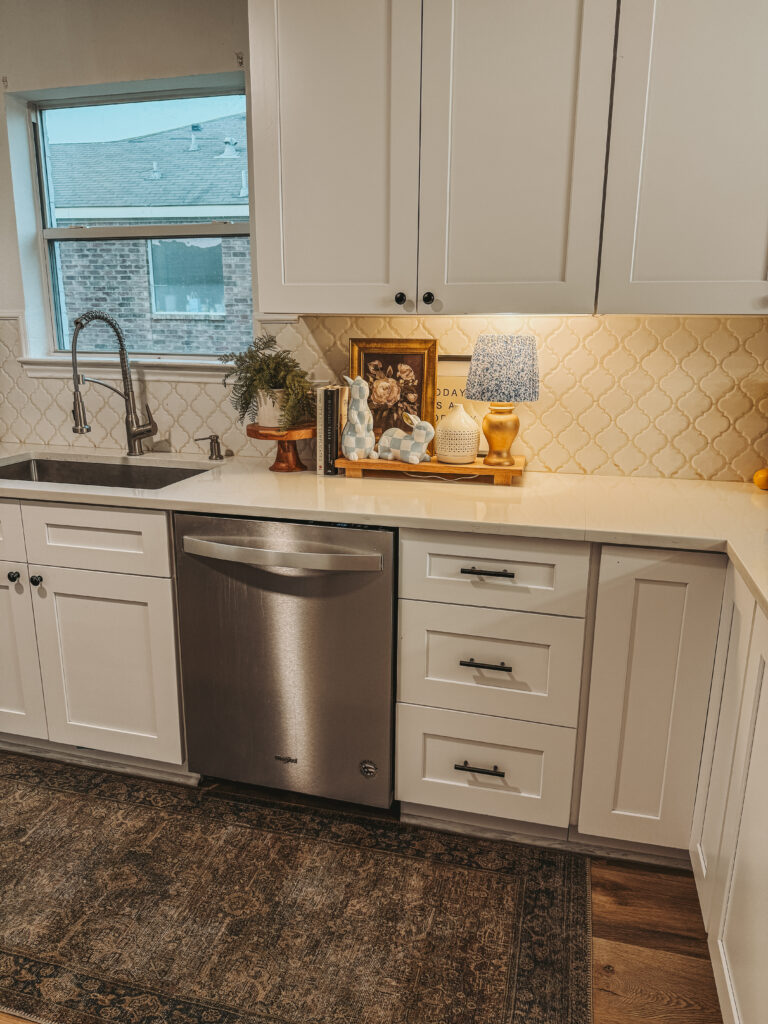
Y’all, I hit the jackpot at the thrift store for Thrifting Thursday this week- FULL HAUL VIDEO BELOW!!! BUT, I found this adorable little white lamp for just ONE DOLLAR. A whole dollar! I mean, what can you even buy for a dollar these days? (Besides this lamp, apparently.) But, as cute as it was, it definitely needed some pizzazz. I’ve been on the hunt for months everywhere looking for a cute lamp for my kitchen- to cozy up the space! So, I grabbed my trusty Rub ‘n Buff, some fabric from Hobby Lobby (which is on sale right now, BTW—run, don’t walk!), and turned this little thrift find into a high-end-looking pleated lamp.
And now, I’m here to show you exactly how to do it, too. So, grab a glue gun, maybe a snack (DIYing burns calories, right?),- literally #CraftingIsMyCardio and let’s make something beautiful.
✨ What You’ll Need– [SUPPLIES LINK]
• Thrifted Lamp Base – Literally any lamp will work. If you don’t have one, check your local thrift store or garage sales.
• Lampshade – I used a Mainstays Basic White Small Lamp Shade-$6 [LINKED HERE] from Walmart because it was cheap and had the perfect shape. (ACTUALLY already had this was using it on wall sconce- LOVE repurposing items)
• Fabric – I grabbed one yard of fabric from Hobby Lobby (which is currently 40% off, so now’s the time to stock up!). Pick something lightweight so it’s easy to pleat.
• Rub ‘n Buff (Antique Gold) – This little tube of magic turns anything into a high-end masterpiece.
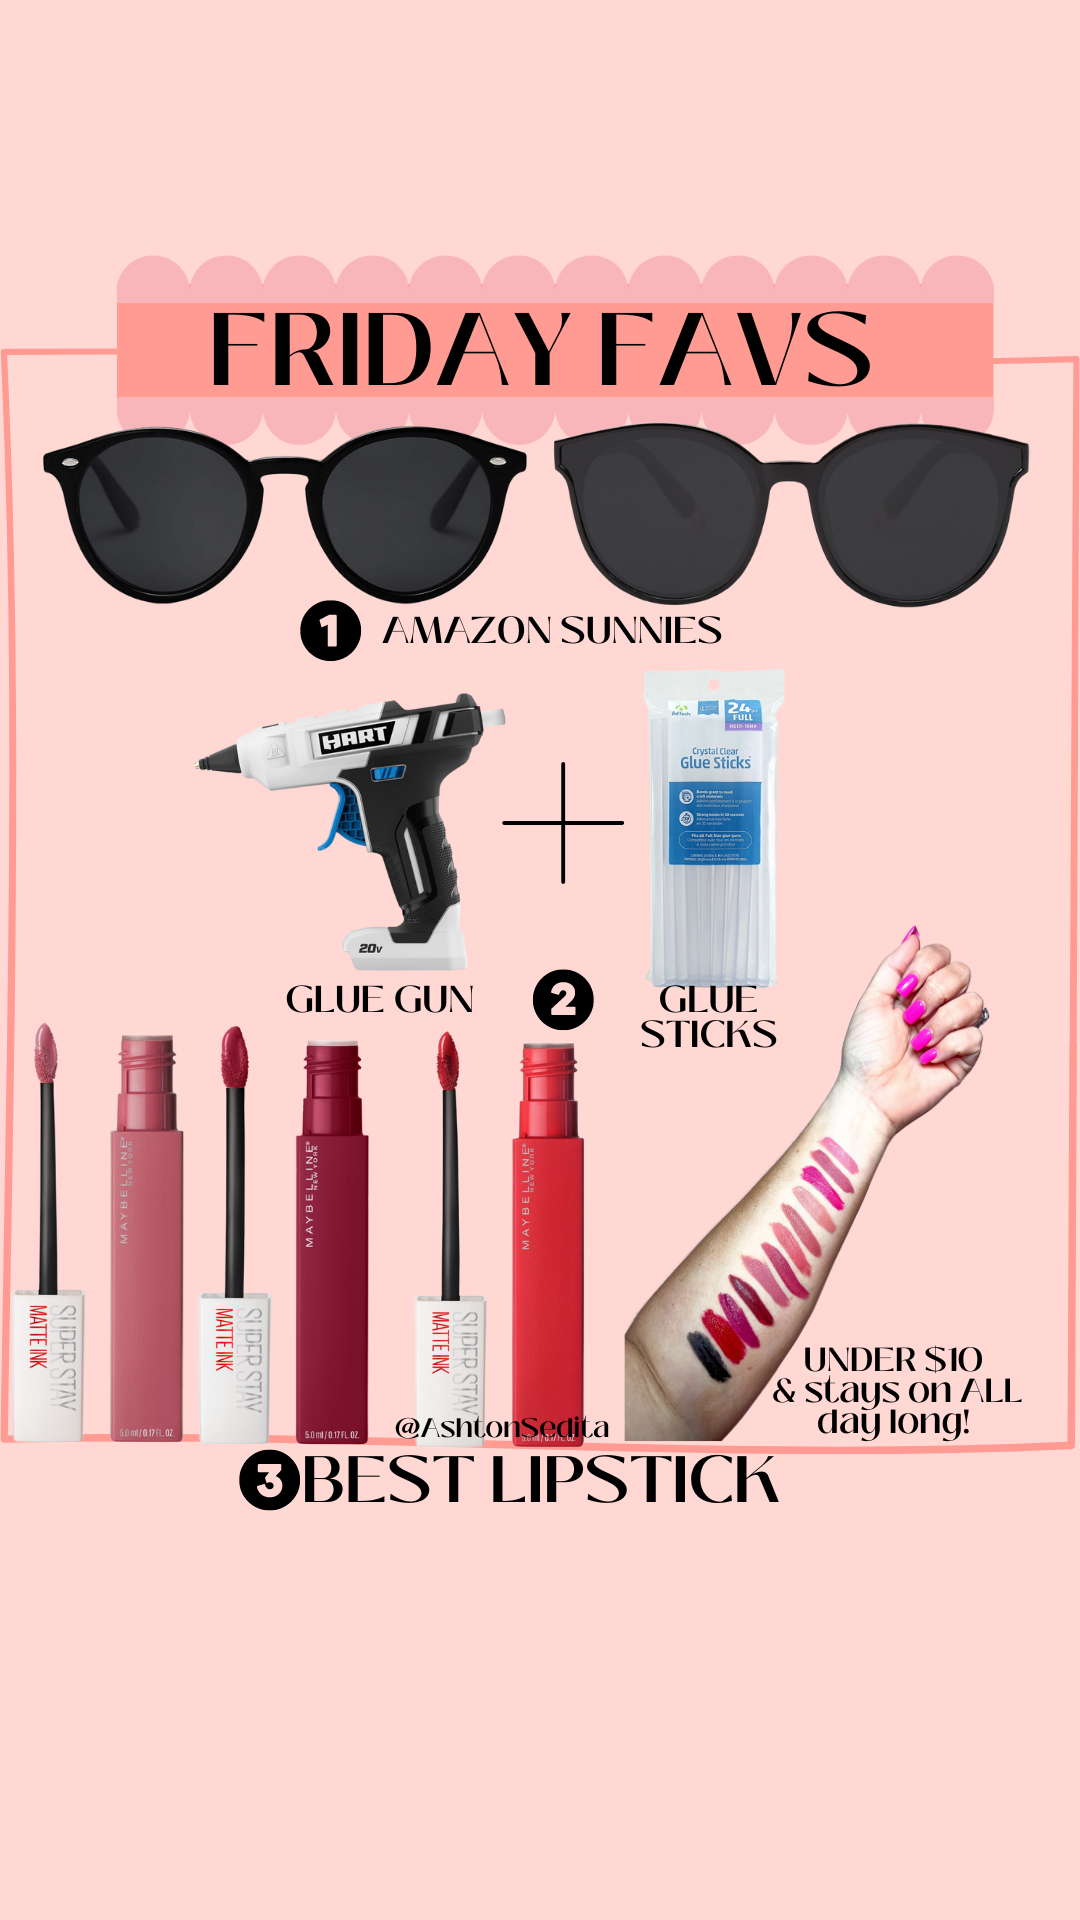
• Hot Glue Gun & Glue Sticks – The real MVP of this DIY. (Highly recommend a cordless)
• Scissors – Sharp ones, because fabric deserves the best. (fabric scissors)
• Measuring Tape – To keep everything nice and even.
• Clips or Binder Clips (optional) – If you need help holding pleats in place while gluing.
🛠️ Step-by-Step: How to Make Your Own Pleated Lampshade
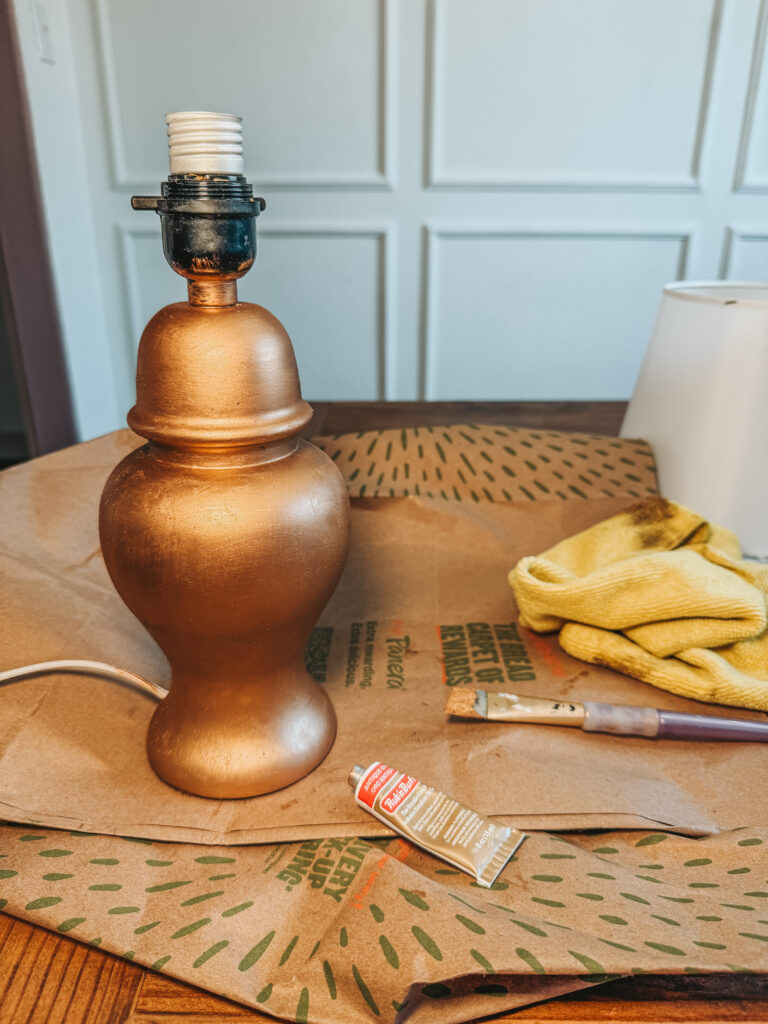
Step 1: Clean & Prep the Lamp Base
Before we get to the fun part, let’s wipe down the lamp base to remove any dust or grime. If it’s shiny or glossy, you might want to give it a light sanding so the Rub ‘n Buff sticks better.
Step 2: Rub ‘n Buff That Base!
Rub ‘n Buff is basically gold paint in a tube, and it’s so easy to use. Just squeeze a little onto a cloth (or your finger—I won’t judge) and rub it all over the lamp base. It dries super fast and gives it that antique gold look. You can add a second coat if you want it to be extra fancy.
🌟 Pro Tip: A little goes a LONG way. Start small and build up the color!
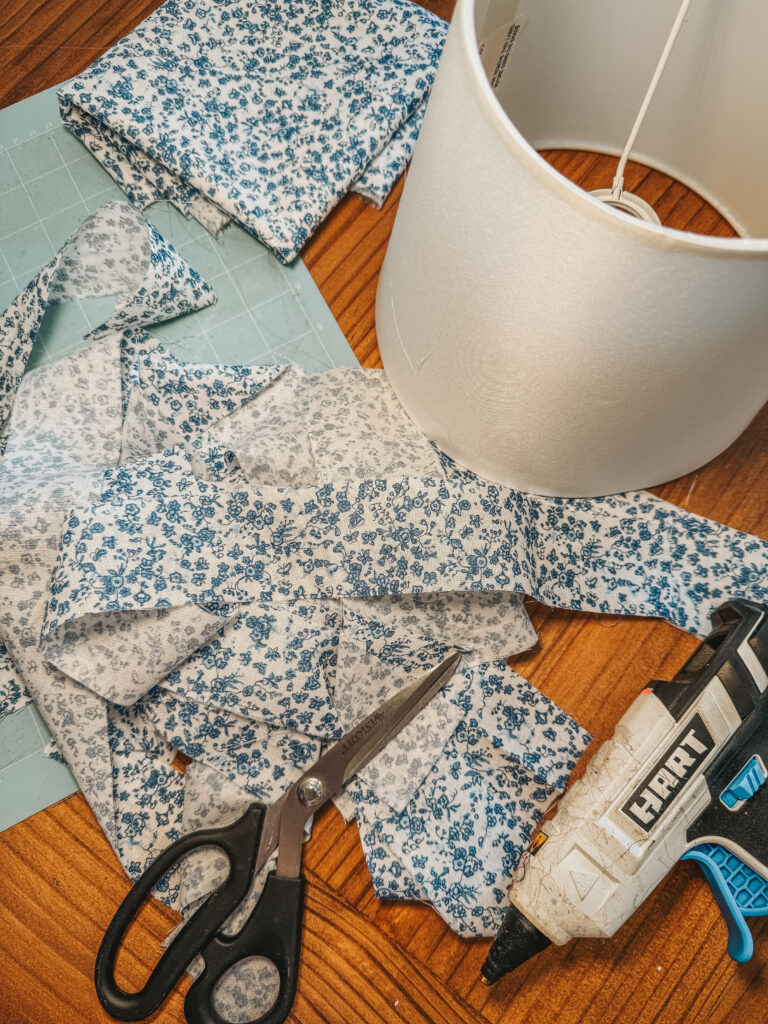
Step 3: Cut the Fabric into Strips
Now, for the fun part—creating the pleats!
1. Take your yard of fabric and cut it in half.
2. Cut each half in half again (so you have four pieces).
3. Now, cut 2-inch-wide strips from each section.
You should end up with a bunch of 2-inch-wide strips ready to be pleated.
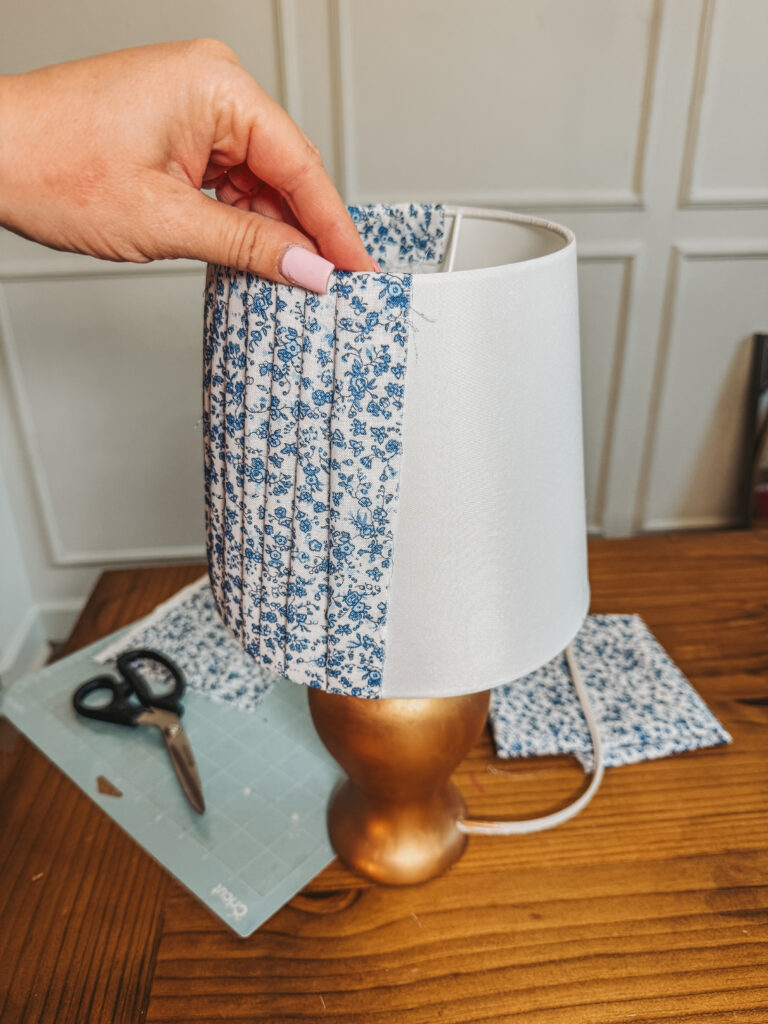
Step 4: Fold & Glue the Fabric Strips
• Take your first strip and fold it in half lengthwise (so it’s now 1 inch wide).
• Add a thin dot of hot glue inside the fold to keep it in place in the top corners.
• Now, take that strip and glue it along the inside top edge of the lampshade to secure the first pleat.
🌟 Pro Tip: This is where the magic happens. If you want a really structured look, take an iron and press your folds before gluing them down.
Step 5: Keep Pleating
• Move over same distance between each pleat.
• Secure it with hot glue at the top and bottom.
• Repeat this process ALLLLL the way around the shade.
Step 6: Finishing the Last Pleat
When you get to the last piece, fold the edge like an envelope (trifold style) so no raw edges show, and glue it down really well.
Step 7: Admire Your Handiwork!
Pop that freshly pleated shade onto your newly gilded lamp base, turn it on, and soak in the DIY glory. ✨
⸻
💡 Extra Tips for the Perfect Pleats
🔹 Keep pleats even – Mark guide points on the lampshade with a pencil so your pleats don’t get wonky.
🔹 Use binder clips – If your pleats aren’t staying put, clips can hold them in place while the glue dries.
🔹 Ironing = crisp pleats – If you want a super tailored look, press your pleats with an iron before gluing them.
🔹 Fabric choice matters – Lightweight cotton or linen works best! Too thick = hard to pleat. Too sheer = won’t look right when the light’s on.
⸻
🏡 Why This DIY is EVERYTHING
Let’s be real—high-end pleated lampshades cost an absolute fortune (some go for over $150 😳). But this little DIY? It cost me less than $10. And it looks just as good (if not better!).
I love how this project adds charm, texture, and personality to any space. Plus, it’s totally customizable—change the fabric, switch up the paint color, and make it your own! Honestly realizing how easy this easy- Christmas and Halloween- My mind is exploding with the fun festive lamp shades I can create!!! STAY TUNED!

📸 Share Your Creations!
If you make this DIY, TAG ME! I wanna see your thrift flips and pleated lampshade masterpieces. Use #ThriftOnThursday so we can all admire each other’s projects!
FTC Guidelines: This post contains some affiliate links, which means I may make a small commission if you purchase through them. But as always, I only share products I genuinely love!
Y’all are the best—I love ya! 💛 XOXO,
Ashton