DIY HALLOWEEN LIGHT BRIGHT SIGN
[FULL VIDEO TUTORIAL BELOW]
If you know me, you know I love Halloween. It’s the season where I get to turn my porch into a mini movie set—complete with pumpkins, lights, and projects that look like they came straight out of my imagination (or maybe Pinterest).
This year, I wanted something big and glowy to greet the trick-or-treaters. Something that screams “Halloween!” but in a playful, festive way. And thus, my latest DIY was born: a giant Trick or Treat light-up sign made from plywood, spray paint, and lots of candy corn-colored lights. 🍬
Think of it as a mix between a Lite Brite from the 90s and the world’s friendliest haunted house marquee. To be honest I always wanted a Lite Brite as a kid- so here is my Big Kid verision for one of my favorite holidays.
And the best part? You can totally make this yourself. I’ll walk you through every single step, what I learned along the way, and of course share all the photos. So grab your jigsaw and your spooky playlist, because we’re about to make magic.
Supplies You’ll Need 🛠️🎃
Here’s everything I used for this project (I’ll link where I can so you don’t have to hunt things down):
• 1/4 inch thick sheet of plywood (I started with a 4’ x 8’ board and cut it down to 32” tall x 42” wide) [LINK]
• Hart jigsaw (absolute lifesaver for the arch cut- and for a beginner power tool) [LINKED HERE
• Hart drill + 7/32 drill bit (perfect size for the lights to fit snugly) [LINKED HERE]
• String lights in two colors (I went with classic orange + candy corn yellow for that ombre effect) [LINKED HERE-orange] [LINKED HERE-yellow]
• Rust-Oleum Flat Black Matte spray paint [LINKED HERE]
• Sharpie marker (for sketching and retracing words about… oh, 42 times 🙃)
• Sandpaper (to smooth after drilling)
• Measuring tape (because even though I freehanded, my inner perfectionist needed some reassurance) [LINKED HERE]
• Extension cord (because porch outlets are never where you actually need them)
• Pencil- to write the letters
⸻
Step-by-Step Instructions 🪚🖤
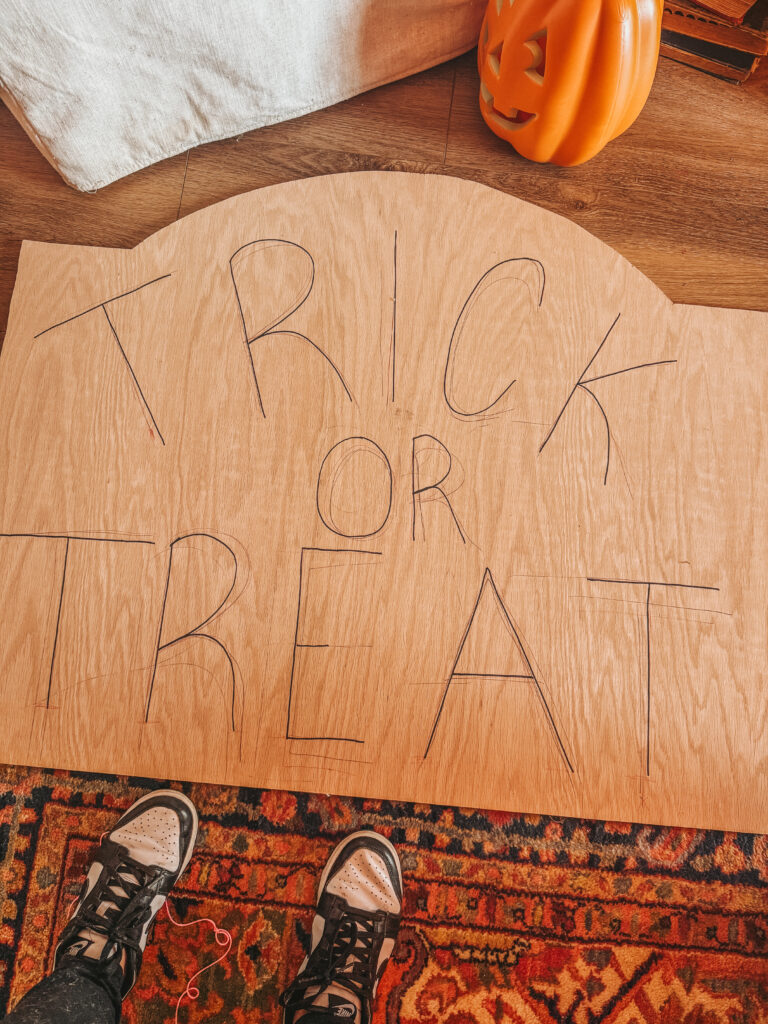
Step 1: Cut Your Plywood
I started with a standard 4’ x 8’ board and cut it down to 32” high x 42” wide. That way it’s still oversized and dramatic, but manageable enough to carry to the porch without looking like a lumberjack.
Using my Hart jigsaw, I freehanded a gentle arched top. (Don’t worry if you’re not a freehand queen—I promise it looks better once painted. Plus, the flat edges on each side—about 4” each—make it look more polished.)
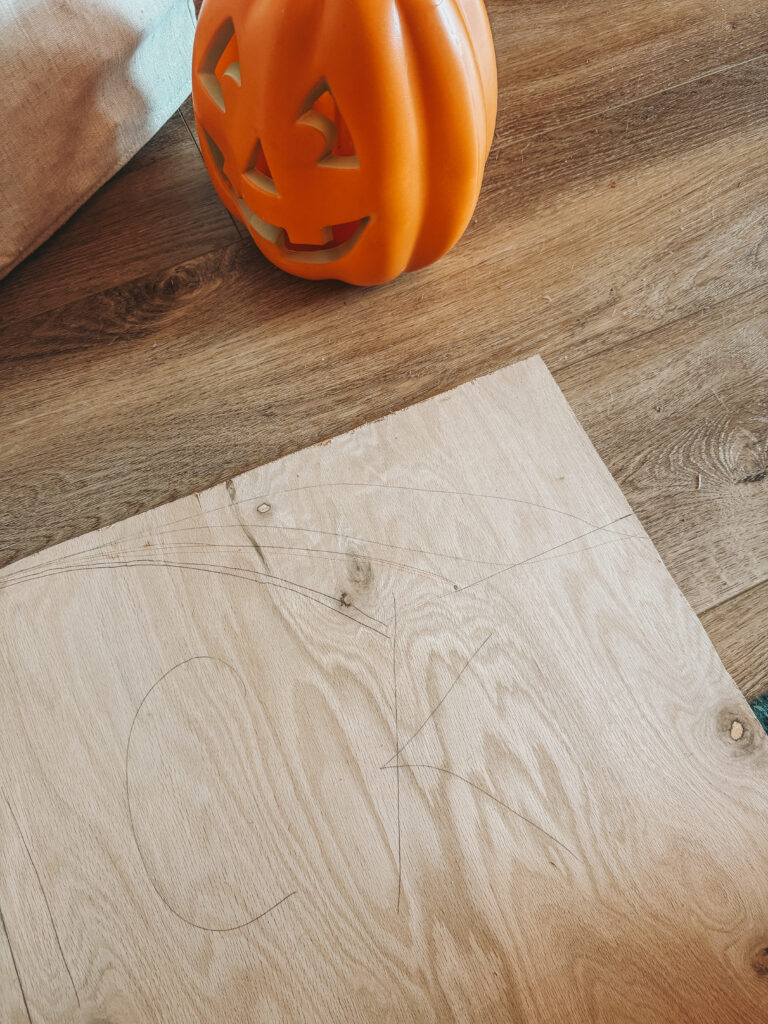
Step 2: Sketch the Letters
This is where the “me vs. my OCD” battle really came in. I freehanded “TRICK OR TREAT” across the board, but I made sure the top and bottom letters lined up by measuring.
Then, because I second-guess everything, I went over the letters with a Sharpie after tracing them… about 42 times. 😂 Trust me, commit to the Sharpie—it’ll guide your drilling later.
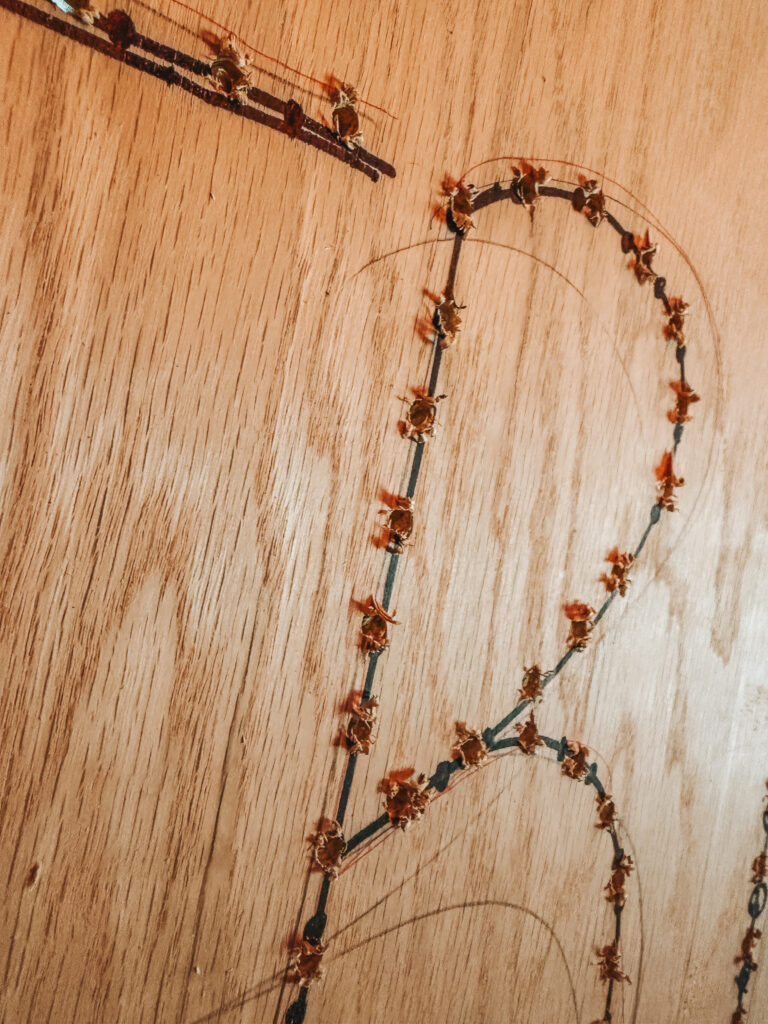
Step 3: Mark the Holes
Once the letters looked right, I dotted along each line where I wanted the lights to poke through. My spacing ended up being about ¾ inch apart. I started by measuring, but by the time I was a quarter of the way through, I gave in and just eyeballed it. And guess what? It turned out totally fine.
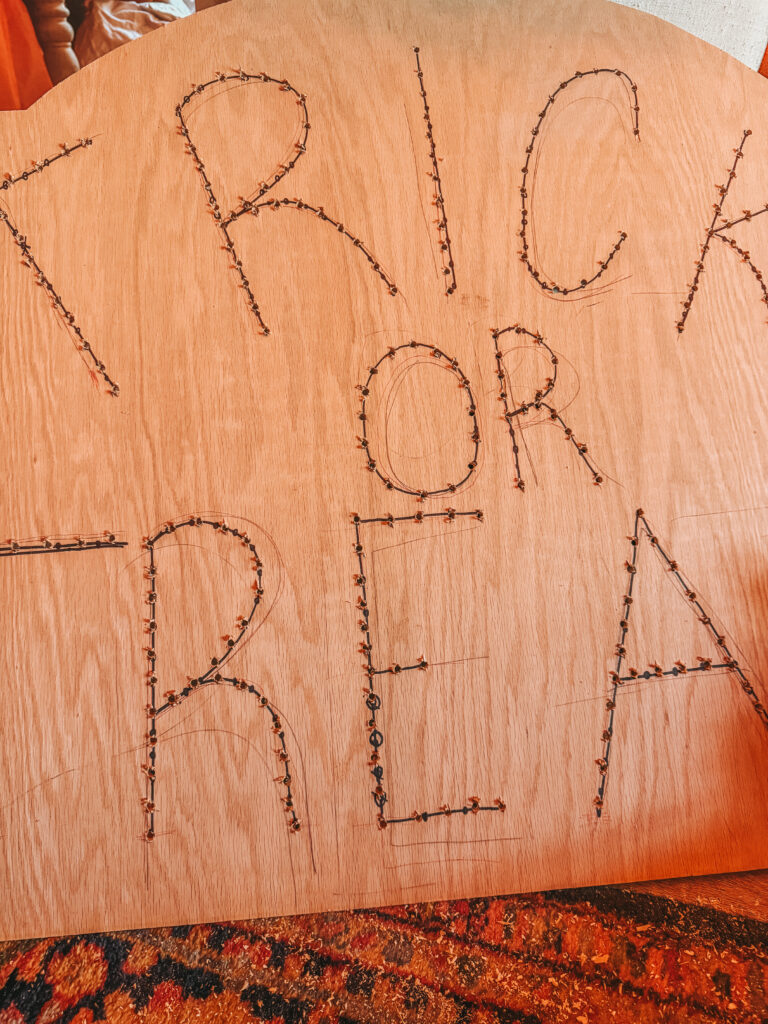
Step 4: Drill, Drill, Drill
Using my Hart drill with a 7/32 bit, I drilled holes at every dot. The drill bit size is important—you want the lights to fit snugly but not so tight you’re sweating to push them in.
Pro tip: Keep your drill straight and steady. If your holes are angled, the lights won’t shine evenly. (Learned this the hard way.)
Step 5: Sand It Smooth
After drilling, give the board a quick sand. It’ll get rid of any splinters and help the paint go on smoothly.
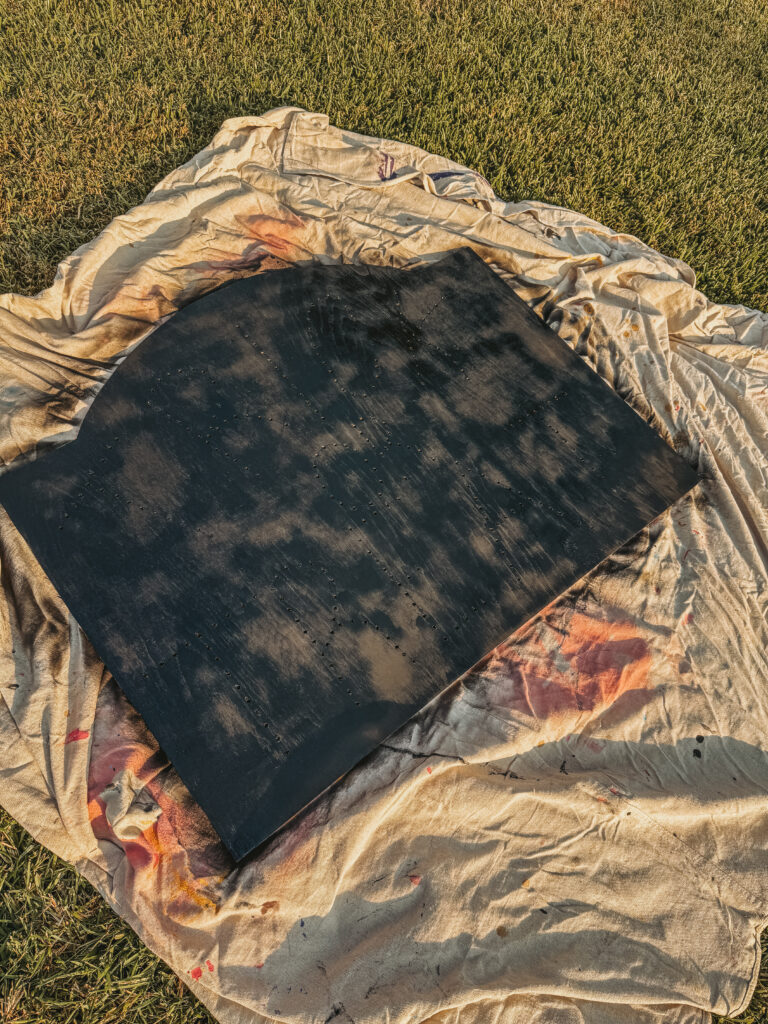
Step 6: Spray Paint
This is where the transformation really starts. I used Rust-Oleum Flat Black Matte spray paint for that bold, classic Halloween vibe. Do two coats for full coverage and let it dry completely.
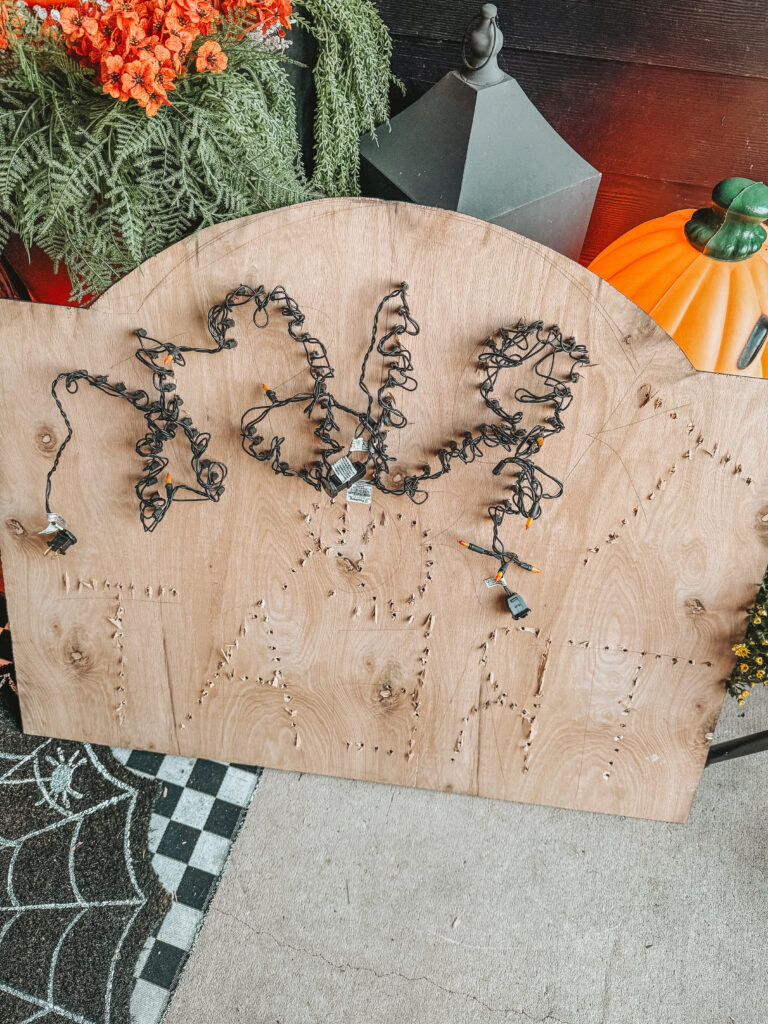
Step 7: Add the Lights ✨
Here’s where the magic happens. I used two different colors of string lights—orange and candy corn yellow. I divided up the words so it created a fun ombre effect and made “OR” pop.
Push each bulb through from the back, one at a time. This part is oddly satisfying. Like popping bubble wrap but spookier.
Pro tip: Start with the middle letters and work your way out. That way you don’t end up with extra slack in the wrong spot.
Step 8: Light It Up 🎃
Once all the lights are in, plug it in and bask in the glow of your creation. Honestly, this part made me giddy. It looked like a vintage Halloween carnival sign sitting on my porch.
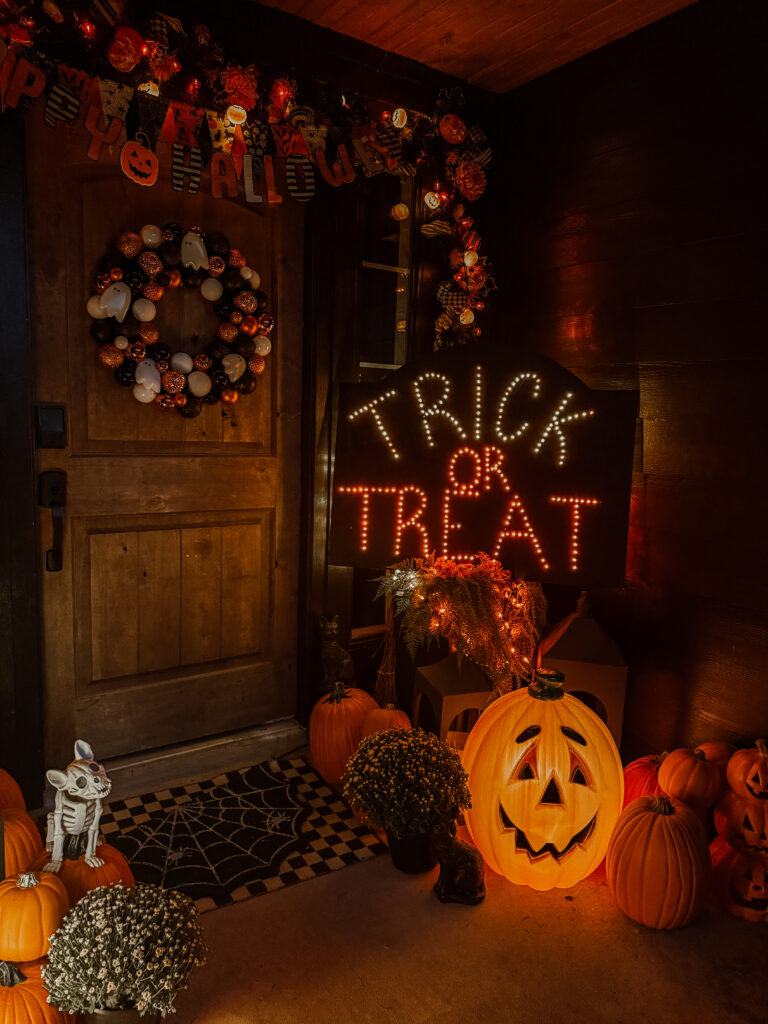
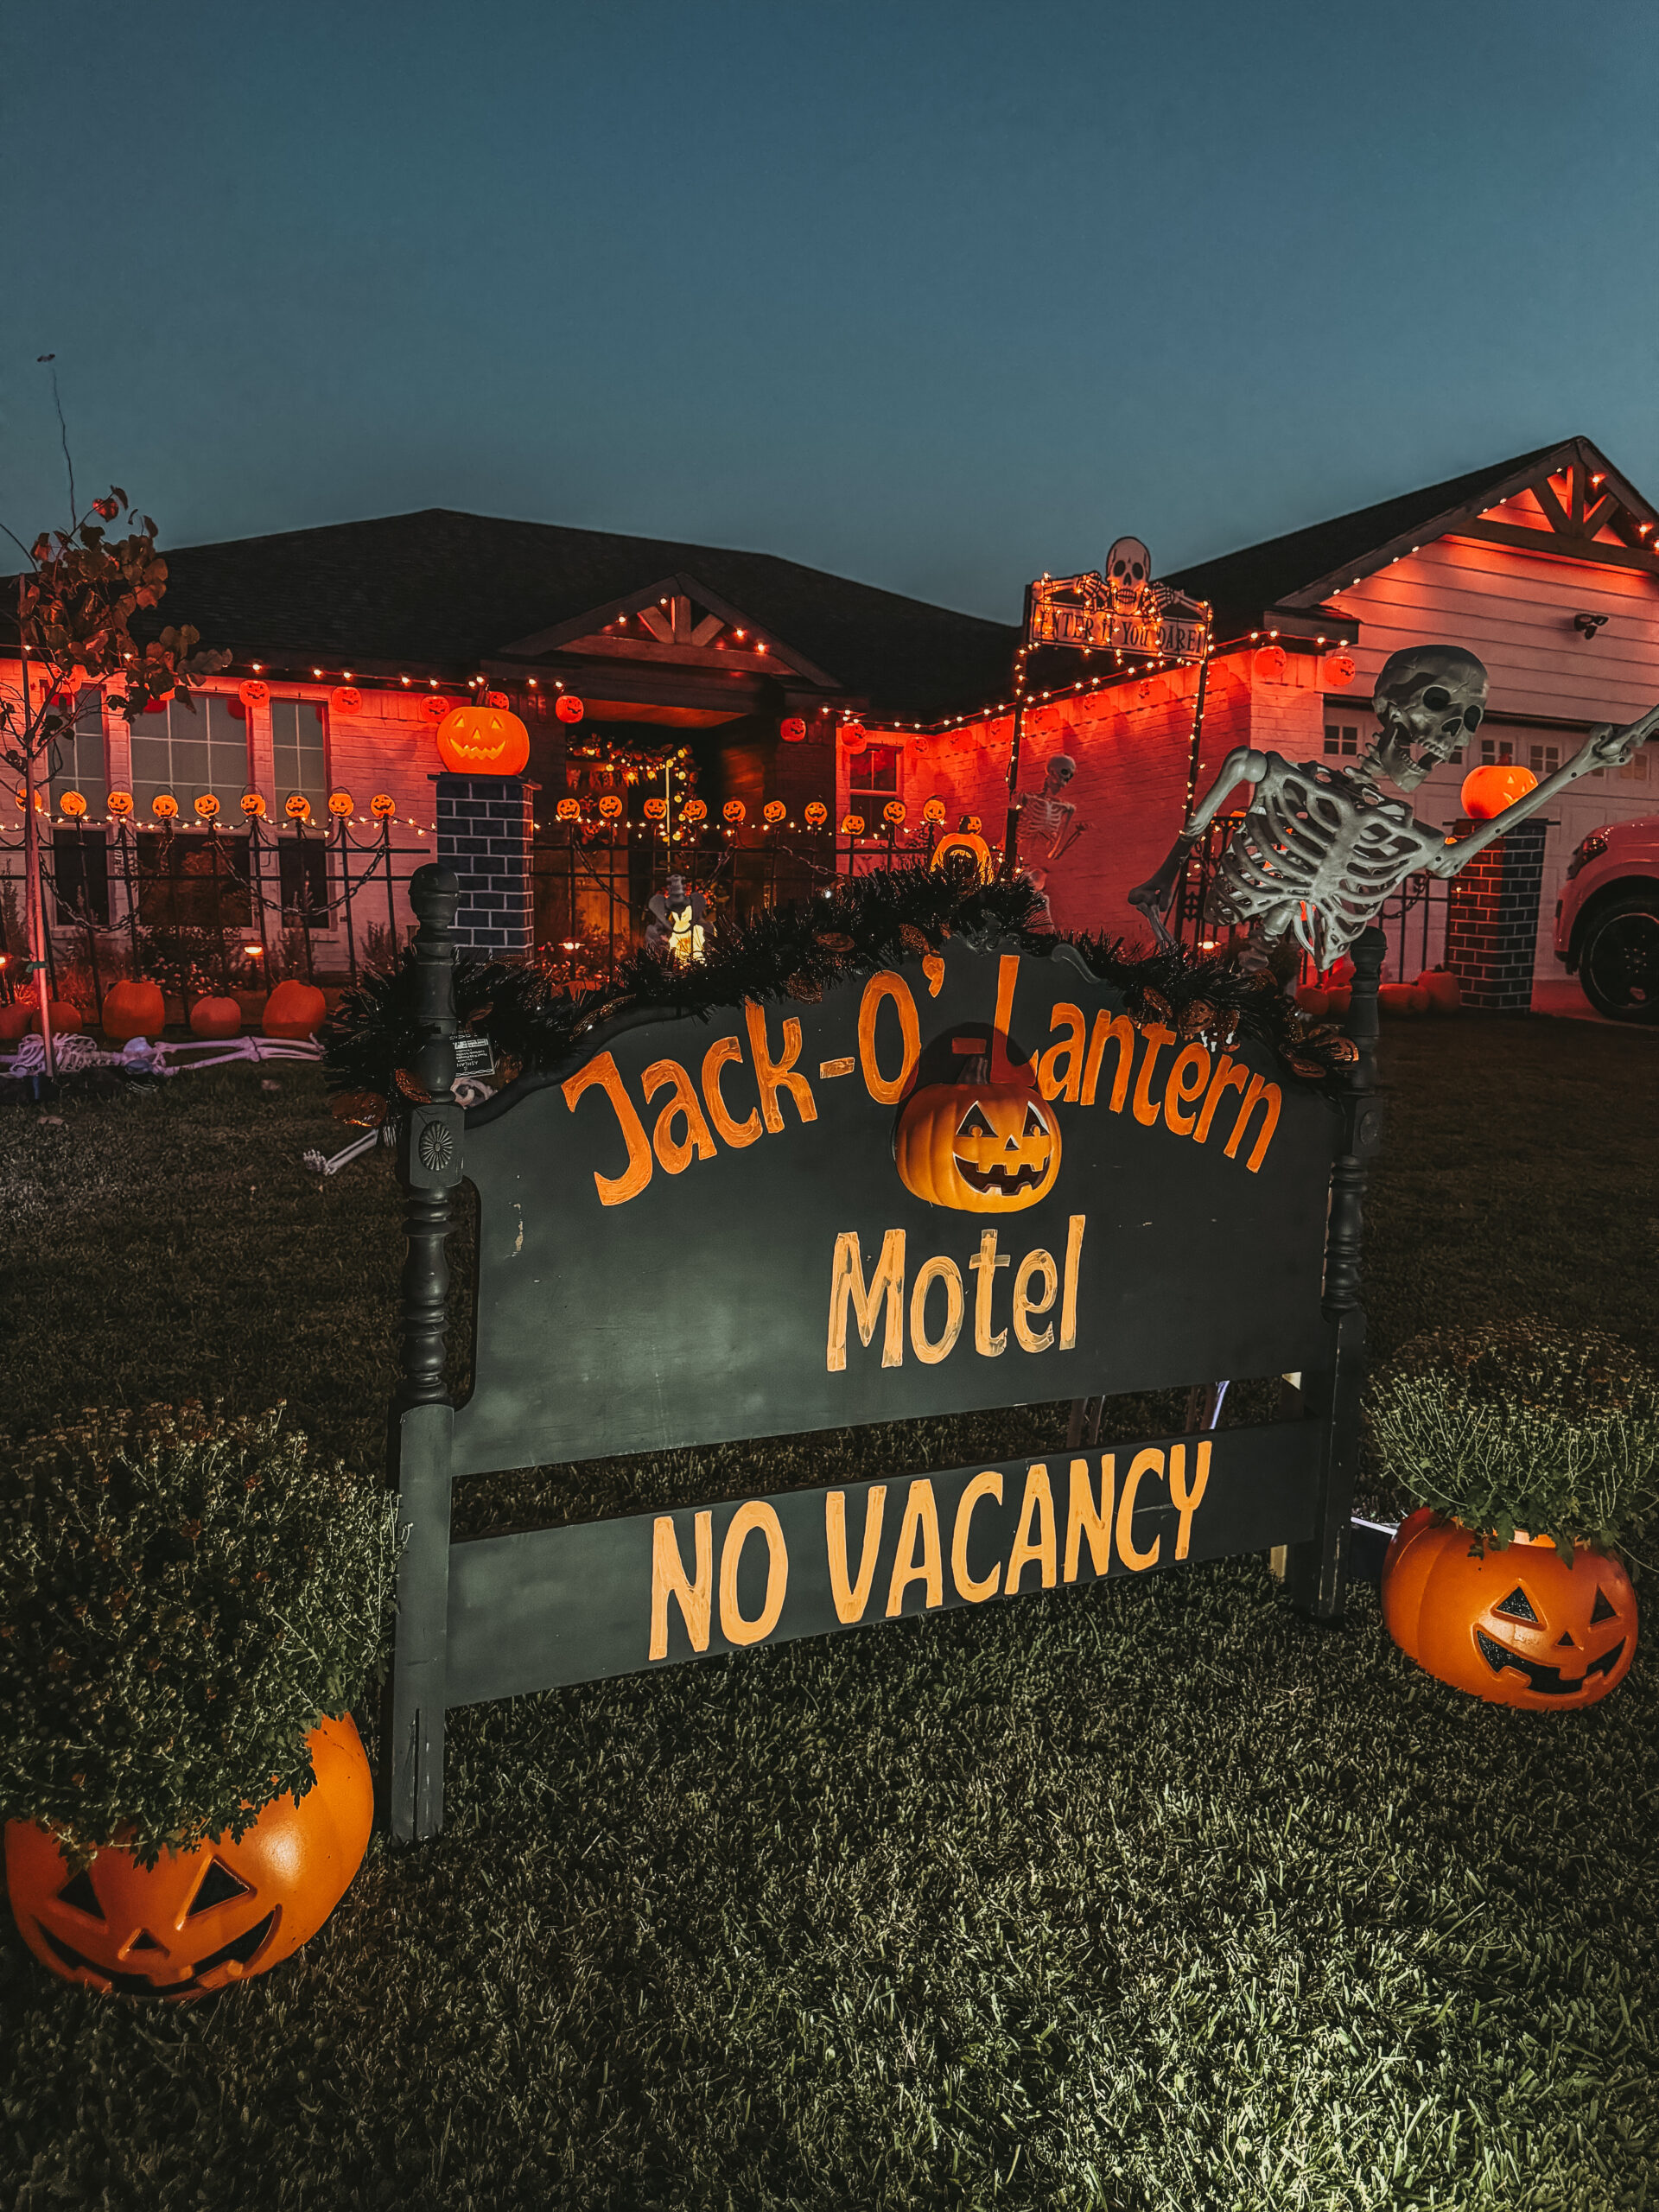
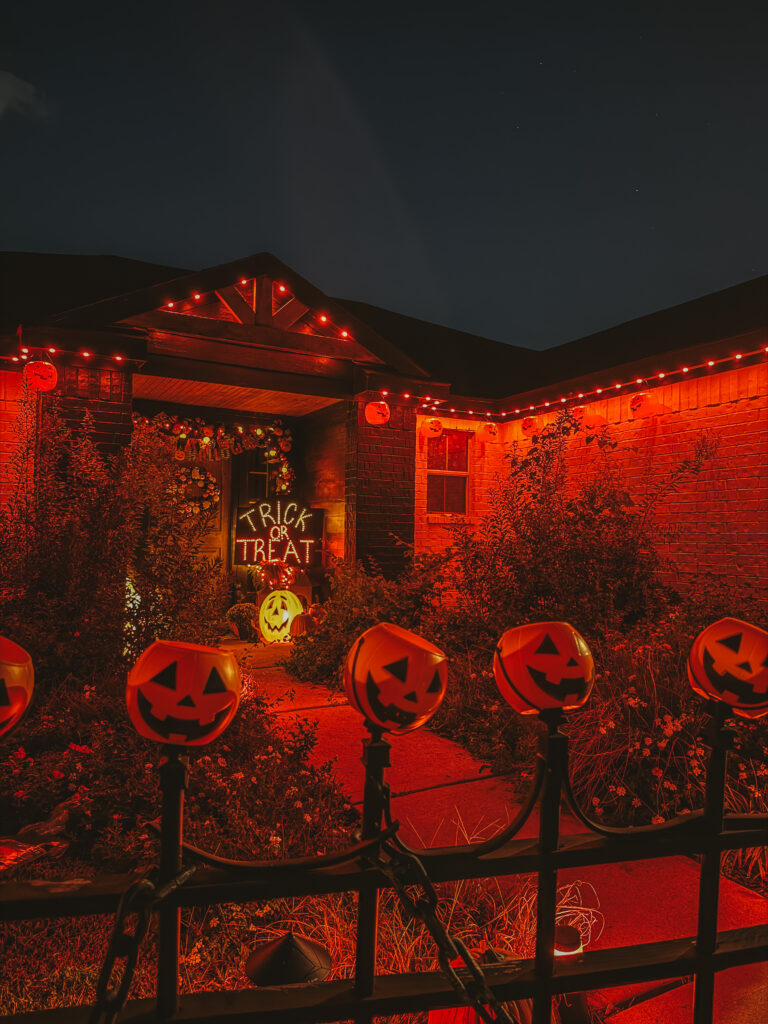
Step 9: Style It on Your Porch
I placed mine against the wall by my front door and styled it with:
• Oversized pumpkins
• A spooky wreath
• My favorite jack-o’-lantern blow molds
• A candy corn garland overhead
The sign instantly became the star of the show. It’s bold, fun, and definitely one of those “where did you get that?!” pieces.
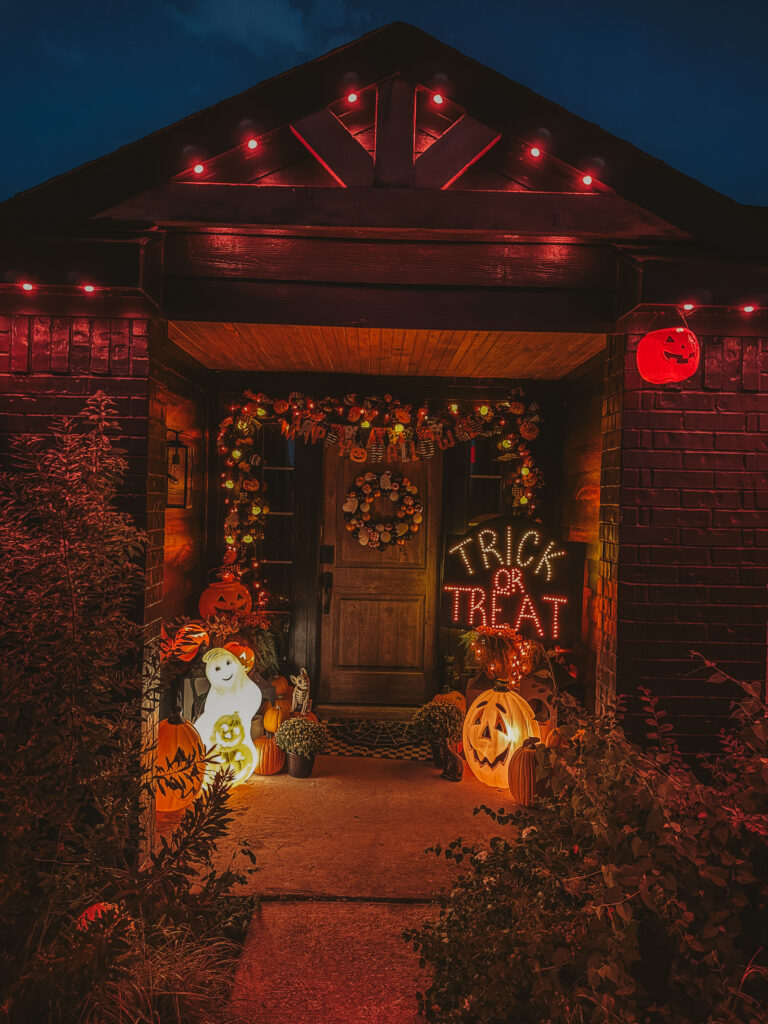
The Finished Look 🎉
Here’s the final glow-up (literally):
Doesn’t it look like something from a Halloween carnival? Every trick-or-treater that walks up is going to feel like they’re stepping into a movie set.
Tips & Tricks 🧡
• Plan your outlets. Extension cords aren’t glamorous but necessary.
• Mix colors for drama. Two different light colors made mine pop way more than just one.
• Freehand or stencil. Don’t stress if you can’t freehand—stencils totally work.
• Reuse wood scraps. If you’re cutting down a big board, save extra for other spooky DIYs.
Why You’ll Love This DIY
• It’s customizable: change the phrase, font, or colors.
• It’s budget-friendly: cheaper than buying a pre-made oversized sign.
• It’s high-impact décor: this will be your porch’s main character.
More Nostalgic Halloween DIYs You’ll Love
If you’re like me and obsessed with cozy, vintage-inspired Halloween décor, you’ll love these too:
• DIY Faux Halloween Oil Paintings 🖤 – spooky, old-world art without spending $$$
• Fun Halloween Nutcracker Makeover – yes, even nutcrackers can get spooky
• DIY Stitch Pumpkin – if carving isn’t your vibe, try this fun alternative
• Oreo Halloween Brownies – the perfect Halloween treat for your party
Final Thoughts
This DIY light-up “Trick or Treat” sign has officially earned its spot in my Halloween hall of fame. It’s fun, nostalgic, and totally sets the mood for spooky season. Plus, it’s one of those projects that looks way harder than it actually is (we love that).
So, what do you think—would you make one for your porch? Tag me on Instagram if you do—I want to see your festive glow-ups- @ AshtonSedita. And make sure you follow me so you never miss a fun seasonal DIY.
Ashton Sedita
xoxo